79-
Fun & Media box
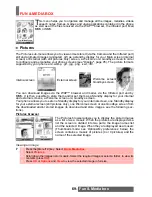
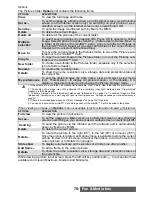
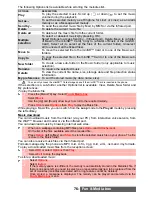
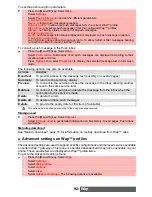
Viewing a frame
An
Options
menu is available.
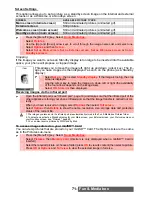
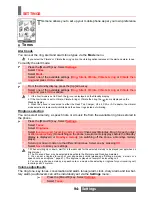
Adding a frame to your picture
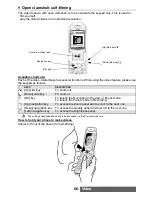
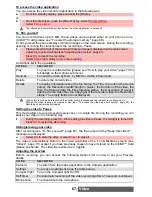
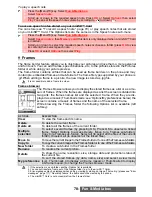
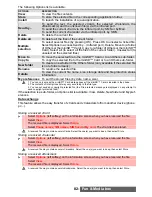
This feature allows you to add a frame to your preview (internal or external screen) before cap-
turing an image. According to the selected frame, you may need to use your phone horizontally
or vertically in order to make the preview screen content fit your frame.
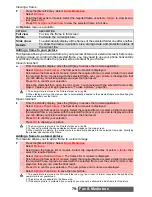
Closed clamshell
Open clamshell
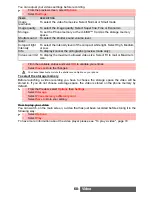
Adding a frame to a stored picture
This feature allows your to add a frame to a stored image.
1
Press the [Menu/T9] key. Select
Fun & Media box
.
2
Select
Frames
.
3
Scroll the frames list or mosaic. Select the required frame or select
a folder
to view its con-
tent (press
OK
).
4
Press
OK
or
Options
then
View
to view the selected frame in full size.
OPTIONS
DESCRIPTION
Full view
To view the frame in full screen.
Delete
To delete the current picture
.
Slide show
To automatically display all the frames of the selected folder one after another.
Details
To show the name, resolution, size, storage date and protection status of
the current file.
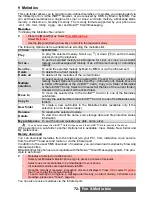
1
From the standby display, press the [OK] key to access the Camera application.
2
Select
Options
then
Frames
. The frames list or mosaic is displayed.
3
Scroll down the frames list or mosaic. Select the required frame or select a folder then select
the required frame. A preview with the selected frame over your picture is displayed so that
you can define your picture settings and view the final result.
4
Press
OK
to confirm your selection.
5
Close the clamshell then open the lens cover. Your preview with the selected frame is dis-
played. Capture your image (please see "To take a picture", page 56)
1. The new picture is stored in the Pictures folder as a .jpg file.
2. When taking a picture, the preview size is automatically adapted to the selected frame size. Modifying the
preview size removes the frame.
1
From the standby display, press the [OK] key to access the Camera application.
2
Select
Options
then
Frames
. The frames list or mosaic is displayed.
3
Scroll down the frames list or mosaic. Select the required frame or select a folder then select
the required frame. A preview with the selected frame over your preview is displayed so that
you can define your picture settings and view the final result.
4
Press
OK
to confirm your selection.
5
Press
OK
to capture your picture.
1. The new picture is stored in the Pictures folder as a .jpg file.
2. To take self-portraits the phone displays mirrored images on the main screen.
3. When capturing a picture, the preview size is automatically adapted to the selected frame size. Modifying
the preview size removes the frame.
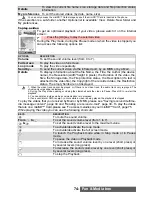
1
Press the [Menu/T9] key. Select
Fun & Media box
.
2
Select
Pictures
.
3
Scroll down the frames list or mosaic. Select the required frames or select
a folder
then
select the required picture.
4
Select
Options
then
Add frame
. The frames list or mosaic is displayed.
5
Scroll down the frames list or mosaic. Select the required frame or select a folder then select
the required frame. A preview screen with the selected frame over the current picture is dis-
played so that you can view the final result.
6
Press
OK
to confirm your selection. The new picture and its name are displayed.
7
Select
Options
then
Store
to save the new picture.
1. The new picture is stored in the Pictures folder as a .jpg file. In case of format conversion the quality of the
new picture is not guaranteed.
2. The picture size is adapted to the frame size.
3. If the source picture is protected by a copyright, you may not be allowed to add a frame to this picture.

