18. MR-J4W2-0303B6 SERVO AMPLIFIER
18 - 16
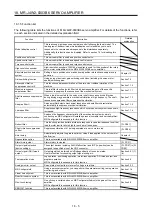
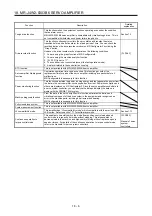
The items in the following table are the same as those for MR-J4W2-_B and MR-J4W3-_B servo amplifiers.
Refer to the section of the detailed explanation field for details.
Item Detailed
explanation
Forced stop deceleration function
Section 3.6
SSCNET III cable connection
Section 3.9
Servo motor with an electromagnetic brake
Section 3.10
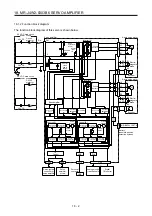
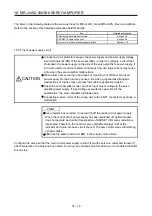
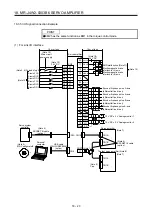
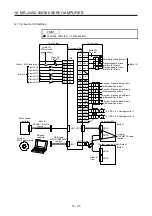
18.3.1 Input power supply circuit
CAUTION
Connect a circuit protector between the power supply and power supply voltage
input terminals (24/PM) of the servo amplifier, in order to configure a circuit that
shuts down the power supply on the side of the servo amplifier’s power supply. If
a circuit protector is not connected, continuous flow of a large current may cause
a fire when the servo amplifier malfunctions.
When alarms are occurring in both axes of A and B, shut off the main circuit
power supply. Not doing so may cause a fire when a regenerative transistor
malfunctions or the like may overheat the built-in regenerative resistor.
Check the servo amplifier model, and then input proper voltage to the servo
amplifier power supply. If input voltage exceeds the upper limit of the
specification, the servo amplifier will break down.
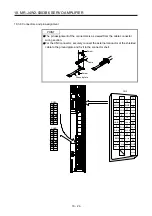
Connecting a servo motor of the wrong axis to the CNP1 connector may cause a
malfunction.
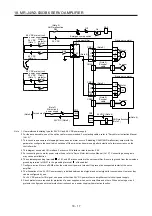
POINT
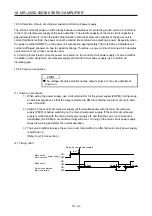
Even if alarm has occurred, do not switch off the control circuit power supply.
When the control circuit power supply has been switched off, optical module
does not operate, and optical transmission of SSCNET III/H communication is
interrupted. Therefore, the next axis servo amplifier displays "AA" at the
indicator and turns into base circuit shut-off. The servo motor stops with starting
dynamic brake.
EM2 has the same function as EM1 in the torque control mode.
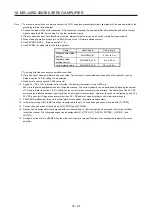
Configure the wiring so that the main circuit power supply is shut off and the servo-on command turned off
after deceleration to a stop due to an alarm occurring, an enabled servo forced stop, or an enabled controller
forced stop.
Summary of Contents for MR-J4W2-0303B6
Page 39: ...2 INSTALLATION 2 8 MEMO ...
Page 97: ...4 STARTUP 4 20 MEMO ...
Page 181: ...6 NORMAL GAIN ADJUSTMENT 6 28 MEMO ...
Page 235: ...9 DIMENSIONS 9 6 MEMO ...
Page 245: ...10 CHARACTERISTICS 10 10 MEMO ...
Page 309: ...13 USING STO FUNCTION 13 14 MEMO ...
Page 365: ...15 USING A DIRECT DRIVE MOTOR 15 24 MEMO ...
Page 389: ...16 FULLY CLOSED LOOP SYSTEM 16 24 MEMO ...
Page 461: ...17 APPLICATION OF FUNCTIONS 17 72 MEMO ...
Page 556: ...APPENDIX App 41 ...
Page 585: ...MEMO ...

