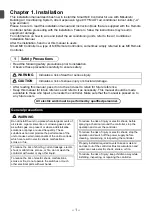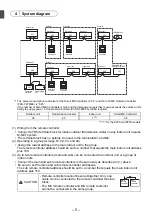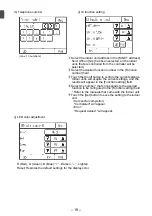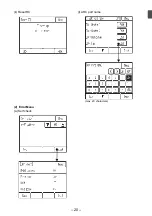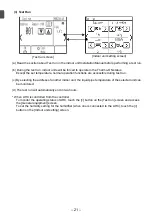
– 8 –
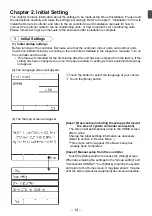
(2) Installation space
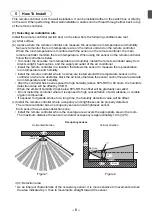
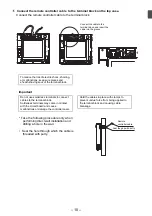
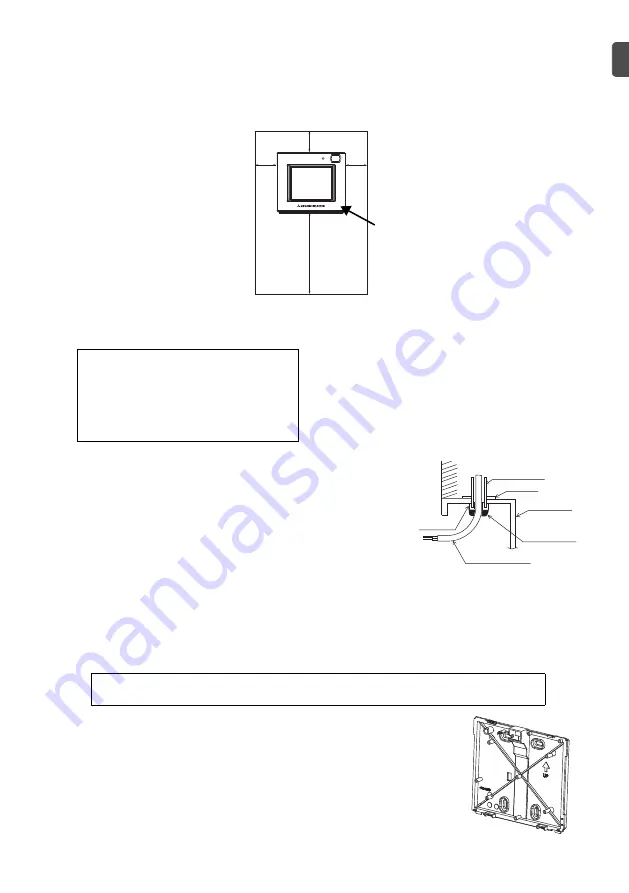
Leave a space around the remote controller as shown in the figure below, regardless of whether the
controller is installed in the switch box or directly on the wall. Removing the remote controller will not
be easy with insufficient space.
Also, leave an operating space in front of the remote controller.
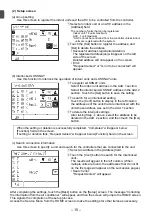
(3) Installation work
The remote controller can be installed either in the switch box or
directly on the wall. Perform the installation properly according to
the method.
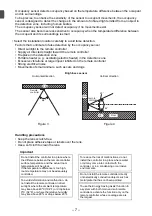
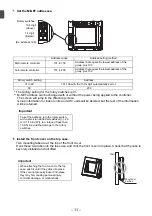
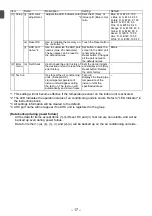
1
Drill a hole in the wall.
■
Installation using a switch box
• Drill a hole in the wall, and install the switch box on the wall.
• Connect the switch box to the conduit tube.
■
Direct wall installation
• Drill a hole in the wall, and thread the cable through it.
* No cable access hole is required when running the remote
controller cable along the wall.
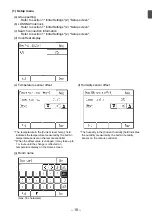
2
Seal the cable access hole with putty.
■
Installation using a switch box
• Seal the cable access hole at the connection of switch box and conduit tube with putty.
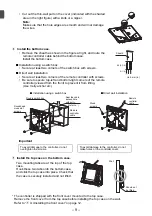
3
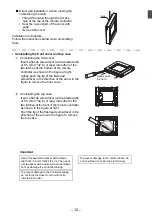
Prepare the bottom case of the remote controller.
* Take the following procedure only when performing direct wall
installation and running the remote controller cable along the wall.
30
(1-3/16)
30
(1-3/16)
30 (1-3/16)
120 (4-3/4)
Temperature and Humidity sensor
unit: mm (in)
Required space around the remote controller
Use caution when handling circuit boards to
prevent damage from static electricity.
Although the circuit board is covered with an
insulation sheet, part of the circuit board is
exposed. Use extra caution not to let your
fingers come in contact with the circuit
board.
Important
Wall
Conduit tube
Locknut
Switch box
Seal the gap
with putty.
Remote
controller cable
Bushing
To reduce the risk of electric shock, malfunctions, or fire, seal the gap between the cables and
cable access holes with putty.
Bottom case
WT06829X02.book Page 8 Wednesday, June 26, 2013 4:03 PM
Summary of Contents for par-u02meda
Page 21: ... 20 k Reset RC l AHC port name 2 Error Menu a Self check max 20 characters ...
Page 49: ... 24 2 Menu d erreurs a Auto contrôle ...
Page 102: ... 23 2 Menu errori a Autodiagnosi ...
Page 105: ... 26 ...
Page 129: ... 22 k Restaurar CR l Nome da porta AHC 2 Menu de erro a Self Check máx 20 caracteres ...
Page 158: ... 25 2 Μενού Error σφαλμάτων a Self check αυτοδιάγνωση ...
Page 161: ... 28 ...
Page 185: ... 22 2 Error Hata Menüsü a Self check Kendiliğinden kontrol ...
Page 212: ... 23 2 Meni Error napaka a Self check samodejni pregled ...
Page 215: ... 26 ...
Page 239: ... 22 2 Izbornik Error Pogreška a Self check Samoprovjera ...
Page 266: ... 23 2 Meniul Error Eroare a Self check Verificare individuală ...
Page 269: ......
Page 270: ......
Page 271: ......


