Maintenance and inspection procedures 5-93
■ Replacing the J6 axis timing belt
1) Carry out steps 1) and 2) indicated in
" ■ Inspecting the J6 axis timing belt"
above.
2) Make sure that the pulleys do not move while replacing the belt. If the pulley <4> and <5> position relation
deviates, the position could deviate.
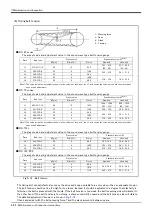
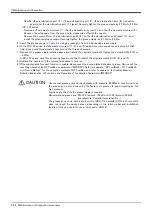
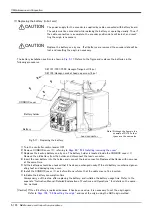
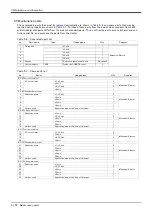
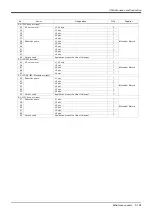
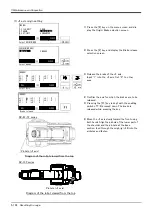
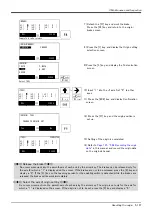
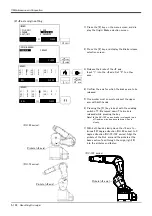
3) Make marks on the timing belt <2> and timing pulleys <4> and <5> with a felt-tip pen as shown in
(RV-4F/7F series, RV-7FLL) or
(RV-13F/20F), so that the engagement of the timing belt <2> and
timing pulleys <4> and <5> does not deviate.
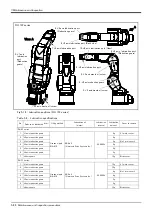
4) Lightly loosen the two pc. motor plate fixing screws <1>. (Do not loosen too much.)
5) Loosen the nut fixing tension adjustment screw <3>. Loosen the tension adjustment screw <3>, and remove
the old belt.
6) Copy the marks onto the new timing belt. Make sure that both belts are tense when making the marks.
7) Align the new timing belt with the marks on the timing pulleys <4> and <5>, and install.
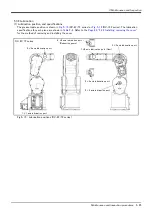
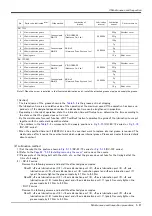
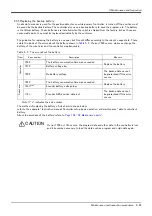
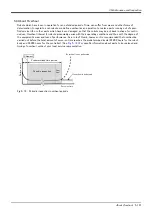
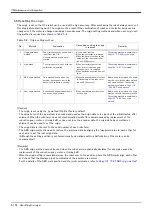
8) Refer to
" ■ Adjusting the J6 axis timing belt"
and
to adjust the tension.
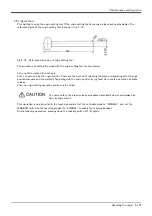
9) The position could deviate after the belt is replaced. Confirm that the position has not deviated. If deviated,
refer to
Page 104, "5.6 Resetting the origin"
, and reset the origin position.


