3Installing the option devices
Installing the hand input cable 3-67
3.3 Installing the hand input cable
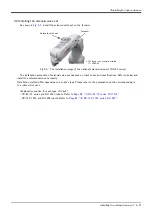
The installation procedure of the hand input cable is shown below. Turn the controller’s power OFF before this
installing operation.
Note) Although the robot's figure described to each page is RV-4F series, the method is the same on other
robot series.
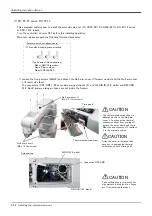
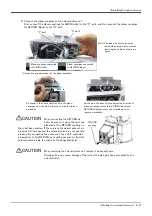
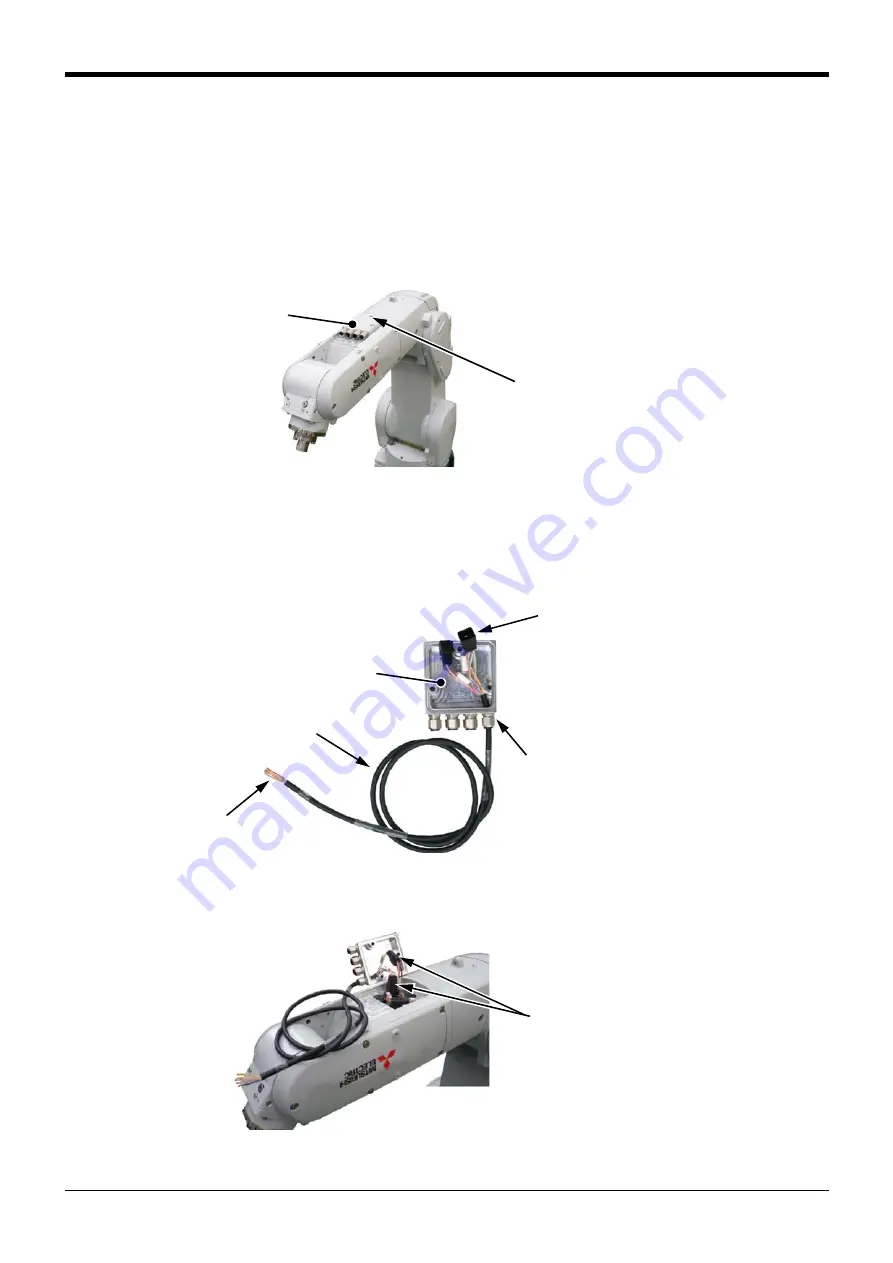
1) Loosen the fixing screws (three M4x16 screws) of cable clamp box (under forearm) and remove the cover.
Move the J4 axis in advance to the upside down position by jog operation to facilitate installation of the cable.
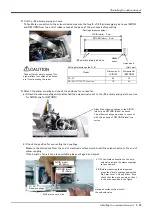
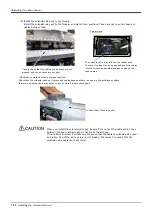
2) Feed and fix the optional hand input cable through the inside of cable clamp mounted on the cable clamp box.
Uses either one in the cable clamp of both ends.
a) Loosens the threaded cap of the cable clamp and removes the plug. Use either one place of both ends.
b) Pass the customer wiring side of cable from inner side. Pass the cable with little by little, and fix the cable
securely by tightening the threaded cap as shown in the following figure.
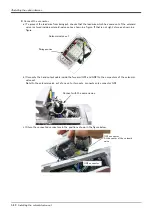
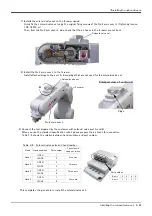
3) Connects the connector inside the forearm (OP1 and OP3) to the connector of the hand input cable. Connect
with the same names.
Cable clamp box
(under forearm)
Fixing screws (Three places)
* The figure is the example to which the J4 axis was
moved to upside down position by jog operation.
Cable clamp box
Customer wiring side
Cable clamp
threaded cap (tip), with the plug
Hand input cable
Connector: OP1, OP3
Connector: OP1, OP3
* The figure is the example to which the J4 axis was
moved to upside down position by jog operation.

