88
89
Appendix G: Diamond Shield™ Removal for WS-55815
Diamond Shield Installation for WS-65815
WARNING
Sharp edges! Always wear gloves to
handle, lift, remove and install the
Diamond Shield and molding clips.
Molding Clip Removal for WS-55815 and WS-65815
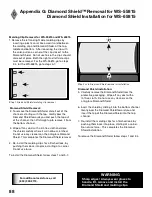
1. Remove the left and right side molding clips by
inserting a plastic card, like a credit card between
the molding clip and Diamond Shield, at the top,
middle and bottom. After loosening the clip with
the card, pull on a corner of the clip closest to the
Diamond Shield. Do not use force, the clips should
slide out of place. Both the right and left side clips
must be removed. For the WS-55815, go to steps
2-4, for the WS-65815, go to steps 5-7.
For additional assistance, call
(800) 332-2119.
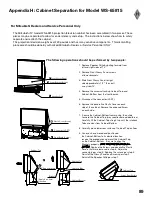
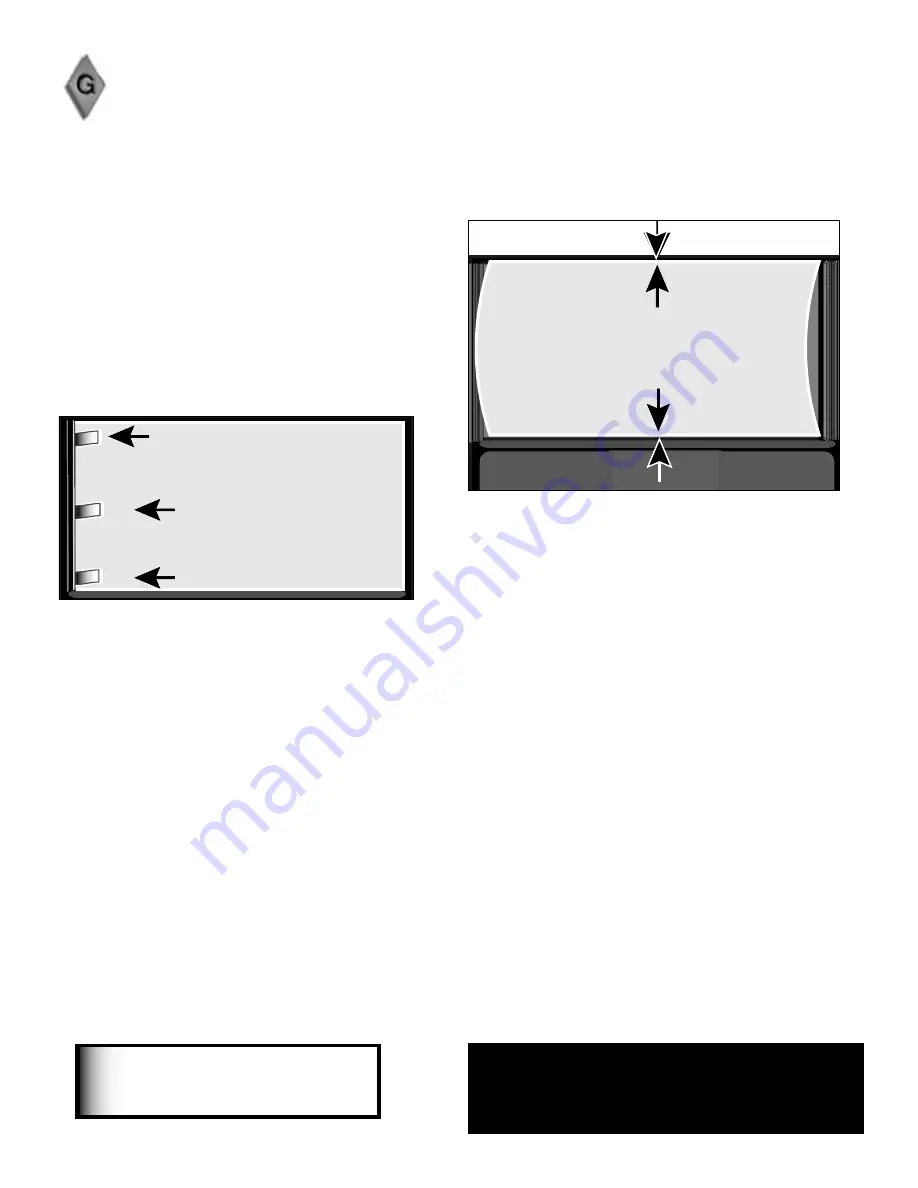
Step 2 or 6. Diamond Shield removal or installation
Diamond Shield Removal:
2. To remove the Diamond Shield, slide it out of the
channels, starting with the top. Gently bow the
Diamond Shield towards you and push the top out
of the channel, then lift straight up to remove it from
the bottom channel.
3. Wipe off any dust with a lint-free cloth and store
the shield carefully where it will not be scratched.
Do not use any cleaners on the anti-glare Diamond
Shield. This completes the Diamond Shield removal.
4. Re-install the molding clips for a finished look, by
pushing them back into place, starting at a corner.
Do not use force.
To install the Diamond Shield, follow steps 1 and 5-7.
Step 1. Diamond Shield molding clip removal
Diamond Shield installation:
5. Carefully remove the Diamond Shield from the
protective packaging. Wipe off any dust with a
lint-free cloth. Do not use any cleaners on the
anti-glare Diamond Shield.
6. Insert the shield by sliding it into the bottom channel.
Gently bow the Diamond Shield toward you and
insert the top of the Diamond Shield into the top
channel.
7. Re-install the molding clips for a finished look, by
pushing them back into place, starting at a corner.
Do not use force. This completes the Diamond
Shield installation.
To remove the Diamond Shield, follow steps 1 and 2-4.

