-
213
-
'12 • PAC-T-173
(
See next page
)
⑥
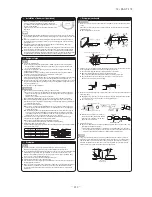
Drain pipe (continued)
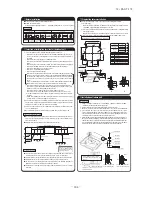
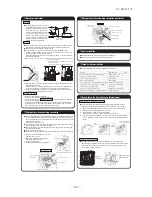
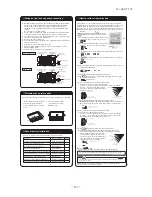
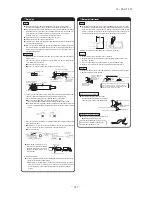
Drain test
z
After installation of drain pipe, make sure that drain system work in good condition and no water
leakage from joint and drain pan. Check if the motor sound of drain pump is normal or not.
z
Do drain test even if installation of heating season.
z
For new building cases, make sure to complete the test before
hanging the ceiling.
1. Pour water of about 1000cc into the drain pan in the indoor unit by
pump so as not to get the electrical component wet.
2. Make sure that water is drained out properly and there is no water
leakage from any joints of the drain pipe at the test.
Confirm that the water is properly drained out while the drain motor
is operating. At the drain socket (transparent), it is possible to
check if the water is drained out properly.
3. Unplug the drain plug on the indoor unit to remove remaining water
on the drain pan after the test, and re-plug it. And insulate the drain
pipe properly finally.
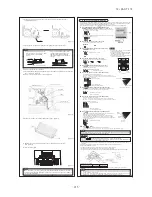
Drain pump operation
c
In case electrical wiring work finished
Drain pump can be operated by remote controller (wired).
For the operation method, refer to Operation for drain pump in the installation manual for wiring
work.
c
In case electrical wiring work not finished
Drain pump will run continuously when the dip switch“SW7-1” on the indoor unit PCB is turned ON,
the Connector CNB is disconnected, and then the power supply (220-240VAC on the terminal block
[
①
and
②
] or [
Ⓛ
and
Ⓝ
] ) is turned ON.
Make sure to turn OFF “SW7-1” and reconnect the Connector CNB after the test.
z
Attach the panel on the indoor unit after electrical wiring work.
z
Refer to attached manual for panel installation for details.
⑦
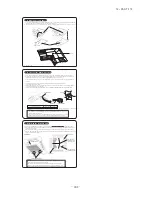
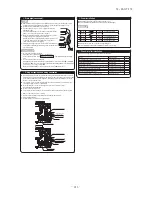
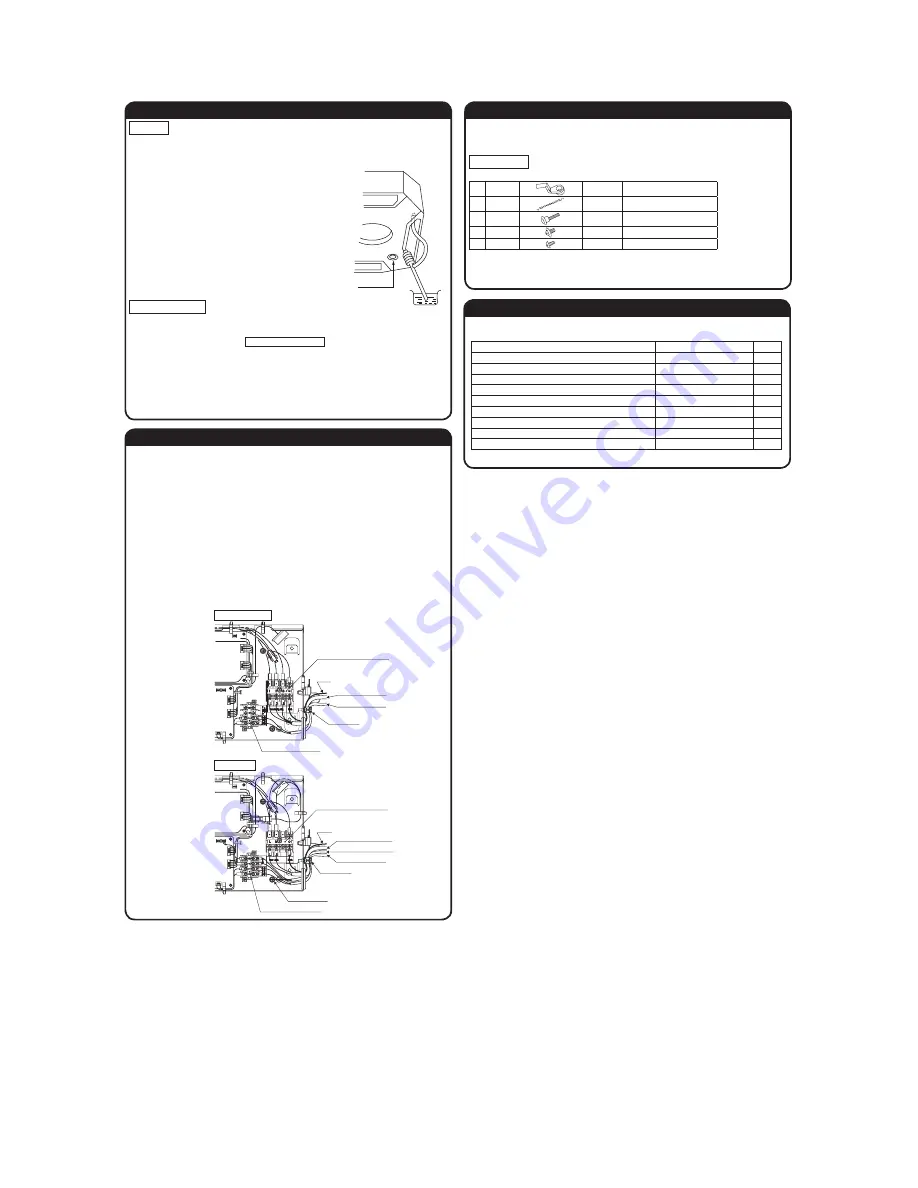
Wiring-out position and wiring connection
z
Electrical installation work must be performed according to the installation manual by an electrical
installation service provider qualified by a power provider of the country, and be executed according
to the technical standards and other regulations applicable to electrical installation in the country.
Be sure to use an exclusive circuit.
z
Use specified cord, fasten the wiring to the terminal securely, and hold the cord securely in order
not to apply unexpected stress on the terminal.
z
Do not put both power source line and signal line on the same route. It may cause
miscommunication and malfunction.
z
Be sure to do D type earth work.
z
For the details of electrical wiring work, see attached instruction manual for electrical wiring work.
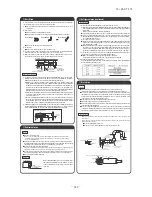
1. Remove a lid of the control box (1 screws).
2. Hold each wiring inside the unit and fasten them to terminal block securely.
3. Fix the wiring with clamp.
4. Install a lid of the control box back to original place.
⑧
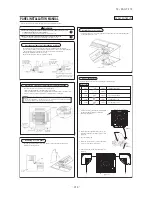
Panel installation
z
After wiring work finished, install the panel on the indoor unit.
z
Refer to attached panel installation manual for details.
Accessory items
1
Hook
1 piece
For fixing temporarily
2
Chain
2 pieces
3
Bolt
4 pieces
For installing the panel
4
Screw
1 piece
For attaching a hook
5
Screw
2 pieces
For attaching a chain
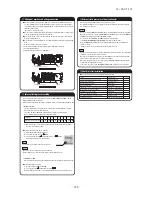
⑨
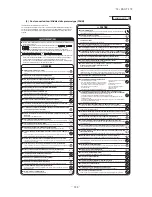
Check list after installation
z
Check the following items after all installation work completed.
Check if
Expected trouble
Check
The indoor and outdoor units are fixed securely?
Falling, vibration, noise
Inspection for leakage is done?
Insufficient capacity
Insulation work is properly done?
Water leakage
Water is drained properly?
Water leakage
Supply voltage is same as mentioned in the model name plate?
PCB burnt out, not working at all
There is mis-wiring or mis-connection of piping?
PCB burnt out, not working at all
Earth wiring is connected properly?
Electric shock
Cable size comply with specified size?
PCB burnt out, not working at all
Any obstacle blocks airflow on air inlet and outlet?
Insufficient capacity
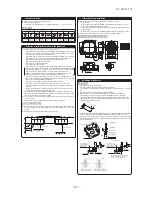
Drain plug
Power source side terminal block
Earth
Wiring between indoor
and outdoor unit
Signal side terminal block
Remote controller line
Wiring clamp
Single split (PAC) series
VRF (KX) series
Power source side terminal block
Earth
Indoor power source line
Signal side terminal block
Signal line (shielded cord)
Remote controller line
Wiring clamp
Earth (signal line)
6
6
6
6
(see next page)
Summary of Contents for FDC Series
Page 95: ... 94 12 PAC T 173 Models FDT100VF 125VF 140VF H H H H H C B A F G D G PJF000Z285 ...
Page 98: ... 97 12 PAC T 173 Models FDEN60VF 71VF C 2 C 1 A B A B D C 1 C 2 C 1 C 2 E G F B PFA003Z817 ...
Page 113: ... 112 12 PAC T 173 b Wireless remote controller RCN E1R 60 17 150 Unit mm ...
Page 278: ... 277 12 PAC T 173 ー K ...
Page 346: ... 345 12 PAC T 173 Power PCB 1BSU OVNCFS 4GRNCEG VJG 2 ...
Page 518: ... 517 12 PAC T 173 3 5 SUPER LINK E BOARD SC ADNA E F SL2NA E and SL3N AE BE to control ...
Page 519: ... 518 12 PAC T 173 ...


