-
261
-
'12 • PAC-T-173
④
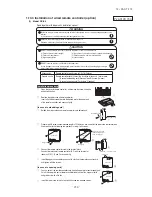
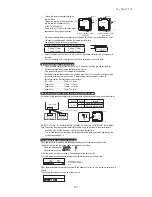
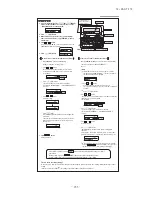
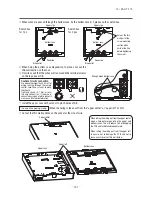
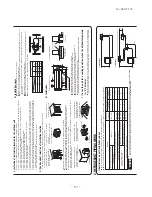
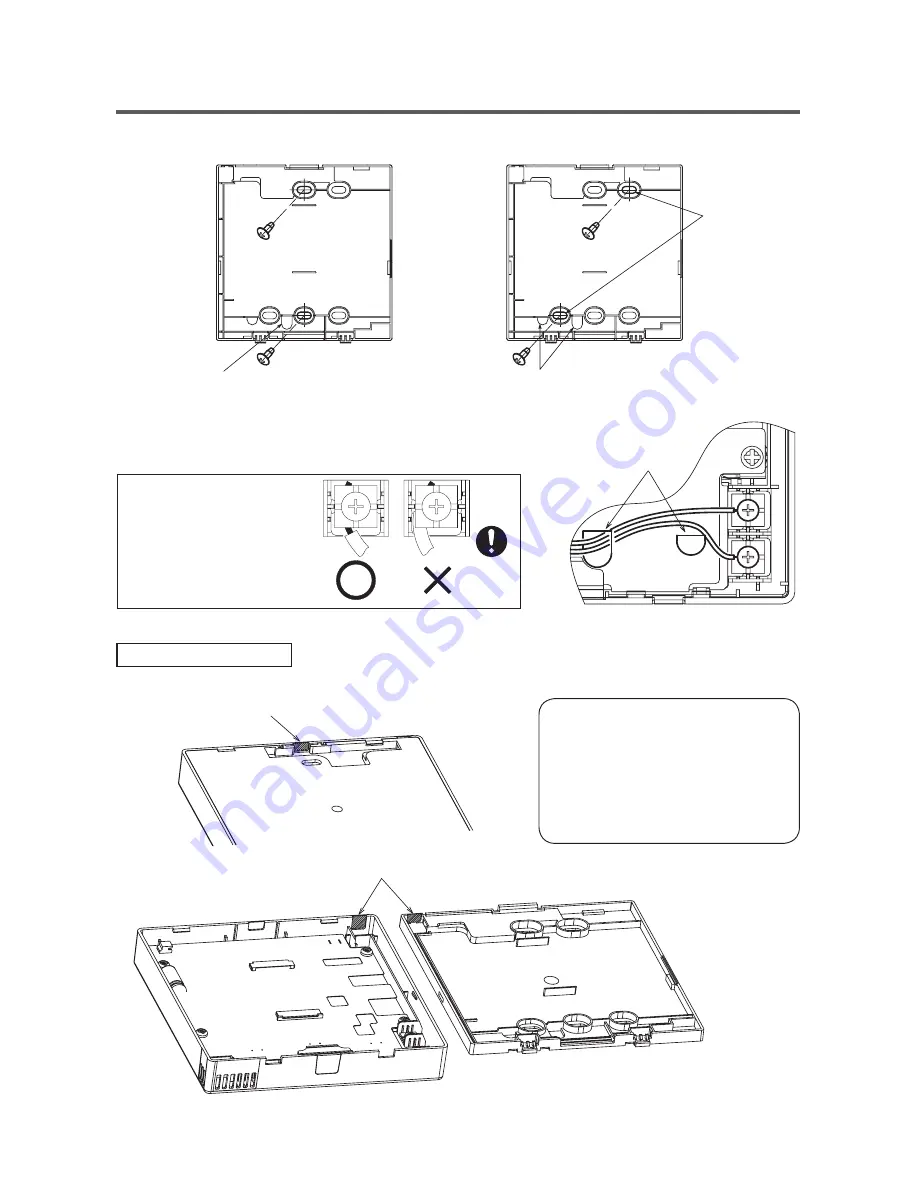
When wires are passed through the bottom case, fix the bottom case at 2 places on the switch box.
Switch box
for 1 pc
Switch box
for 2 pcs
Wire outlet
Downside
Upper side
Bottom case
Downside
Upper side
Bottom case
Wire outlet
Cut out the thin
wall part at the
screw mounting
section with a
knife or the like
before tightening
the screw.
⑤
When fixing the bottom case diagonally at 2 places, cut out the
thin wall section on the case.
⑥
Fix wires such that the wires will run around the terminal screws
on the top case of R/C.
⑦
Install the upper case with care not to pinch wires of R/C.
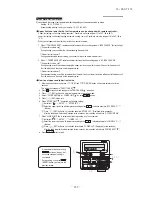
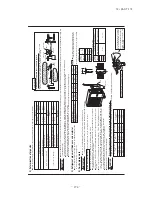
Wiring hole on bottom case
In case of exposing wiring
(When the wiring is taken out from the “upper center” or “upper left” of R/C)
③
Cut out the thin wall sections on the cases for the size of wire.
Upper center
Upper left
Upper case
Bottom case
When taking the wiring out from the upper center,
open a hole before separating the upper and
bottom cases. This will reduce risk of damaging
the PCB and facilitate subsequent work.
When taking the wiring out from the upper left,
take care not to damage the PCB and not to
leave any chips of cut thin wall inside.
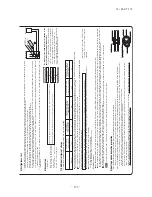
Cautions for wire connection
Use wires of no larger than 0.5 mm
2
for
wiring running through the remote
control case, Take care not to pinch
the sheath.
Tighten by hand (0.7 N·m or less)
the wire connection. If the wire is
connected using an electric driver, it
may cause failure or deformation.
Summary of Contents for FDC Series
Page 95: ... 94 12 PAC T 173 Models FDT100VF 125VF 140VF H H H H H C B A F G D G PJF000Z285 ...
Page 98: ... 97 12 PAC T 173 Models FDEN60VF 71VF C 2 C 1 A B A B D C 1 C 2 C 1 C 2 E G F B PFA003Z817 ...
Page 113: ... 112 12 PAC T 173 b Wireless remote controller RCN E1R 60 17 150 Unit mm ...
Page 278: ... 277 12 PAC T 173 ー K ...
Page 346: ... 345 12 PAC T 173 Power PCB 1BSU OVNCFS 4GRNCEG VJG 2 ...
Page 518: ... 517 12 PAC T 173 3 5 SUPER LINK E BOARD SC ADNA E F SL2NA E and SL3N AE BE to control ...
Page 519: ... 518 12 PAC T 173 ...

