-
492
-
'12 • PAC-T-173
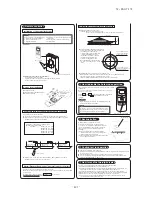
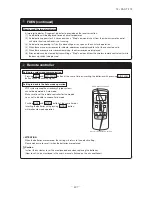
Pressing ACL switch with AIR FLOW button kept pressing or
inserting the batteries with pressing AIR FLOW button will
customize the signal.
Instruct the customer how to operate it correctly referring to the instruction manual.
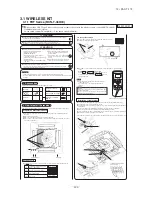
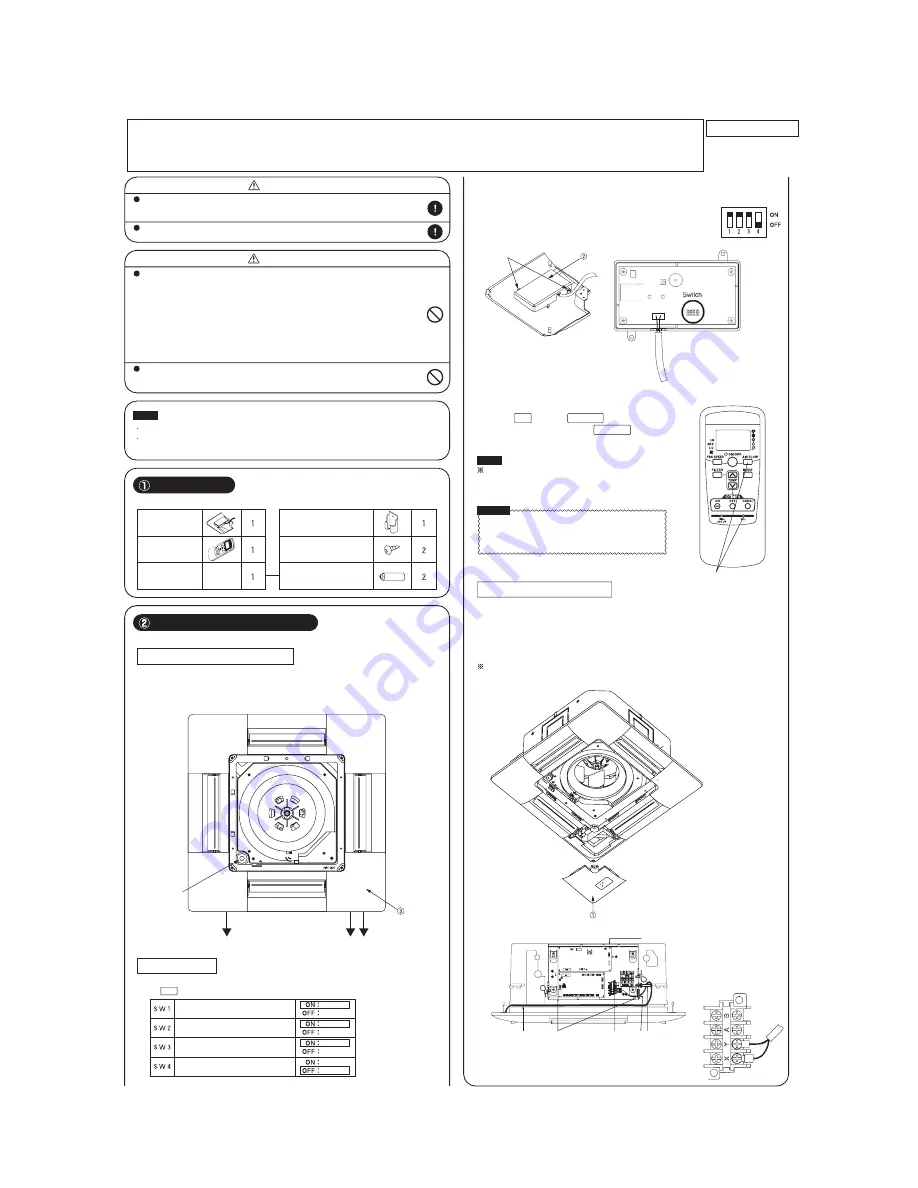
Accessories
Please make sure that you have all of the following accessories.
Receiver
Wireless
remote
controller
Parts set
Remote controller
holder
Wood screw for holder
AAA dry cell battery
(RO3)
<To change the settings>
2
Remove the cover by unscrewing two screws from the back of receiver.
3
Change the setting by the switch on PCB.
Default settings
4
When SW1 is turned to OFF position, change the corresponding remote controller setting as
follows:
How to change the remote controller setting
Note
Note
When the batteries are removed, the setting will return
to the default setting.
Please make sure to reset it when the batteries are
replaced.
Caution
Instruct the customer to set the mentioned above when
replacing the batteries.
(How to set is also mentioned in the user’s manual
attached on the air conditioner.)
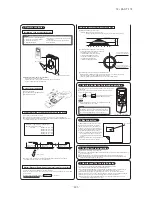
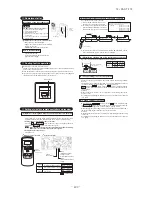
Installation of the receiver
1
Attach the receiver to the panel according to the panel installation manual.
2
Remove two screws and detach the lid from the control box.
3
Put the wiring in the control box with other wiring as shown below.
4
Connect the wiring to the terminal block (X,Y) provided in the control box.(Non-polarized)
5
Fix the wiring with the clamp as shown below.
6
Reattach the control box lid with 2 screws removed.
Note: Make sure wires not to be pinched by any other parts like panel and control box.
Terminal block ( X,Y ) in the indoor
unit control box
How to install the receiver
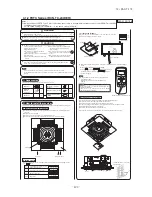
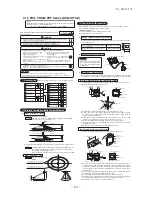
The receiver can be installed by replacing with a corner panel on the applicable decorative panel.
Preparation before installation
1
Attach the decorative panel onto the air conditioner according to the installation manual for
the panel.
2
Remove the air return grille.
3
Remove a corner panel located on the refrigerant pipes side.
4
Remove two screws and detach the lid from the control box of the air conditioner.
Setting on site
1
PCB on the receiver has the following switches to set the functions. Default setting is shown
with mark.
Customized signal setting to avoid
mixed communication
Receiver master/slave setting
Buzzer valid/Invalid
Auto restart
Normal
Remote
Master
Slave
Valid
Invalid
Valid
Invalid
Fasten the wiring to the terminal securely and hold the cable securely so as not to apply
unexpected stress on the terminal.
Loose connection or hold will cause abnormal heat generation or fire.
Make sure the power supply is turned off when electric wiring work.
Otherwise, electric shock, malfunction and improper running may occur.
DO NOT install the wireless kit at the following places in order to avoid malfunction.
DO NOT leave the wireless kit without the cover.
In case the cover needs to be detached, protect the receiver with a packaging box or bag
in order to keep it away from water and dust.
(1) Places exposed to direct sunlight
(2) Places near heat devices
(3) High humidity places
(4) Hot surface or cold surface enough to
generate condensation
(5) Places exposed to oil mist or steam directly
(6) Uneven surface
(7) Places affected by the direct airflow of the
AC unit.
(8) Places where the receiver is influenced by
the fluorescent lamp (especially inverter
type) or sunlight.
(9) Places where the receiver is affected by
infrared rays of any other communication
devices
(10)Places where some object may obstruct the
communication with the remote controller
Radio interference prevention mode
Drain plug
Drain pipe
Refrigerant pipes
WARNING
CAUTION
For the installation method of the air conditioner itself, refer to the installation manual enclosed in the
package.
4
Terminal block(X,Y)
Wiring
3
2
,
6
5
Clamp
Control box
Receiver Backside
Cover
Backside
Screws
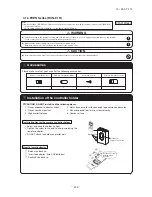
3.1.2 FDTC Series (RCN-TC-24W-ER)
PJA012D758
Notes :
Following functions of FDTC Type-F indoor unit series are not able to be set with this wireless remote control (RCN-TC-24W-ER).
1. Individual flap control system
2. 4-fan speed setting (P-Hi/Hi/Me/Lo)
ĺ
3-fan speed setting (Hi/Me/Lo)
Summary of Contents for FDC Series
Page 95: ... 94 12 PAC T 173 Models FDT100VF 125VF 140VF H H H H H C B A F G D G PJF000Z285 ...
Page 98: ... 97 12 PAC T 173 Models FDEN60VF 71VF C 2 C 1 A B A B D C 1 C 2 C 1 C 2 E G F B PFA003Z817 ...
Page 113: ... 112 12 PAC T 173 b Wireless remote controller RCN E1R 60 17 150 Unit mm ...
Page 278: ... 277 12 PAC T 173 ー K ...
Page 346: ... 345 12 PAC T 173 Power PCB 1BSU OVNCFS 4GRNCEG VJG 2 ...
Page 518: ... 517 12 PAC T 173 3 5 SUPER LINK E BOARD SC ADNA E F SL2NA E and SL3N AE BE to control ...
Page 519: ... 518 12 PAC T 173 ...

