-
503
-
'12 • PAC-T-173
⑵
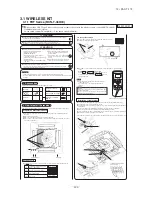
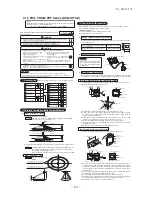
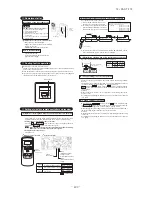
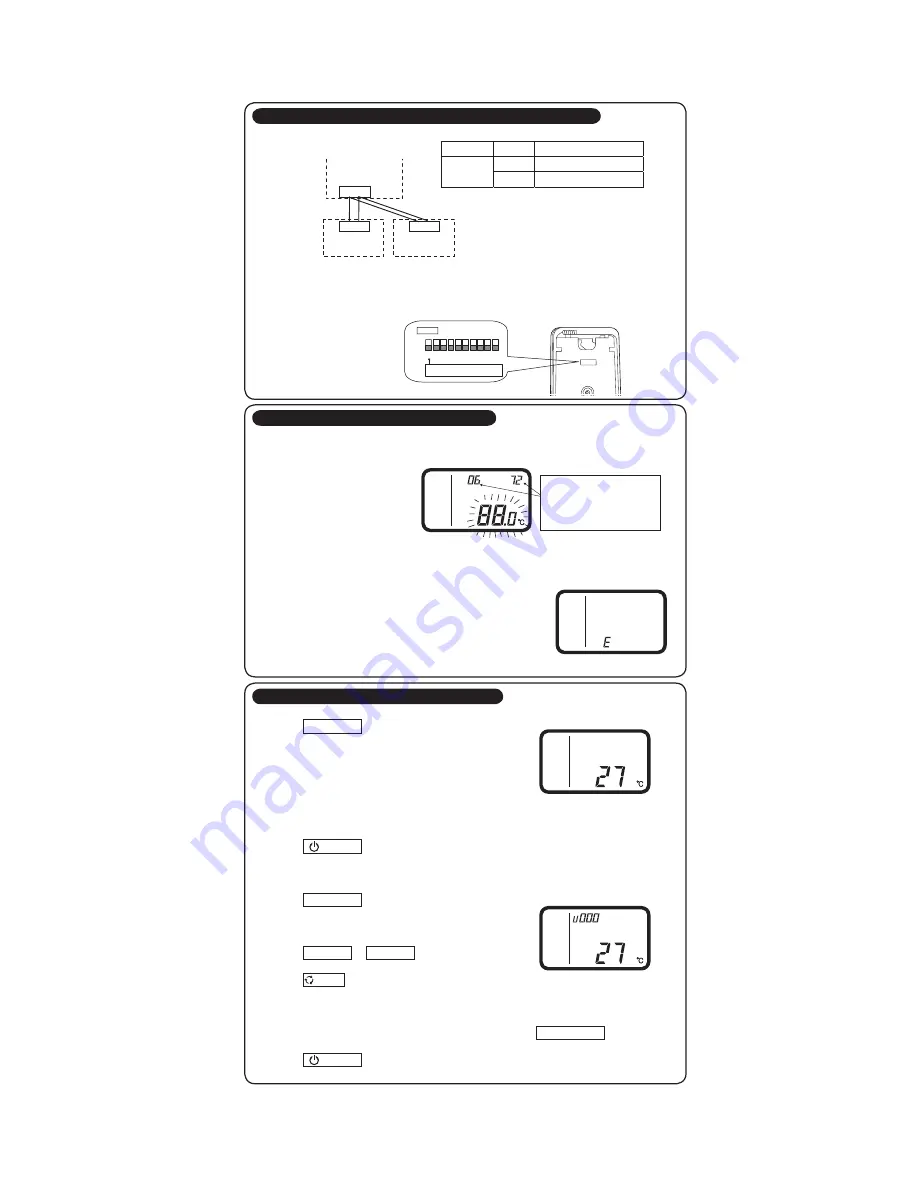
Set the switch SW1-1 of the slave remote controller is “Slave” (ON). The factory default is set as “Master” (OFF).
(Note) • The remote controller thermistor enabled setting can be set only to the master remote controller.
• Install the master remote controller at the position to detect room temperature.
• The air conditioner operation follows the last operation of the remote controller in case of the
master / slave setting.
3.
Master/ slave setting when more than one remote controller are used
⑴
Up to two remote controllers can be connected to one unit (or one group) of indoor unit.
4.
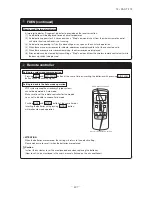
The indication when power source is supplied
⑴
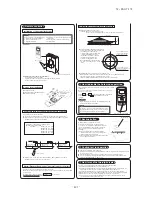
At the time of turning the power source on, after the light is on for the first 2 seconds, the display
becomes as shown below.
The number displayed on the upper side of LCD in the remote control is the software number,
and this is not an error code.
⑵
Then, “88.0 °C” blinks on the remote controller until the communication between the remote
controller and the indoor unit is established.
⑶
In the case of connecting one remote controller with one unit (or one group) of indoor unit, make
certain to set the master remote controller (factory default).
If the slave remote control is set, a communication cannot be
established.
⑷
If a state where the communication between the remote
controller and the indoor unit cannot be established continues
about for 30 minutes, “E” is displayed. Confirm the wiring of
the indoor unit and the outdoor unit and master/slave setting of
the remote controller.
5.
Confirmation method for return air temperature
Return air temperature can be confirmed by the remote controller operation.
⑴
Press AIR CON NO. button for over 5 seconds.
“88” blinks on the temperature setting indicator.
(“88” blinks for approximately 2 seconds while data is read.)
↓
Then, the return air temperature is displayed.
(Example) return air temperature: “27 °C” (blinking)
(Note) For the return air temperature, in the normal case, the return air temperature of the indoor
unit is displayed; however, in the case that the remote control thermistor is effective,
detected temperature by the remote controller thermistor is displayed.
⑵
Press
ON/OFF button.
End.
[In the case that the remote thermistor is ineffective and plural indoor units are connected to one
remote controller ]
⑴
Press AIR CON NO. button for over 5 seconds.
indoor unit No. indicator: “U 000” (blinking)
(Among the connected indoor units, the lowest
number is displayed.)
⑵
Press TEMP
△
or TEMP
▽
button.
Select the indoor unit No.
⑶
Press
MODE button.
Dectder the indoor unit No.
(Example) indoor unit No. indicator: “U 000”
“88” blinks on the temperature setting indicator. (blinking for approximately 2 to 10 seconds while
data is read) Then, the return air temperature is displayed. When AIR CON NO. is pressed, return
to the indoor unit selection display (example, “U 000”).
⑷
Press
ON/OFF button.
End.
Remote controller line (nonpolarity)
䂾
䌘 䂾
䌙 㩷
Remote controller “Master”
SW1-1 “OFF”
㩷
㩷
indoor unit
㩷 㩷
㩷
䂾
䌘 䂾
䌙 㩷
䂾
䌘 䂾
䌙 㩷
㩷
Switch
Setting
Function detail
Slave remote controller
Master remote controller
ON
SW1-1
OFF
㩷
Remote controller “Slave”
SW1-1 “ON”
Software number
(The number in the left is one
example. Another number
may be shown.)
1
SW1
SW1-1:ON (Slave remote controller)
SW1-1:OFF(Master remote controller)
ON
OFF
2 3 4 5 6 7 8 9 0
Summary of Contents for FDC Series
Page 95: ... 94 12 PAC T 173 Models FDT100VF 125VF 140VF H H H H H C B A F G D G PJF000Z285 ...
Page 98: ... 97 12 PAC T 173 Models FDEN60VF 71VF C 2 C 1 A B A B D C 1 C 2 C 1 C 2 E G F B PFA003Z817 ...
Page 113: ... 112 12 PAC T 173 b Wireless remote controller RCN E1R 60 17 150 Unit mm ...
Page 278: ... 277 12 PAC T 173 ー K ...
Page 346: ... 345 12 PAC T 173 Power PCB 1BSU OVNCFS 4GRNCEG VJG 2 ...
Page 518: ... 517 12 PAC T 173 3 5 SUPER LINK E BOARD SC ADNA E F SL2NA E and SL3N AE BE to control ...
Page 519: ... 518 12 PAC T 173 ...

