-
505
-
'12 • PAC-T-173
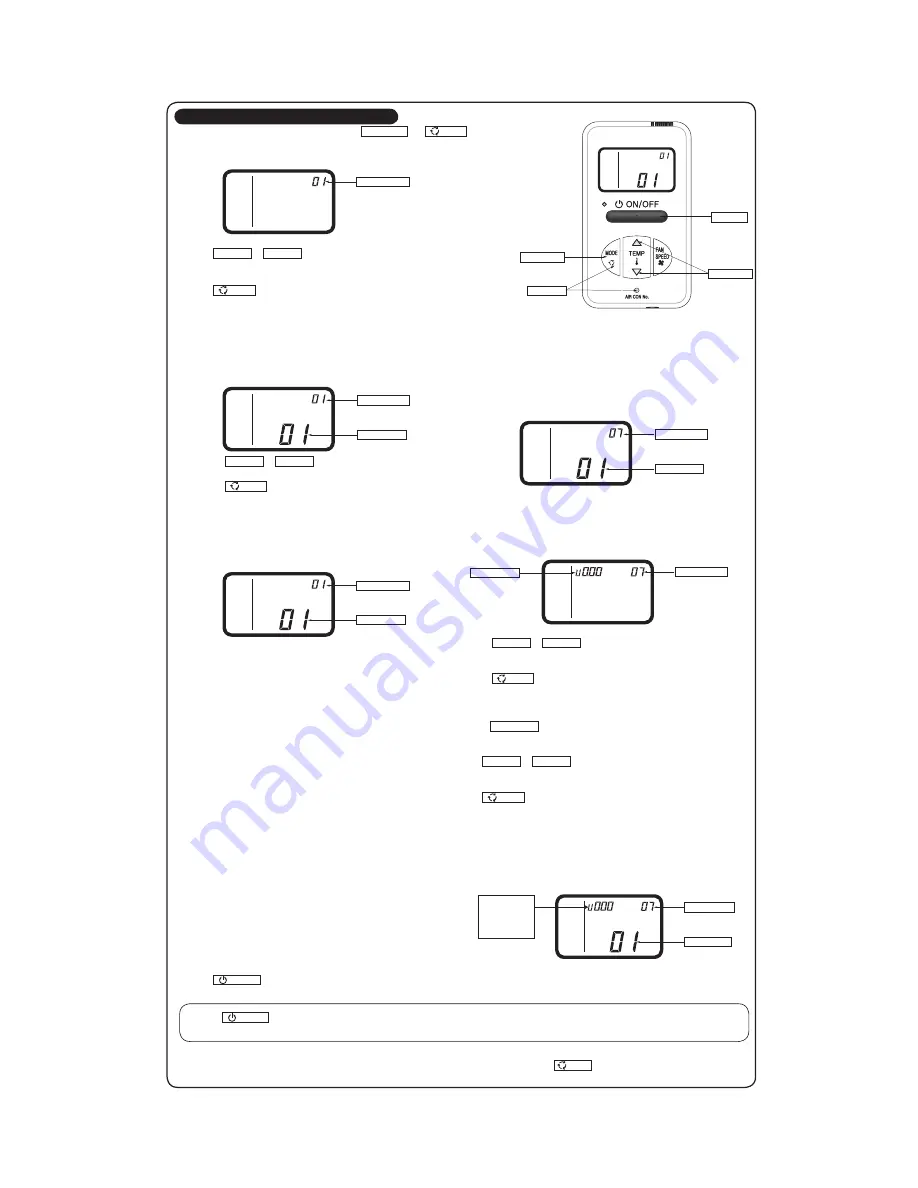
[In the case of selecting the indoor unit function (07-14)]
①
“88” blinks on the temperature setting indicators.
(blinking for approximately 2 to 10 seconds while data is read)
↓
After that, the current setting number of the selected function number blinks.
(Example)
Function number: “07” (lighting)
Setting number: “01” (blinking)
Proceed to
②
.
[Note]
a.
In the case of connecting one remote control to plural indoor units, the display
will be as follows:
Indoor unit No. display: “U 000” (blinking)
(Display the lowest number among the connected indoor units.)
b.
Press TEMP
△
or TEMP
▽
button.
Select the indoor unit No. to be set.
If “U ALL” is selected, the same setting can be set to all units.
c.
Press
MODE button.
Decide the indoor unit No.
“88” blinks on the temperature setting indicators. (blinking for 2 to 10 seconds while data
is read)
When AIR CON NO. button is pressed, go back to the indoor unit selection display (for
example, “U 000” blinking).
②
Press TEMP
△
or TEMP
▽
button.
Select the setting number
③
Press
MODE button.
The setting is completed.
Light is on for approximately 3 to 20 seconds while data of the decided function No. and
setting No. is transmitted.
(Example)
Indoor unit No.: “U 000” (lighting for 3 to 20 seconds)
Function number: “07” (lighting for 3 to 20 seconds)
Setting number: “01” (lighting for 3 to 20 seconds)
Then, the screen goes back to the function number blinking indication
⑴
, if the setting
is sequentially conducted, continue with the same procedures. If the setting is finished,
proceed to
⑸
.
⑴
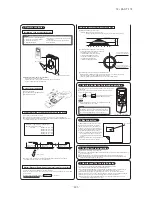
Stop air-conditioning, and simultaneously press AIR CON NO. and
MODE buttons
at the same time for over three seconds.
The function number “01” blinks in the upper right.
⑵
Press TEMP
△
or TEMP
▽
button.
Select the function number.
⑶
Press
MODE button.
Decide the function number.
⑷
[In the case of selecting the remote controller function (01-06)]
①
The current setting number of the selected function number blinks
(Example)
Function number: “01” (lighting)
Setting number: “01” (blinking)
②
Press TEMP
△
or TEMP
▽
button.
Select the setting number.
③
Press
MODE button.
The setting is completed.
Light is on for approximately 3 to 20 seconds while data of the
decided function No. and setting No. is transmitted.
(Example)
Function number: “01” (lighting for 3 to 20 seconds)
Setting number: “01” (lighting for 3 to 20 seconds)
Then, the screen goes back to the function number blinking
indication
⑴
, if the setting is sequentially conducted, continue
with the same procedures. If the setting is finished, proceed to
⑸
.
⑸
Press
ON/OFF button.
The setting is completed.
Function number
Function number
Setting number
Function number
Setting number
Function number
Setting number
Function number
Indoor unit No.
Indoor unit No.
(In the case of
connecting
plural indoor
units)
Function number
Setting number
・
Even if
ON/OFF button is pressed during setting, the setting is ended. However, any details where the setting has not been completed will be ineffective.
・
The setting contents are stored in the controller, and even if the power failure
occur, this will not be lost.
[Confirmation method for current setting]
According to the operation, the “setting number” displayed first after selecting “function number” and pressing
MODE button is the currently set content.
(However, in the case of selecting “U ALL” (all units), the setting number of the lowest number among the indoor units is displayed.)
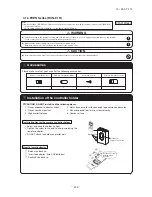
Decide button
Start button
Select button
End button
7.
How to set functions by button operation
Summary of Contents for FDC Series
Page 95: ... 94 12 PAC T 173 Models FDT100VF 125VF 140VF H H H H H C B A F G D G PJF000Z285 ...
Page 98: ... 97 12 PAC T 173 Models FDEN60VF 71VF C 2 C 1 A B A B D C 1 C 2 C 1 C 2 E G F B PFA003Z817 ...
Page 113: ... 112 12 PAC T 173 b Wireless remote controller RCN E1R 60 17 150 Unit mm ...
Page 278: ... 277 12 PAC T 173 ー K ...
Page 346: ... 345 12 PAC T 173 Power PCB 1BSU OVNCFS 4GRNCEG VJG 2 ...
Page 518: ... 517 12 PAC T 173 3 5 SUPER LINK E BOARD SC ADNA E F SL2NA E and SL3N AE BE to control ...
Page 519: ... 518 12 PAC T 173 ...

