15
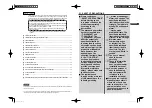
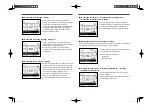
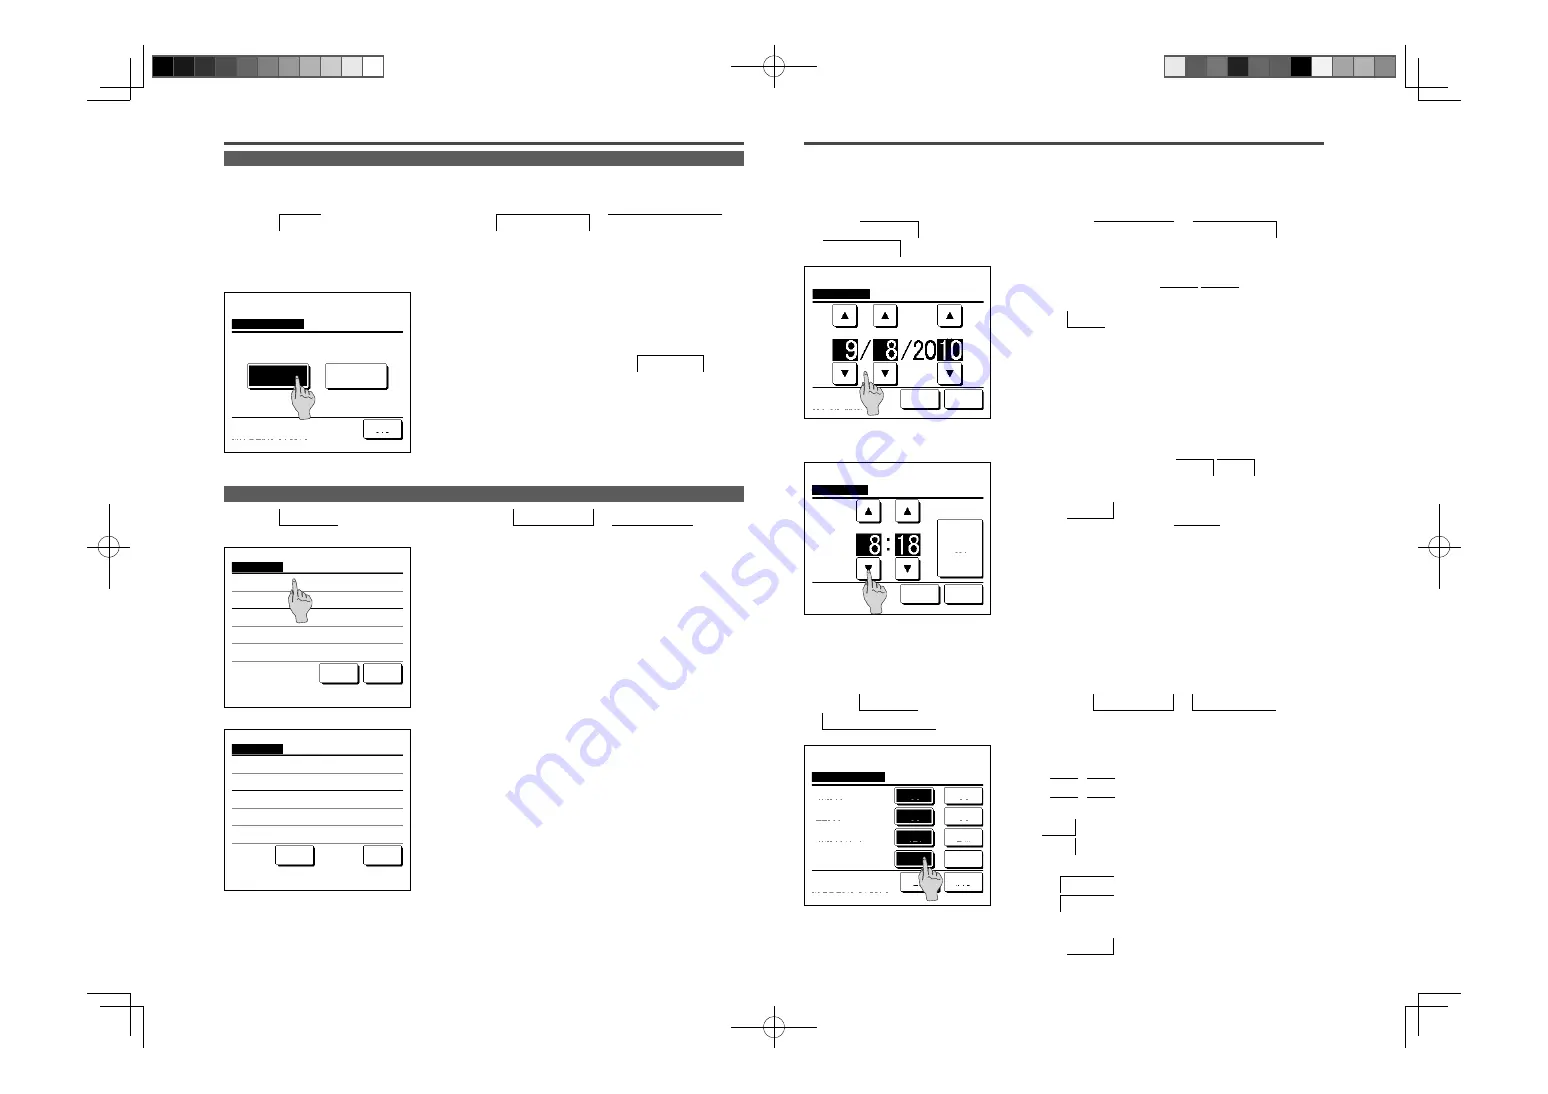
VENTILATION OPERATION (WHEN VENTILATION DEVICE IS INSTALLED)
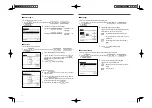
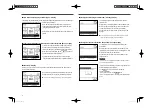
INITIAL SETTINGS
2
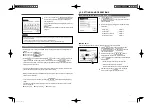
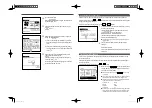
The External ventilation screen is displayed.
If the Venti. ON button is tapped, the ventilation operation
starts.
To stop the ventilation operation, tap the Venti. OFF button.
In case that the Ventilation is set “Interlocking”, the ventilation operates
interlocked with Run/Stop operation of air conditioner (refer to Installation
Manual).
1
Tap the Menu button on the TOP screen and select Useful functions
External ventilation .
The ventilation operation is enabled in case that the External ventilation is set “Independent” (refer to the installation manual for
details).
In case that the External ventilation is set “Disable” or “Interlocking” the ventilation operation is disable.
The ventilation is turned on or off if the ventilation device is installed.
External ventilation
Venti. OFF
Back
Select Venti. ON/OFF.
Venti. ON
Clock setting
Time
Back
Set the date.
yy
mm
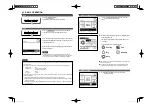
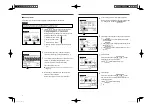
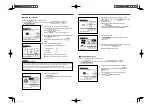
1
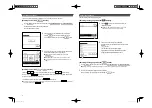
Tap the
Menu
button on the TOP screen and select User setting
Initial settings .
2
When the “Initial settings” menu screen is displayed, tap a
desired item.
•
Clock setting
……
☞
page 15
•
Date & time display
……
☞
page 15
•
Summer time
……
☞
page 16
•
Contrast ……
☞
page 16
•
Backlight ……
☞
page 16
•
Controller sound
……
☞
page 16
•
Operation lamp luminance ……
☞
page 17
Initial settings
Controller sound
Operation lamp luminance
Previous
Back
Select the item.
Initial settings
Clock setting
Date & time display
Summer time
Contrast
Backlight
Next
Back
Select the item.
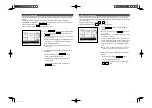
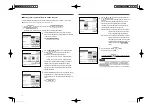
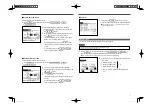
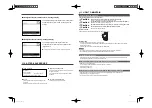
1
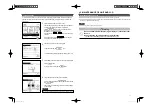
Tap the
Menu
button on the TOP screen and select User setting
Initial settings
Clock setting .
2
The “Clock setting” screen is displayed.
Set the “dd/mm/yy” with the
buttons.
Tap the Time button after the setting.
The “clock setting” is necessary for the following settings.
•
Peak-cut timer
•
Set ON timer by clock, Set OFF timer by clock
•
Weekly timer
•
Outdoor unit silent mode timer
•
Filter sign reset, Setting next cleaning date
Clock setting
You can set and correct the current date and time.
dd
3
Set the “hour : minute” with the
buttons on the
clock setting screen.
Tap the
Set
button after the setting.
To change “dd/mm/yy” tap the Date button.
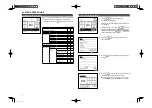
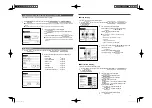
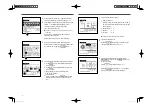
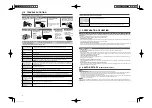
1
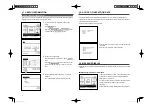
Tap the
Menu
button on the TOP screen and select User setting
Initial settings
Date & time display .
2
The Clock setting screen is displayed.
Tap OFF / ON for the Date and time.
Tap OFF / ON for A day of the week.
Tap Display method “12H or 24H”.
12H Hours … If it is 3:50 PM, it displays “3:50PM”.
24H Hours … If it is 3:50 PM, it displays “15:50”.
Set the position of AM/PM.
Set Infront ... “PM3:50” is displayed.
Set
Back
... “3:50PM” is displayed.
3
Tap the
Set
button after the setting.
Date & time display
You can set and correct the date & time display.
Clock setting
Date
Back
Set the time.
Set
Date & time display
Set
Back
Select setting
Infront
Position of AM / PM
12H
Display method
ON
A day of the week
ON
Date & time
Back
24H
OFF
OFF
PM
PGA012A413_EN.indd 15
PGA012A413_EN.indd 15
2022/6/23 13:25:33
2022/6/23 13:25:33

