'19 • PAC-SM-309
-
68
-
(i) Models FDC100VNA-W, 125VNA-W, 140VNA-W
1) Disassembly
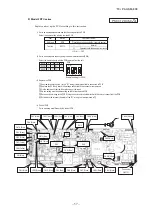
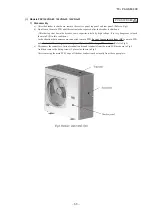
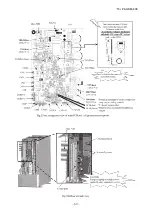
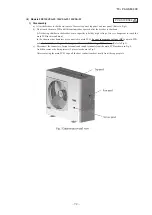
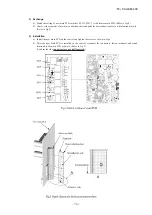
a) After the breaker is shut down, remove the service panel, top panel and rear panel. (Refer to Fig.1).
b) Don't touch the main PCB until three minutes have passed after the breaker is shut doun.
(After having shut down the breaker, some capacitor is held by high voltage. It is very dangerous to touch
the main PCB in this condition.)
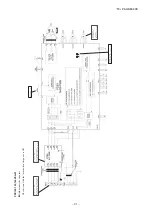
In the situation that hamesses are connected to main PCB,
be sure to measure voltage (DC)
on main PCB,
and
check that the voltage is discharged sufficientlv (DC voltage 30 V or less).
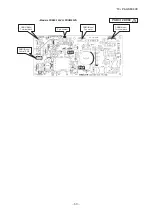
(Refer to Fig.2)
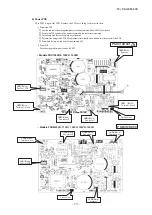
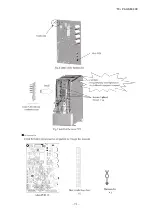
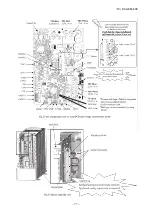
c) Disconnect the connectors, faston terminals and round terminals from the main PCB as shown in Fig.2.
And then remove the fixing screws (3 places) as shown in Fig.3.
After removing the main PCB, wipe off the heat conduction sheet neatly from the copper plate.
LED2(Red)
LED1(Green)
PCA012D083
A
Summary of Contents for FDC100VNA-W
Page 70: ... 19 PAC SM 309 69 LED2 Red LED1 Green ...
Page 72: ... 19 PAC SM 309 71 ...
Page 74: ... 19 PAC SM 309 73 LED2 Red LED1 Green ...
Page 76: ... 19 PAC SM 309 75 ...
Page 183: ... 19 PAC SM 309 182 1 e SRK series PHA012D402 ...
Page 184: ... 19 PAC SM 309 183 Screw ...
Page 185: ... 19 PAC SM 309 184 3 PHA012D402 ...
Page 186: ... 19 PAC SM 309 185 4 PHA012D402 ...

