'19 • PAC-SM-309
-
70
-
2) Exchange
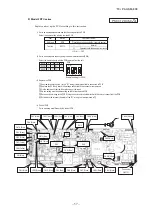
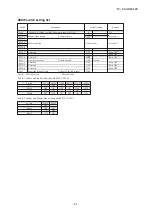
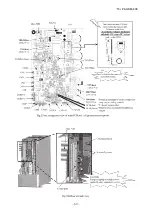
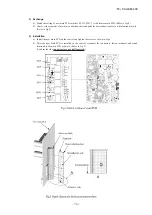
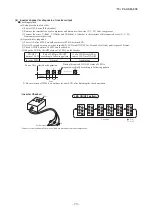
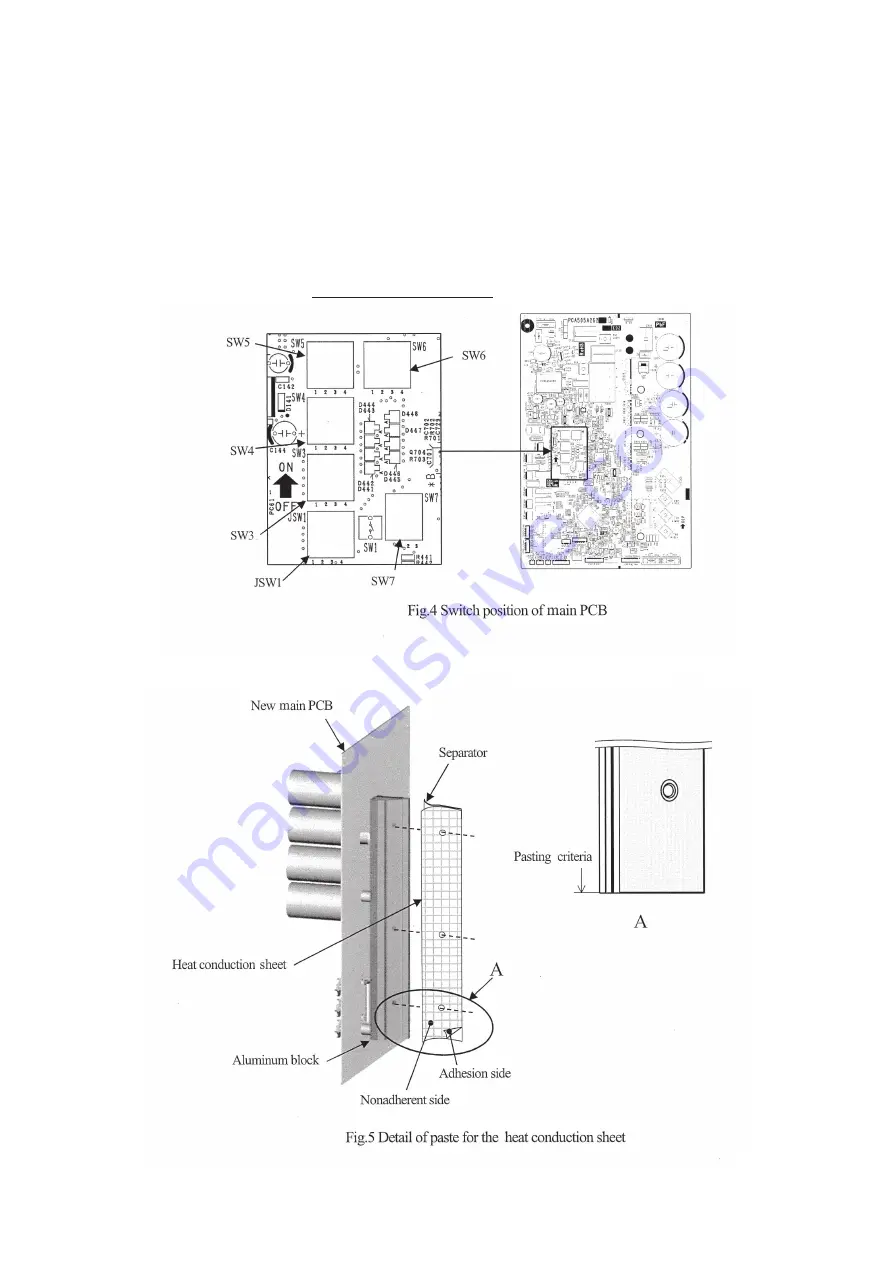
a) Match the setting of new main PCB switches (JSW1, SW3-7) with former main PCB. (Refer to Fig.4)
b) Tum over the separator of new heat conduction sheet and paste the heat conduction sheet on the aluminum
block.
(Refer to Fig.5)
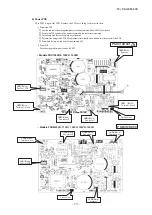
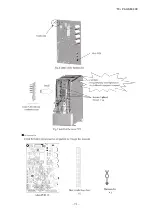
c) Install the attached hamess clip on the new main PCB as shown in Fig.6.
3) Installation
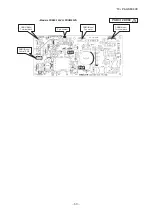
a) Install the new main PCB on the control and tighten the screw as shown in Fig.7.
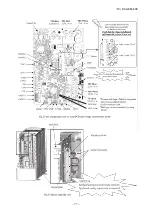
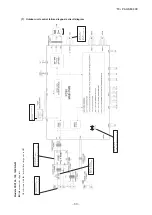
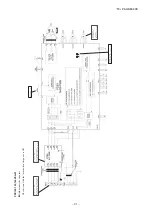
b) Reconnect the connectors, faston terminals and round terminals to the main PCB as before. (Refer to Fig.2)
(Confirm that the
connectors are not half inserted
.)
Summary of Contents for FDC100VNA-W
Page 70: ... 19 PAC SM 309 69 LED2 Red LED1 Green ...
Page 72: ... 19 PAC SM 309 71 ...
Page 74: ... 19 PAC SM 309 73 LED2 Red LED1 Green ...
Page 76: ... 19 PAC SM 309 75 ...
Page 183: ... 19 PAC SM 309 182 1 e SRK series PHA012D402 ...
Page 184: ... 19 PAC SM 309 183 Screw ...
Page 185: ... 19 PAC SM 309 184 3 PHA012D402 ...
Page 186: ... 19 PAC SM 309 185 4 PHA012D402 ...


