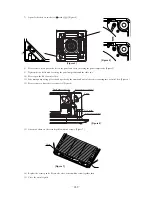
-
198
-
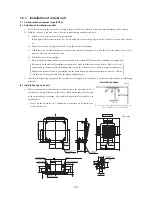
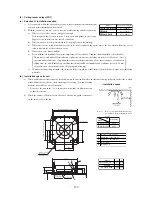
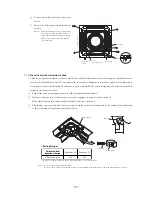
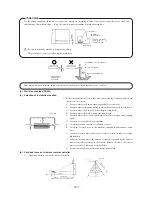
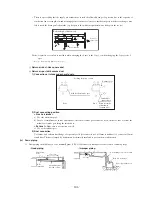
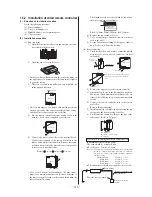
4) Suspension bolt position
a)
Using the paper pattern supplied as an accessory
as a criterion, select suspension bolt positions and
piping hole positions, then install the suspension
bolts and make holes for piping. After positioning,
remove the paper pattern.
b) Keep strictly to the suspension bolt lengths speci-
fied below.
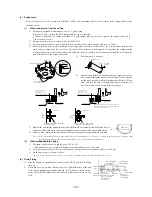
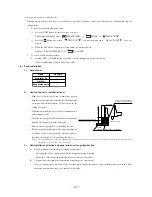
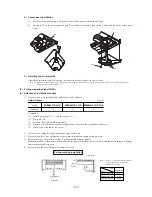
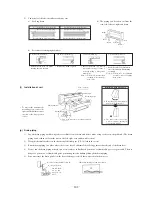
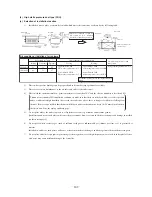
(d) Installation
1) Fasten the suspension lugs to the suspension bolts.
Suspension
lug screws (M4)
Suspension
lug mounting
bolt (M8)
Lug for
suspension
Loosening
margin
8~12 mm
Lug for
suspension
Indoor unit
Paper
pattern
Ceiling board
Lug for
suspension
Suspension
bolts
25mm or more
45mm or less
A
B
Air supply
24
24
Wall
690
290
215
Fasten the bolts
to the front of the
slotted holes.
Air supply
Flat washer
(accessory parts)
Ceiling board
*Fasten it securely with double nuts.
Suspension bolts
Lug for suspension
Unit
*Double nuts
Flat washer
(accessory parts)
Flat washer
Nut
*Double nuts
Suspension bolts
Lug for suspension
Unit
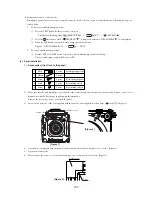
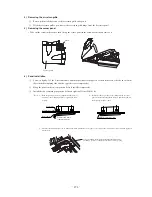
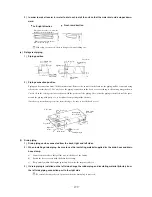
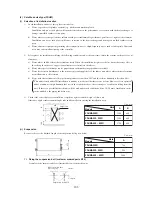
3) Remove the suspension lug.
Take out the screws, then loosen the installation bolt.
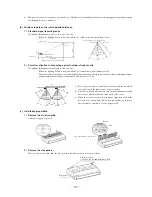
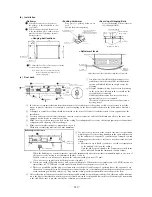
2) Attach the unit to the suspension lugs.
Slide the unit onto the suspension lugs from the
front, hanging it on the bolts.
Fasten the unit securely on the left and right sides
with 4 suspension bolts (M8).
Tighten the 2 screws (M4) on the left and right
sides.
Lug for
suspension
(M4)
Suspension bolts
(M8)
Lug for
suspension
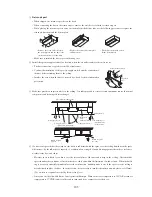
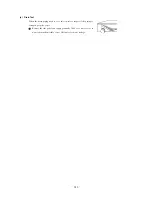
After sliding the side panels on from the front to rear, fasten them securely with the screws.
<If there is ceiling material>
<If there is no ceiling material>

