–
111
–
'14 • KX-T-222
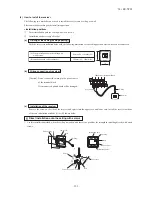
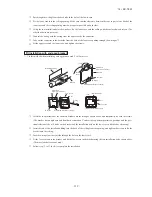
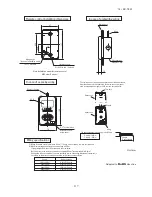
(4) How to install the receiver
The following two methods can be used to install the receiver onto a ceiling or a wall.
Select a method according to the installation position.
<Installation position>
①
Direct installation onto the ceiling with wood screws.
②
Installation with accessory's bracket
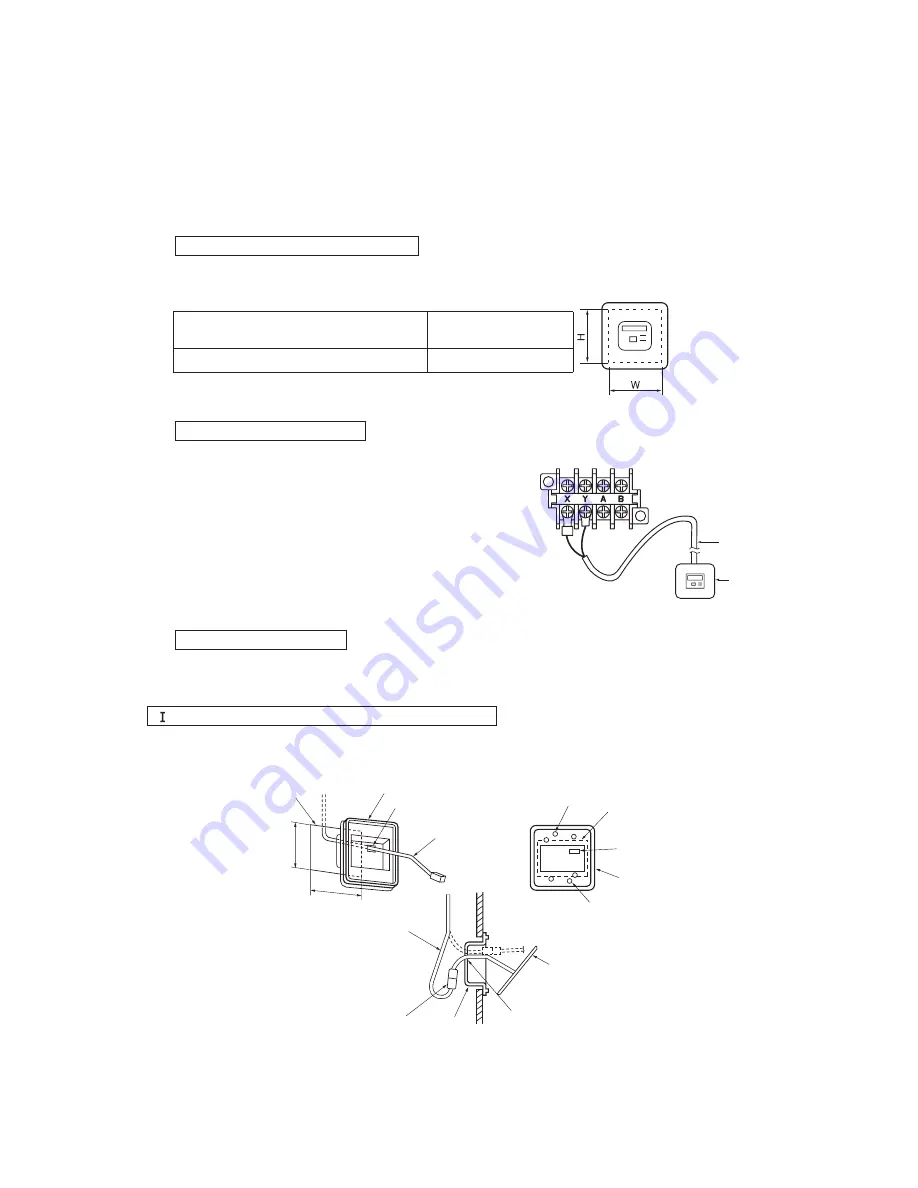
(a) Drilling of the ceiling (ceiling opening)
Drill the receiver installation holes with the following dimensions at the ceiling position where wires can be connected.
(A) Direct installation onto the ceiling with
wood screws.
88mm (H) × 101mm (W)
108mm (H) × 108mm (W)
(B) Installation with enclosed bracket.
(b) Wiring connection of receiver
[Caution] Do not connect the wiring to the power source
of the terminal block.
If it is connected, printed board will be damaged.
Indoor unit terminal block
Wiring
(non-polarized)
Receiver
(c) Installation of the receiver
Remove the screw on the side of the receiver and sprit it into the upper case and lower case. Install the receiver with one
of the two installation methods (A) or (B) shown below.
( ) Direct installation onto the ceiling with screws
u
Use this installation method when the ceiling is wooden, and there is no problem for strength in installing directly with wood
screws.
Wall opening
Lower case
Hole
Wiring
Wiring
Connector Lower case
Installation hole
Opening
Hole
Hole
Upper case
Lower case
Installation hole
88
101


