-
43
-
'14 • KX-T-222
— 5 —
Request
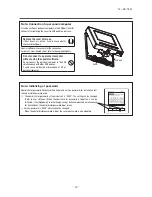
Be sure not to install R/C at a place where temperatures around the installation surface of R/C may differ largely from
actual room temperature.
Difference between detected temperature and actual room temperature could cause troubles.
The correction for detected temperature by the R/C cannot offset such temperature difference because it corrects the
detected temperatures itself.
Request
Do not install the R/C at a place where it is exposed to direct sunlight or where surrounding air temperature exceeds 40°C
or drops below 0°C.
It could cause discoloration, deformation, malfunction or breakdown.
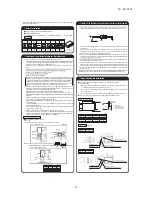
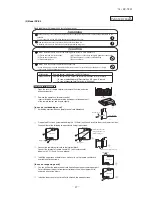
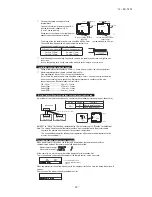
Installation procedure
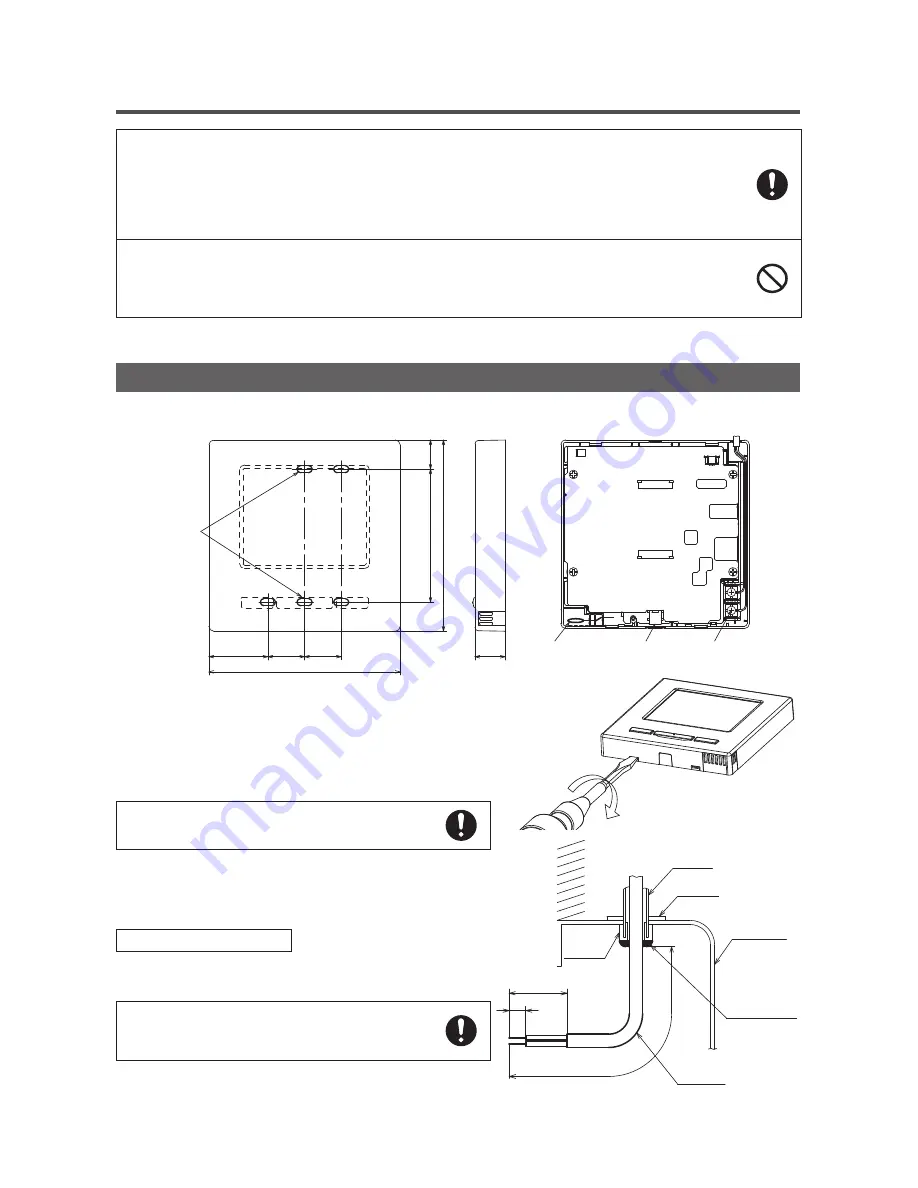
Dimensions (Viewed from front)
Take care to protect the removed upper case
from moisture or dust.
PCB side (Viewed from rear)
①
To remove the upper case from the bottom cases of R/C
· Insert the tip of flat head screwdriver or the like in the
recess at the lower part of R/C and twist it lightly to
remove.
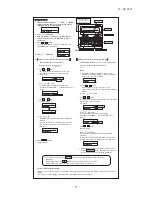
②
Connect wires from X and Y terminals of R/C to X and Y
terminals of indoor unit.
R/C wires (X, Y) have no polarity.
In case of embedding wiring
(When the wiring is retrieved “Backward”)
③
Embed the switch box and the R/C wires beforehand.
Seal the inlet hole for the R/C wiring with putty.
●
If dust or insect enters, it could cause electric shocks,
fire or breakdown.
8
50
200
Wall
Conduit
Locknut
Switch box
Seal with putty
R/C cable
Bushing
Sensor
USB port Terminal Block
37
23
23
Fixing holes
18.3
83.5 120
19
120


