background image

7

 HOW TO PERFORM THE TIMER OPERATION 

< WIRED REMOTE CONTROL (RC-EX3H) >

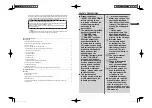
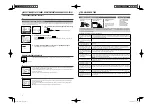
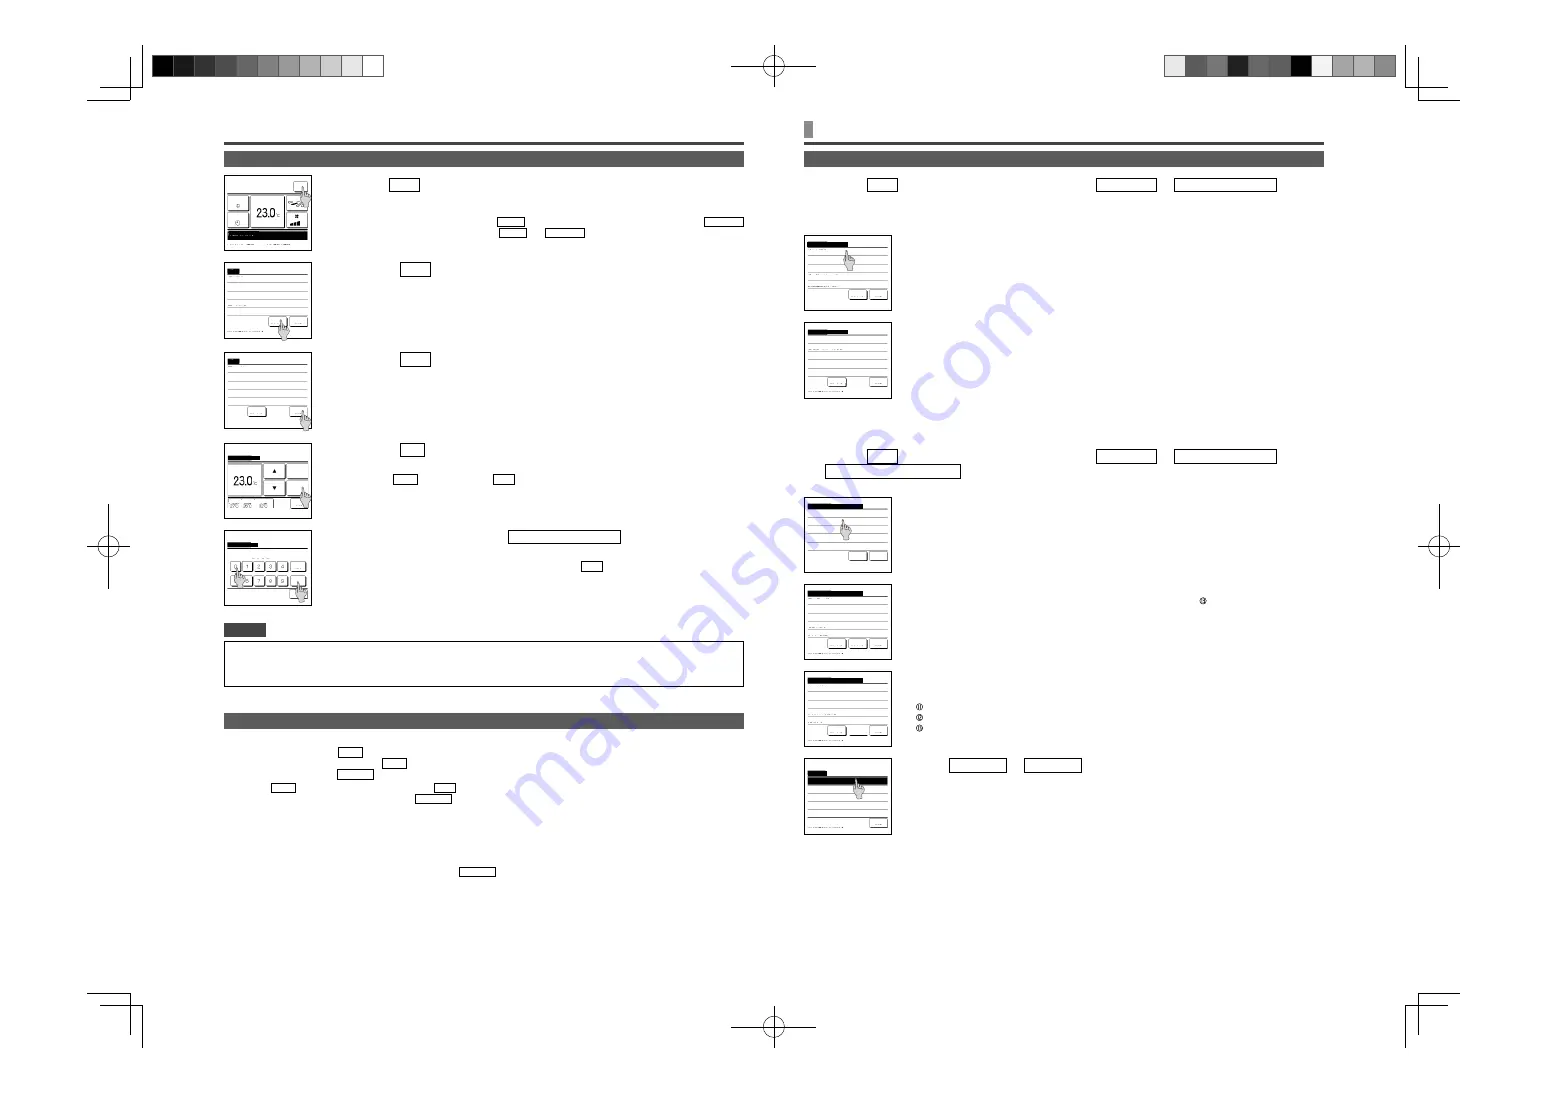
OPERATIONS ON MENU SCREENS

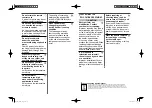
1

 Tap 

the 

Menu

 button on the TOP screen.

Main menu screen is displayed.
When a desired menu item is tapped, setting screen for each item is displayed.
When there are two or more pages, the 

Next

 button is displayed at the leading page and the 

Previous


button is displayed at the last page. The 

Next

 and 

Previous

 buttons are displayed on pages in 

between.

•  The administrator password is provided so that these operations and settings are restricted to administrators/managers only (such as 

the owner of the building).

•  For the administrator password at the factory setting, refer to the Installation Manual. 
When your administrator password is forgotten, initialize the password by referring to the Installation Manual.

ADVICE

 CAUTIONS FOR EACH SETTING SCREEN

2

 When 

the 

Next

 button is tapped, next main menu screen is displayed.

4

 When 

the 

Set

 button is displayed on the setting screen for each item, 

tapping this button confirms the setting.


If you tap 

Back

 without tapping the 

Set

 button, the settings made will not be applied, and the display 

returns to the original screen.

3

 When 

the 

Back

 button is tapped, the display returns to the TOP screen.

5

  When an item is referenced to 

Administrator password

, the Input password 

screen is displayed after selecting the menu.

Enter the administrator password (4-digit number) and tap the 

Set

 button.

When the password is unknown or wrong, the setting cannot be changed.

•  When returning to the screen mentioned below from each setting screen, operate the following buttons or switches.


Return to Main screen … 

Menu

 button


Return to the last previous screen … 

Back

 button


Return to TOP screen … 

Run/Stop

 switch

• When the 

Back

 button is tapped without tapping the 

Set

 button on the way of setting, contents of the setting are invalidated, and the 

display returns to the last previous screen. If the 

Run/Stop

 switch is pushed on the way of setting, contents of the setting are invalidated, 

the setting mode is terminated and the display returns to the TOP screen.

•  If no button is operated for approx. 5 minutes on the way of setting each item, the display returns to the TOP screen automatically. 

Contents of the setting on the way become invalid.

•  Message “Invalid request” may be displayed when a button is pushed. This is not a fault but it is because the button is set to the 

Prohibition. 

•  It is necessary to stop the hydro module unit by pushing the 

Run/Stop

 switch before starting the following settings.

•  If the Set button is tapped on the menu screen while the hydro module unit is operating, the message “Invalid request.” is displayed. 

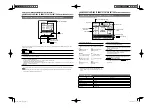
 Select the language 

 Energy-saving setting 

 Administrator settings

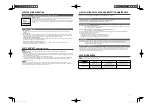
 ADMINISTRATOR SETTINGS [ADMINISTRATOR PASSWORD] 

1

 Tap 

the 

Menu

 button on the TOP screen and select 

User setting


Administrator settings

The administrator password input screen is displayed.
Enter the administrator password. 

2

  When the administrator setting menu is displayed, tap a desired item.

2

  Following items can be selected, and the Permission or Prohibition can be 

set for them.

If the Permission is set, the operation is accepted.
If the Prohibition is set, the message “Invalid request

ˮ

 is displayed for 3 seconds. 

Some items may require the administrator password. 


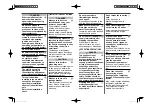
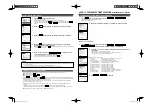
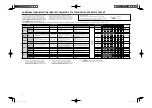
 Permission/Prohibition setting

1

 Tap 

the 

Menu

 button on the TOP screen and select 

User setting


Administrator settings


Permission/Prohibition setting

. The Permission/Prohibition setting menu is displayed.


Operation with Prohibition setting

  Bat.set. 

 ...Can set to permit/prohibit all items from 

 to   at once.

  Run/Stop 

 ...Run/Stop operation is prohibited.

  Change set temp 

 ...Change set temp operation is prohibited.

  Change operation mode  ...Change operation mode operation is prohibited.

  Change flap direction 

 ...Invalid when HMU is connected.

  Individual flap control 

 ...Invalid when HMU is connected.

  Change the fan speed   ...Invalid when HMU is connected.

  High power operation 

 ...Invalid when HMU is connected.

  Energy-saving operation  ...Invalid when HMU is connected.

  Timer 

 ...Timer setting operation is prohibited.

  Weekly timer 

 ...Administrator password is required for these settings.

  Select the language 

 ...Administrator password is required for this selection. 

  Anti draft setting 

 ...Invalid when HMU is connected.

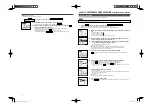
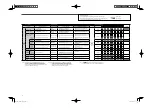
3

 Tap 

Permission

 or 

Prohibition

 for each item.

Menu

Direction

Cooling

16:14 (Mon)

F1: High power

F2: Energy-saving

Timer

Now stopping.

Set temp

Menu

Useful functions

Energy-saving setting

Filter

User setting

Service setting

Next

Back

Select the item.

Menu

Contact company

Previous

Back

Select the item.

Change set temp

Auto

Set

Back

Outdoor

Room

R/C

Tap




 to set temp & tap [Set].

Input password

Back

Set

Delete

Input the administrator password.

Input 4 digit number & tap [Set]

Permission/Prohibition setting

Individual 

fl

 ap control

Change the fan speed

High power operation

Energy-saving operation

Timer

Next

Back

Select the item.

Previous

Administrator settings

Permission/Prohibition setting

Outdoor unit silent mode timer

Setting temp range

Temp increment setting

Set temp display

Next

Back

Select the item.

Administrator settings

R/C display setting

Change administrator password

F1/F2 function setting

Previous

Back

Select the item.

Permission/Prohibition setting

Bat.set.

Run/Stop

Change set temp

Change operation mode

Change 

fl

 ap direction

Next

Back

Select the item.

Weekly timer

Select the language

Anti draft setting

Previous

Back

Select the item.

Permission/Prohibition setting

Run/Stop

Permission

Prohibition

Back

Select the item.

MCD012A001̲01̲EN.indd   7

MCD012A001̲01̲EN.indd   7

2022/05/20   9:16:56

2022/05/20   9:16:56

Summary of Contents for HMU140KXZE1

Page 1: ...a maszynowa 2006 42 WE Dyrektywa niskonapięciowa 2014 35 UE Dyrektywa EMC 2014 30 UE Dyrektywa o urządzeniach ciśnieniowych 2014 68 UE Rozporządzenie RoHS 2011 65 EU Rozporządzenie w sprawie ekoprojektu 2009 125 WE Oznaczenie CE ma zastosowanie do systemów zasilanych prądem o częstotliwości 50 Hz HMU140KXZE1 HMU280KXZE1 USER S MANUAL ENGLISH ANWENDERHANDBUCH DEUTSCH ISTRUZIONI PER L USO ITALIANO M...

Page 2: ...MCD012A001_cover indd 2 MCD012A001_cover indd 2 2022 5 30 8 40 59 2022 5 30 8 40 59 ...

Page 3: ...sed throughout the main text of this manual have the following meaning marks mean danger alarm and caution The specified prohibited item is described in the triangle The left mark means Shock hazard alarm marks mean prohibited items The specified prohibited item is described in the circle or in the vicinage marks mean compulsory action or instruction The specified prohibited item is described in t...

Page 4: ...d user maintenance shall not be made by children without supervision INSTALLATION PRECAUTIONS DANGER Make sure to have the installation done by your dealer or a specialist If you install by yourself and the unit is not properly installed water leakage electric shock fire and injuries caused by the drop of the unit may occur The preventive measures that the density of leaked refrigerant does not ex...

Page 5: ...lightning strike may lead to failure Do not wash the unit with water nor place a vase with water on the unit It may cause electric shock or ignition Before cleaning make sure to stop operation and cut off the power Make sure to use proper size of fuse Using steel wire or copper wire may lead to failure or fire Do not store a flammable spray etc near the unit nor blow directly to the unit It may le...

Page 6: ...erature burn injury Before repairing or checking indoor unit be sure to turn off Indoor unit power supply breaker It can result in electric shock or injury due to rotation of indoor unit fan if you perform check or repair with the Indoor unit power supply breaker turned on Place the panels removed for repairing or checking on the stable spot Otherwise dropping or falling may lead to injury PRECAUT...

Page 7: ... display Displays the current time and the room name Icon display Each icon is displayed when one of following settings is going on When the demand control is effective When setting is made from the sub R C When the central control Option is running When the periodical inspection is necessary When the Permission Prohibition setting is made When the weekly timer is set When the peak cut timer is se...

Page 8: ...me of backlight is counted up the backlight turns off When the screen is tapped the backlight lights and all operation buttons are displayed NOTE Do not shut down the power supply immediately after the stop of operation It should be waited for more than 5 minutes till the residual operation time of drain motor is counted up Otherwise it could cause water leakage or breakdown A message Invalid requ...

Page 9: ...etting Administrator settings ADMINISTRATOR SETTINGS ADMINISTRATOR PASSWORD 1 Tap the Menu button on the TOP screen and select User setting Administrator settings The administrator password input screen is displayed Enter the administrator password 2 When the administrator setting menu is displayed tap a desired item 2 Following items can be selected and the Permission or Prohibition can be set fo...

Page 10: ...nation can t be accepted is displayed for 3 seconds Priority order of the timer settings is as follows Set OFF timer by hour clock weekly OFF timer Sleep timer Set ON timer by hour clock weekly ON timer On the TOP screen the timer is displayed from the earliest one out of OFF time of the sleep timer ON time and OFF time SETTING THE TIME 2 The Clock setting screen is displayed Set the dd mm yy with...

Page 11: ...ed is displayed on the screen This is used as the Set ON timer by hour and clock ADVICE Warming up 4 Set the following operating conditions Warming up ON OFF the Main R C only Operation mode 5 Set temp 6 Warming up setting can be made with the main R C only Set the operation mode before setting the set temperature Set ON timer by hour When the set time elapses the hydro module unit starts 1 Tap th...

Page 12: ...etting is added select a setting line No and tap the Change button 6 Detail setting screen for the timer setting contents is displayed Tap the State button to switch between State Enable and State Disable Tap the Type button to switch between the OFF timer and the ON timer Select a desired time at 5 min intervals with the buttons In case of ON timer when the Next button is tapped operating conditi...

Page 13: ...y lead to the failure of hydro module unit Even if not used in winter hydro module unit and outdoor unit should be energized to prevent freezing If hydro module unit is not used for a long period drain the circulating water and turn off the power FOR COMFORTABLE USE FREEZING PREVENTION 2 During silent mode control Outdoor unit silent mode control ON will be displayed on the message display 3 When ...

Page 14: ...nit CAUTION Do not turn off the power supply until the pump stops The hydro module unit system cannot start operating again immediately after stopping During the first 3 minutes after stopping operation it is not possible to perform cooling or heating operation even if the ON OFF button is pressed to indicate operation This is because a circuit for protecting the compressor is activated the pump i...

Page 15: ...lowing points in order to use the hydro module unit in a safe and comfortable manner Make sure to request your dealer for installation and do not attempt to do by yourself Is the system installed on a wall which durable enough to hang the hydro module unit Avoid the place where operation noise cause problems to your neighbors Normally the efficiency of the hydro module unit will become lower after...

Page 16: ... be impaired Replace it when deteriorated or hardened 10 years Drain system parts Drain pan Check the clogging of foreign matters and the flow of drain water Check of peeling off and floating of paint coating Visual inspection There should be no drainage clogging There should be no abnormal rust generation and hole opening Cleaning of drain pan inclination check Repair coating or replace the drain ...

Page 17: ...atmospheric dirt Piping in the unit Sympathetic vibration contact and corrosion of the piping in the unit Sympathetic vibration and contact of capillary tube Visual inspection Visual inspection There should be no abnormal sympathetic vibration sound or corrosion There should be no abnormal sympathetic vibration or contact wear Replace it or readjust the piping when extremely corroded Replace it or...

Page 18: ... Visual inspection Should be of a specified resistance value There should be no deposited foreign matter There should be no abnormal display Replace it if it is outside the specified resistance value Clean with a brush in case of deposited foreign matter adhesion Replace or correct the part 25 000 Hr Pressure sensor temperature sensor Open short circuit earth appearance check Tester visual inspect...

Page 19: ...FDC KXZE2 Series Category HMU Series UK DECLARATION OF CONFORMITY We MITSUBISHI HEAVY INDUSTRIES THERMAL SYSTEMS LTD 2 3 Marunouchi 3 chome Chiyoda ku Tokyo 100 8332 Japan declare under our sole responsibility that the apparatus referred to in this declaration conforms with the following directives Description of apparatus Split Type Air Conditioner Model name Relevant GB Directives Supply of Mach...

Page 20: ...lesex UB11 1ET United Kingdom Tel 44 333 207 4072 Fax 44 333 207 4089 http www mhiae com MHIAE SERVICES B V Wholly owned subsidiary of MITSUBISHI HEAVY INDUSTRIES AIR CONDITIONING EUROPE LTD Herikerbergweg 238 Luna ArenA 1101 CM Amsterdam Netherlands P O Box 23393 1100 DW Amsterdam Netherlands Tel 31 20 406 4535 http www mhiaeservices com MCD012A001_cover indd 4 MCD012A001_cover indd 4 2022 5 30 8...

Reviews: