-
-
'11•SAF-T-161
Ԟ
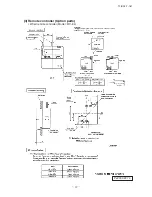
Drain pipe (continued)
ԟ
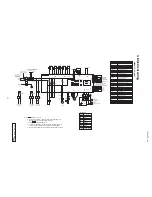
Wiring-out position and wiring connection
Ԡ
Check list after installation
٨
Electrical installation work must be performed according to the installation manual by an
electrical installation service provider qualified by a power provider of the country, and be
executed according to the technical standards and other regulations applicable to electrical
installation in the country.
Be sure to use an exclusive circuit.
٨
Use specified cord, fasten the wiring to the terminal securely, and hold the cord securely in
order not to apply unexpected stress on the terminal.
٨
Do not put both power source line and signal line on the same route. It may cause miscommu-
nication and malfunction.
٨
Be sure to do D type earth work.
٨
For the details of electrical wiring work, see attached instruction manual for electrical wiring
work.
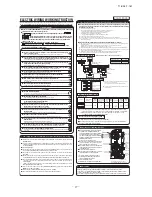
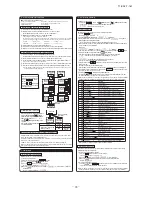
1. Remove a lid of the control box (2 screws).
2. Hold each wiring inside the unit and fasten them to terminal block securely.
3. Fix the wiring with clamps.
4. Install the removed parts back to original place.
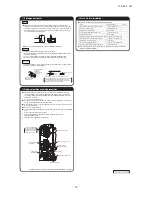
Insert water supply hose
for 50mm to
supply water.
(Insert hose facing
toward bottom.)
Attached drain hose clamp
Drain
piping
Main
unit
Drain situation can be checked with transparent socket.
If the electrical work has not been completed, connect a convex
joint in the drain pipe connection to provide a water inlet.
Then, check if water leaks from the piping system and that
drain flows through the drain pipe normally.
Pour water into a convex joint
Remove grommet
Make sure to Install
it back after test.
٨
Check the following items after all installation work completed.
٨
After completing the check, test-run the unit according to the procedure described in the
Outdoor Unit Installation Manual.
Check if
Expected trouble
Check
The indoor and outdoor units are fixed securely?
Falling, vibration, noise
Inspection for leakage is done?
Insufficient capacity
Insulation work is properly done?
Water leakage
Does the air flow falls within the range of
?
It cannot cool or warm
Water is drained properly?
Water leakage
Supply voltage is same as mentioned in the model name plate? PCB burnt out, not working at all
There is mis-wiring or mis-connection of piping?
PCB burnt out, not working at all
Earth wiring is connected properly?
Electric shock
Cable size comply with specified size?
PCB burnt out, not working at all
Any obstacle blocks airflow on air inlet and outlet?
Insufficient capacity
1
3
2
X
A
Y
B
5
4
3
2
1
6
Communication
terminal block
Remote control cable
Super Link cable
Total heat exchanger
terminal block
Indoor unit power cable.
Total heat exchanger cable
Band for driving
electric power cable
Band for light electric cable
Power supply terminal block
Do not connect the power
supply for the total heat
exchanger to the power
supply terminal block.
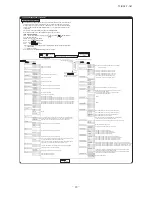
For further details, refer to the attached Electric Wiring Work Manual (see next page).
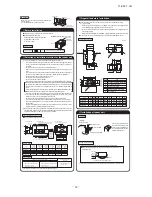
290~325mm
Drain hose
600
Maximum local drain up dimension
Joint for VP20 (local procurement)
Right overhead
Drain up
٨
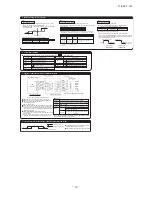
The position for drain pipe outlet can be raised up to 600mm above the ceiling. Use elbows for
installation to avoid obstacles inside ceiling. If the horizontal drain pipe is too long before vertical pipe,
the backflow of water will increase when the unit is stopped, and it may cause overflow of water from the
drain pan on the indoor unit. In order to avoid overflow, keep the horizontal pipe length and offset of the
pipe within the limit shown in the figure below.
Otherwise, the construction point makes it same as drain pipe construction.
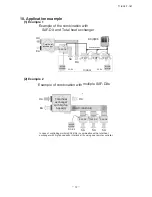
Drain test
1. Conduct a drain test after completion of the electrical work.
2. During the trail, make sure that drain flows properly through the piping and that no water
leaks from connections.
3. In case of a new building, conduct the test before it is furnished with the ceiling.
4. Be sure to conduct this test even when the unit is installed in the heating season.
Procedures
1. Supply about 1000 cc of water to the unit through the air outlet by using a feed water pump.
2. Check the drain while cooling operation.
PCH012D006

