-
12
-
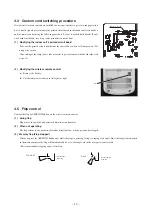
4.4 Custom cord switching procedure
If two wireless remote controls are installed in one room, in order to prevent wrong operation
due to mixed signals, please modify the printed circuit board in the indoor unit’s control box
and the remote control using the following procedure. Be sure to modify both boards. If only
one board is modified, receiving (and operation) cannot be done.
(1)
Modifying the indoor unit’s printed circuit board
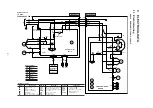
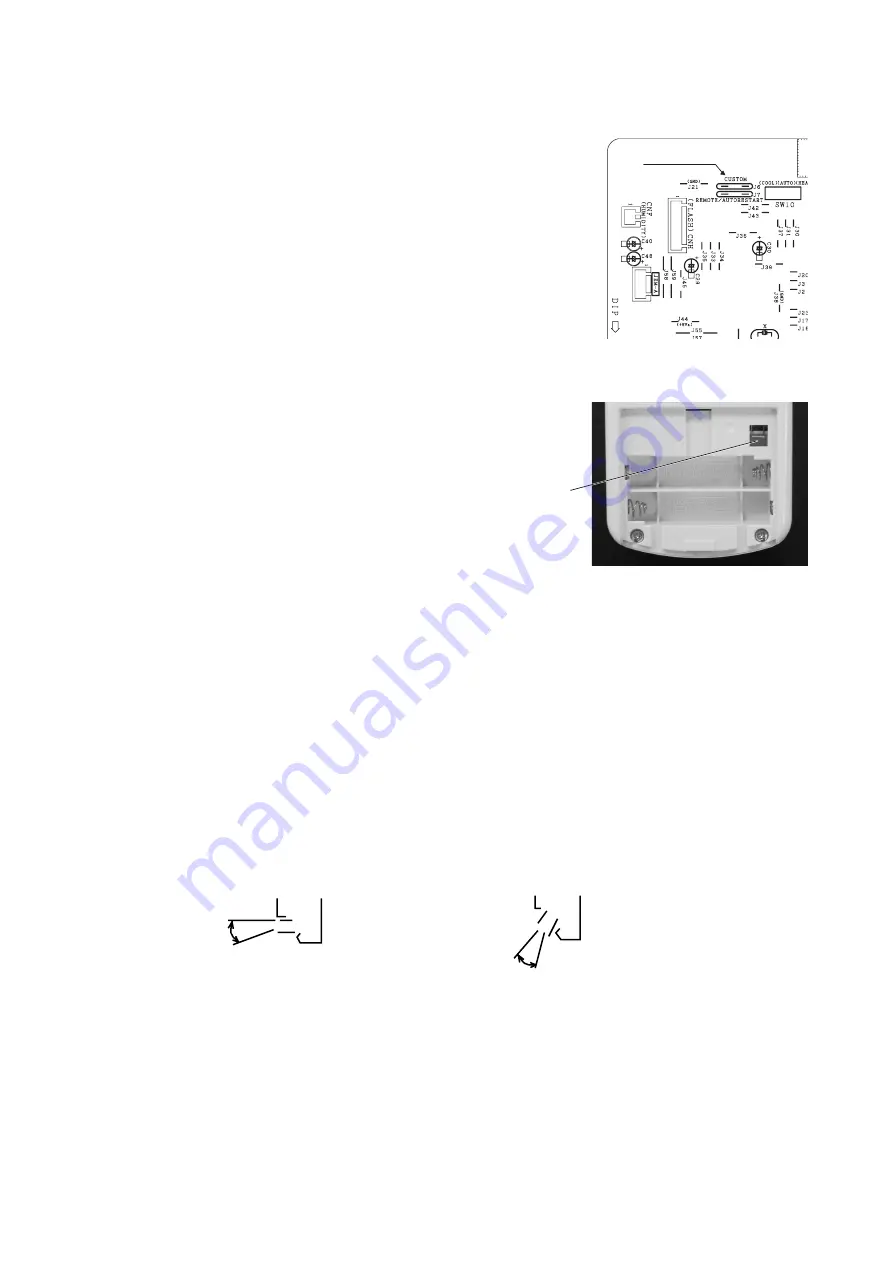
Take out the printed circuit board from the control box and cut off jumper wire (J6)
using wire cutters.
After cutting of the jumper wire, take measures to prevent contact with the other the lead
wires, etc.
(2)
Modifying the wireless remote control
(a) Remove the battery.
(b) Cut the jumper wire shown in the figure at right.
Jumper wire (J6)
Cut
4.5 Flap control
Control the flap by AIRFLOW button on the wireless remote control.
(1)
Swing flap
Flap moves in upward and downward directions continuously.
(2)
When not operating
The flap returns to the position of air flow directly below, when operation has stopped.
(3)
Memory flap (Flap stopped)
When you press the AIRFLOW button once while the flap is operating, it stops swinging at an angle. Since this angle is memorized
in the microcomputer, the flap will automatically be set at this angle when the next operation is started.
¡
Recommendable stopping angle of the flap
Horizontal
blowing
COOL•DRY
Slant forward
blowing
HEAT

