-
-
'14 • SRK-T-155
Determine
refrigerant
pipe
size
pursuant
to
the
following
guidelines
based
on
the
indoor
unit
specifications.
Without
nitrogen
gas,
a
large
quantity
of
foreign
matters
(oxidized
film)
are
created,
causing
a
critical
failure
from
capillary
tube
or
expansion
valve
clogging.
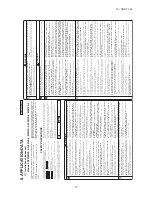
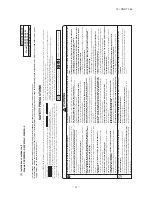
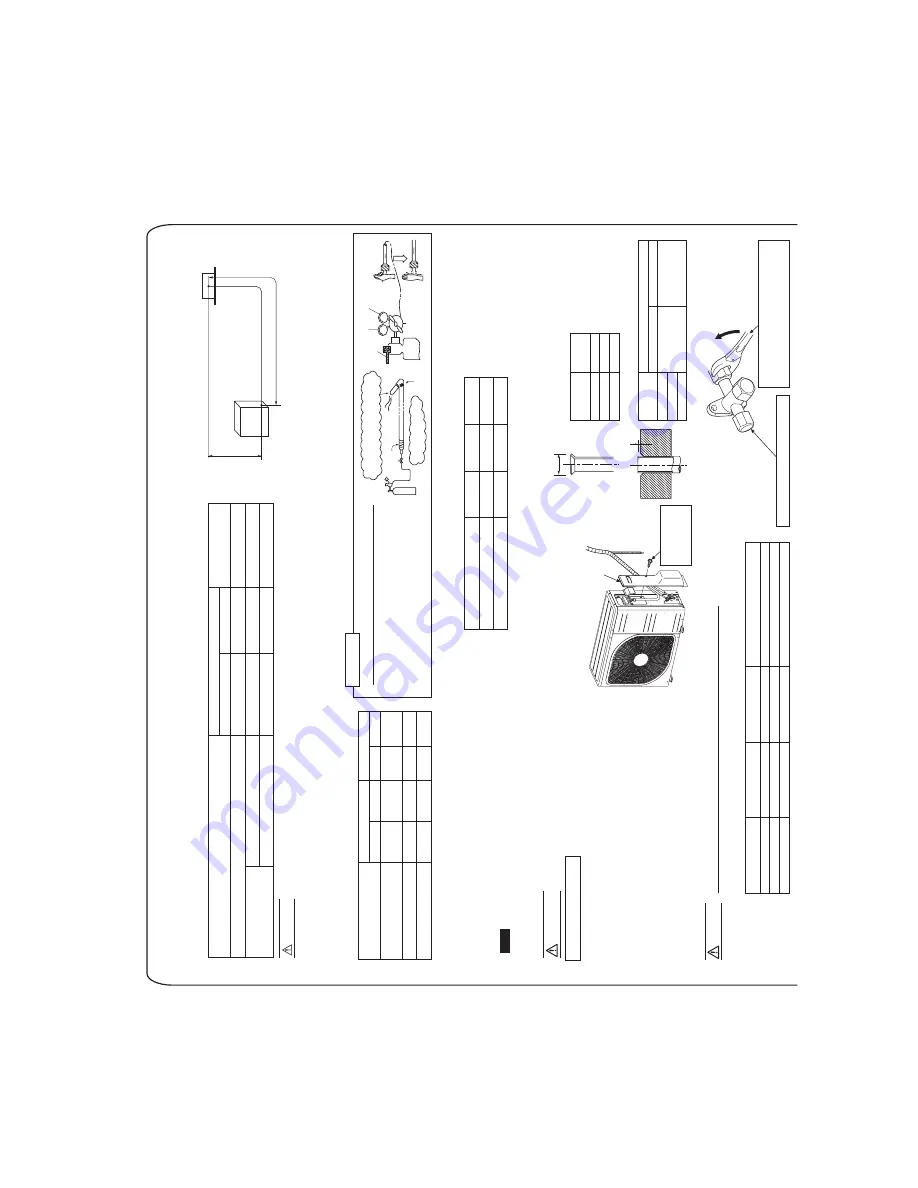
2. REFRIGERANT PIPING WORK
1)
Restrictions
on
unit
installation
and
use
2)
Determination
of
pipe
size
15m or less
10m or less
10m or less
L
H
H
L
H
Outdoor unit
Indoor unit
The use restrictions appearing in the table above are applicable to the standard pipe size combinations shown in the table belo
w.
Restrictions
Model
SRC20
~
35/DXC09,12
Marks appearing in the drawing on the right
Main pipe length
When the outdoor unit is positioned higher,
When the outdoor unit is positioned lower,
Elevation difference between indoor and outdoor units
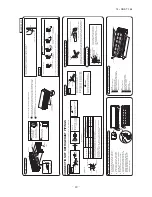
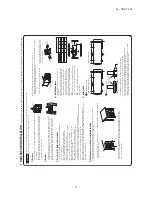
Plug the end of the pipe with tape, or other material, and fill the pipe with nitrogen gas.
Only use nitrogen gas (N
2
)
Taping
<N2>
Nitrogen
Brazing
Station valve
Primary sid
e
Secondary side
0.5MPa
Hand
Relief valve
Nitrogen
gas
Brazing
must
be
performed
under
a
nitrogen
gas
flow.
About brazing
When pipe is brazing.
•
Check
the
following
points
in
light
of
the
indoor
unit
specifications
and
the
installation
site.
•
Observe
the
following
restrictions
on
unit
installation
and
use.
Improper
installation
can
result
in
a
compressor
failure
or
performance
degradation.
•
Additional
refrigerant
charge
is
not
required
at
all
(Model
SRC20
~
35/DXC09,12).
25m or less
15m or less
15m or less
Dimensional restrictions
Model SRC50/DXC18
ø12.7 Flare
ø12.7
ø12.7
Gas pipe
ø6.35 Flare
ø6.35
ø6.35
Model SRC50/DXC18
Liquid pipe
ø9.52 Flare
ø9.52
ø9.52
Gas pipe
ø6.35 Flare
ø6.35
ø6.35
Model
SRC20
~
35/DXC09,12
Liquid pipe
Outdoor unit connected
Refrigerant piping (branch pipe L)
Indoor unit connected
CAUTION
Take
care
so
that
installed
pipes
may
not
touch
components
within
a
unit.
If
touching
with
an
internal
component,
it
will
generate
abnormal
sounds
and/or
vibrations.
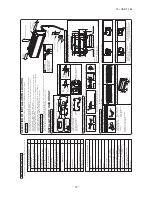
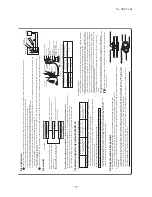
4) On-site piping work
IMPORTANT
How to remove the side cover
Please
remove
the
screw
of
a
side
cover
and
remove
to
the
front.
A
B
Flared
pipe
end
:
A
(mm)
ø6.35
ø9.52
ø12.7
Copper pipe outer
diameter
0 A –04
9.1
13.2
16.6
ø6.35
ø9.52
ø12.7
Copper pipe outer
diameter
0
~
0.
5
1.0
~
1.5
Copper
pipe
protrusion
for
flaring
:
B
(mm)
In
the
case
of
a
rigid
(clutch)
type
With
an
R410A
tool
With
a
conventional
tool
CAUTION
Do
not
apply
force
beyond
proper
fastening
torque
in
tightening
the
flare
nut.
Tightening angle (
o
)
Tightening torque (N·m)
ø6.35 (1/4")
ø9.52 (3/8")
ø12.7 (1/2")
Recommended length of a tool handle (mm)
Service valve size (mm)
Do not hold the valve cap area with a spanner.
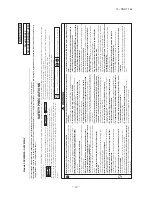
3)
Refrigerant
pipe
wall
thickness
and
material
NOTE
*Phosphorus deoxidized seamless copper pipe ICS 23.040.15, ICS 77.150.30
ø6.35
0.8
O-type pipe
ø9.52
0.8
O-type pipe
ø12.7
0.8
O-type pipe
Pipe diameter [mm]
Minimum pipe wall thickness [mm]
Pipe material*
•
Select
refrigerant
pipes
of
the
table
shown
on
the
right
wall
thickness
and
material
as
specified
for
each
pipe
size.
•
Carry
out
the
on
site
piping
work
with
the
service
valve
fully
closed.
•
Give
sufficient
protection
to
a
pipe
end
(compressed
and
blazed,
or
with
an
adhesive
tape)
so
that
water
or
foreign
matters
may
not
enter
the
piping.
•
Bend
a
pipe
to
a
radius
as
large
as
practical
(R100
~ R150).
Do
not
bend
a
pipe
repeatedly
to
correct
its
form.
•
Flare
connection
is
used
between
the
unit
and
refrigerant
pipe.
Flare
a
pipe
after
engaging
a
flare
nut
onto
it.
Flare
dimensions
for
R410A
are
different
from
those
for
conventional
R407C.
Although
we
recommend
the
use
of
flaring
tools
designed
specifically
for
R410A,
conventional
flaring
tools
can
also
be
used
by
adjusting
the
measurement
of
protrusion
B
with
a
protrusion
control
gauge.
•
The
pipe
should
be
anchored
every
1.5m
or
less
to
isolate
the
vibration.
•
Tighten
a
flare
joint
securely.
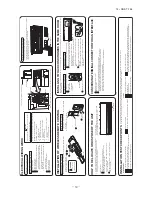
Fix both liquid and gas service valves at the valve main bodies as illustrated on the right, and then fasten them, applying appropriate fastening torque.
Select
pipes
having
a
wall
thickness
larger
than
the
specified
minimum
pipe
thickness.
14
~
18
34
~
42
49
~
61
45
~
60
30
~
45
30
~
45
150
200
250
Use a torque wrench. If a torque wrench is not available, fasten the flare nut manually first and then tighten it further, using the left table as a guide.
The screw of the side cover is tightened securely.
Side
cover
Summary of Contents for SRC20ZMX-SA
Page 2: ......
Page 3: ... 14 SRK T 155 TECHNICAL MANUAL ...
Page 14: ... 12 14 SRK T 155 3 Remote control Unit mm 60 26 167 a Wireless remote control ...
Page 99: ... 97 14 SRK T 155 WARING CAUTION 3 Super link E board SC ADNA E F ...
Page 100: ... 98 14 SRK T 155 ...
Page 105: ... 103 14 SRK T 155 MEMO ...
Page 111: ... 109 14 SRK T 155 MEMO ...
Page 117: ... 115 14 SRK T 155 MEMO ...
Page 123: ... 121 14 SRK T 155 MEMO ...
Page 129: ... 127 14 SRK T 155 MEMO ...
Page 132: ... 130 14 SRK T 155 CRBE0276 6 13 11 12 15 16 3 17 14 2 4 9 8 7 5 1 8 8 10 PANEL FAN ASSY ...
Page 136: ... 134 14 SRK T 155 CRBE0276 6 13 11 12 15 16 3 17 14 2 4 9 8 7 5 1 8 8 10 PANEL FAN ASSY ...
Page 140: ... 138 14 SRK T 155 CRBE0276 6 13 11 12 15 16 3 17 14 2 4 9 8 7 5 1 8 8 10 PANEL FAN ASSY ...
Page 144: ... 142 14 SRK T 155 CRBE0315 9 13 15 16 14 17 7 6 4 1 8 3 11 5 18 10 10 10 2 12 PANEL FAN ASSY ...
Page 148: ... 146 14 SRK T 155 CRBE0315 9 13 15 16 14 17 7 6 4 1 8 3 11 5 18 10 10 10 2 12 PANEL FAN ASSY ...

