-
14
-
5
INSTALLATION
R410A refrigerant is used for this air-conditioner. Execute the installation work while taking care of the following points in addition to
the general caution items.
5.1 Installation tools
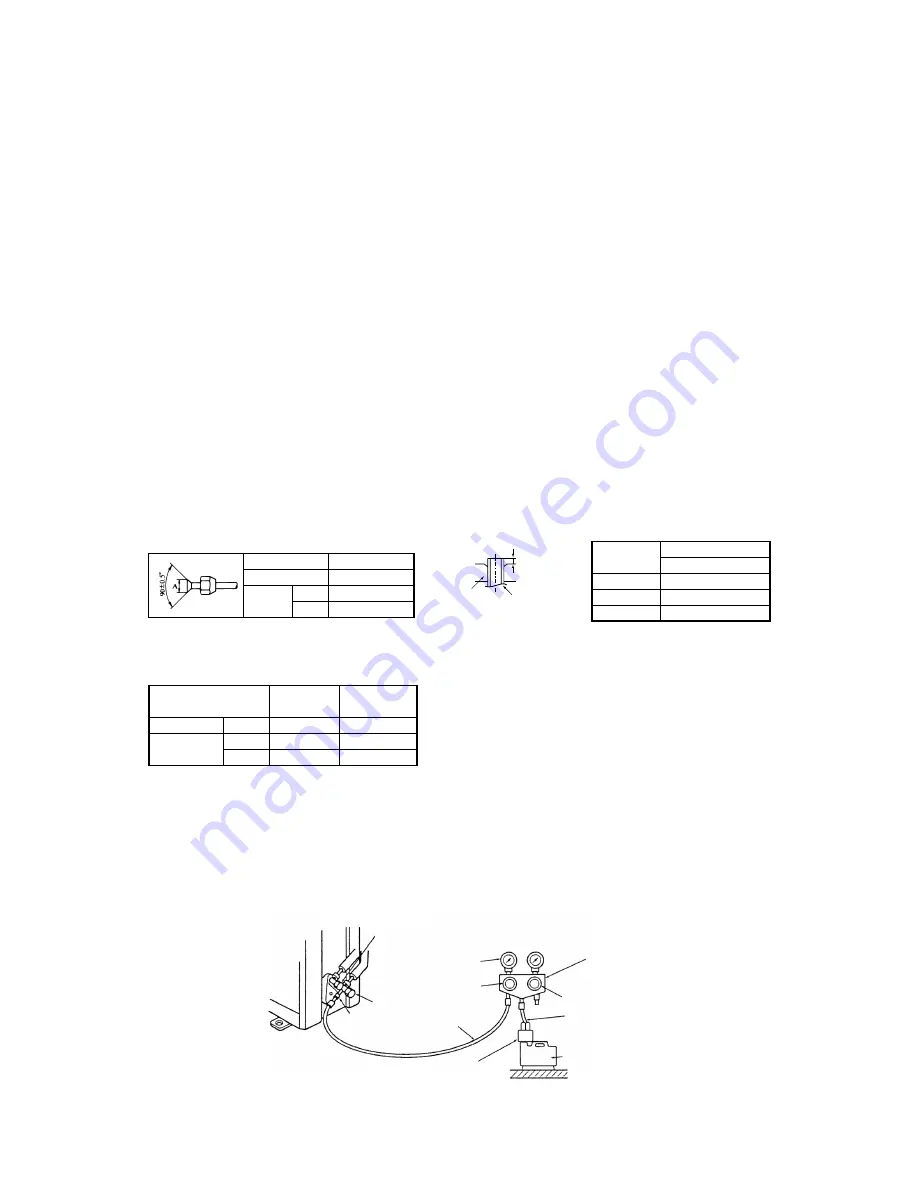
Prepare the following special tools for R410A in addition to the general-purpose tools.
¡
Flare tool
¡
Vacuum pump adaptor
¡
Gauge manifold
¡
Leak detector
¡
Charge hose
Service valve
(3-way)
Compound
pressure gauge
Pressure
gauge
Gauge manifold
(Special for R410A)
Handle Hi
Charge hose
(Special for R410A)
Vacuum pump adaptor
(For reverse flow prevention)
(Special for R410A)
Service Port
-101kPa
(-76cmHg)
Handle Lo
Vacuum Pump
Charge Hose
(Special for R410A)
Service valve
(Two-way)
5.2 Refrigerant piping
¡
Use the copper pipe that has less than 40 mg/10 m of oil adhesion and 0.8 mm of wall thickness. Never use the thin walled pipe the
thickness of which is less than 0.8 mm.
¡
Use the flare nut attached to the air-conditioner.
5.3 Pipe connection
(1)
Pipe working
(2)
Tightening torque
¡
The tightening torque is shown below.
(3)
Vacuuming
¡
The charge hose for R22 cannot be connected because the service port diameter is different from the conventional one. Use
the special charge hose for R410A.
¡
Use the vacuum pump adapter for reverse flow prevention to check the reverse flow of vacuum pump oil. If oil flows back to
the air-conditioner, it causes failure of refrigerant cycle.
Copper pipe dia.
Liquid side ø6.35
Gas side
Dimension "A" (mm)
9.1
13.2
16.6
ø9.52
ø12.7
Liquid side
Gas side
ø6.35
ø9.52
ø12.7
17
22
24
14 ~ 18 (1.4 ~ 1.8)
33 ~ 42 (3.3 ~ 4.2)
50 ~ 62 (5.0 ~ 6.2)
Copper pipe dia.
Across flats of flare nut
(mm)
Tightening torque
N·m (kgf·m)
Copper pipe dia.
ø6.35
ø9.52
ø12.7
Flare tool bar
Copper pipe
Dimension "B"
Dimension "B" (mm)
Clutch type flare tool for R410A
0.0 ~ 0.5
0.0 ~ 0.5
0.0 ~ 0.5


