-
1
19
-
'13 • P
A
C-T
-197
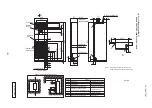
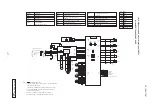
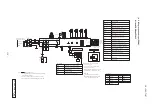
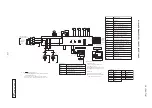
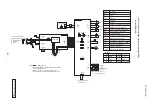
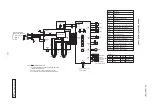
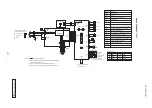
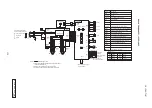
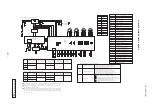
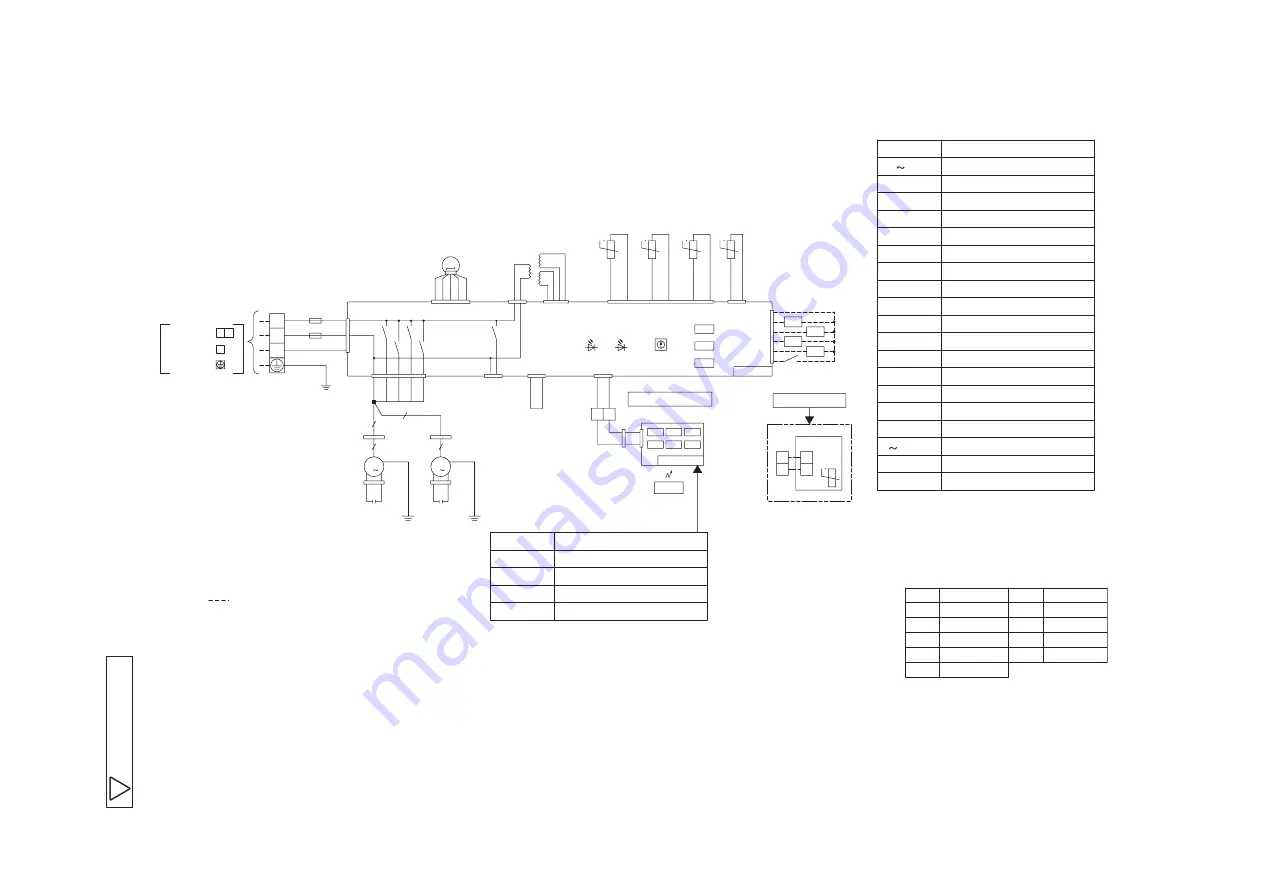
Models FDEN60VF
, 71VF1,
100VF1,
125VF
, 140VF
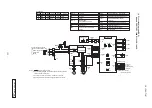
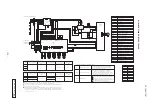
Capacitor for FMI
CFI 1,2
FMl 1,2
Transformer
Trl
SW2
Connector
CNB
Z
TB1
Relay for FM
X1
3,6
SW5
Operation check, Drain motor test run
SW7-1
Fuse
F
Thl -R1,2,3
Thl -A
Thc
LED
・
3
LED
・
2
Relay for DM
X4
TB2
Fan motor
(
with thermistor
)
Indication lamp
(
Green-Normal operation
)
Indication lamp
(
Red-Inspection
)
Remote control communication address
Plural units Master
/
Slave setting
Terminal block
〔
Power source
)(□
mark
)
Terminal block
〔
Signal line
)(□
mark
)
Thermistor
〔
Remote control
)
Thermistor
〔
Return air
)
Thermistor
〔
Heat exchanger
)
LM
Louver motor
SW6
Model capacity setting
RD
CNW0
BL
WH
RD
X1
3
UH
BR
WH
CNM3
C
WH
1
F
(
3.15A
)
1
3
X6
M
H
BK
BL
5
7
L
RD
9
X3
X2
5
BK
BK
CNB WH
1
3
1
3
TB1
220
ー
240V
LED
・
2
SW2
SW6
SW5
SW7
LED
・
3
F
(
3.15A
)
YE
/
GN
TB2
X Y
WH
BK
Trl
RD RD BR BR
BK
CNW2
19V
24V
1 2 3 4 5
CNJ WH
BL
PK
BR
OR
RD
M
LM
WH
CNF2
WH
CNF1
CNR
3
1
WH
X4
CNI
BL
WH
CNW1
M
1
M
1
XR1
XR2
XR3
XR4
1
2
3
4
5
6
+12
CNT
BL
5
5
5
5
LED4
SW1
LED2 LED3
AMP
SW4
CNB2
WH
CNB
1
2
3
4
CNN YE
5
6
1
2
BK
CNH
Th -R1
Th -A
Th -R2
t
t
Th -R3
t
t
I
I
I
I
BK
BK
BK
BK
WH
RD
Receiver PCB
Remote
control
BK
BK
BK
BK
XR5
(
Remote operation input :
(
Operation
)
(
Heating
)
(
Compressor ON
)
(
Inspection
)
volt-free contact
)
Prepare on site
Closed-end connector
■
mark
Control PCB
Color
Mark
BK
Color Marks
Black
BL
Blue
BR
Brown
Color
Mark
RD
Red
WH
White
YE
/
GN Yellow
/
Green
Receiver PCB
7-segment display
Switches for setting
SW1
LED2
Back-up switch
(
Operation
/
Stop
)
SW4
Indication lamp
(
Green-Normal operation
)
LED3
Indication lamp
(
Yellow-Timer
/
Inspection
)
LED4
PK
Pink
OR
Orange
Remote
Thc
TB2
Wired specification
Wireless specification
X
Y
X
Y
t
control
Earth
Power source line
Signal line
1 2
3
indoor unit and outdoor unit
Connecting line between
2
C
WH
YE
Yellow
CF
FMI 1
I
1
CNFI 1
WH
CFI
FMI 2
2
CNFI 2
WH
Notes 1. indicates wiring on site.
2. See the wiring diagram of outside unit about the line between
indoor unit and outdoor unit.
3. Use twin core cable
(
0.3mm X2
)
at remote control line.
2
YE
/
GN
YE
/
GN
OR
OR
OR
OR
4. Do not put remote control line alongside power source line.
※
When wired remote control are used
only
(
wireless type
)
It is necessary to remove the line that is
connected to the receiver.
Remove signal line connected to the receiver
from primary side of terminal block
(
X,Y
)
.
ATTENTION
Insulate with tape the removed line.
The LED of that removed connector will
not be able to make any indication.
①
②
D
P
F
A
0
0
3
Z
8
2
0
Capacitor for FMI
CFI 1,2
FMl 1,2
Transformer
Trl
SW2
Connector
CNB
Z
TB1
Relay for FM
X1
3,6
SW5
Operation check, Drain motor test run
SW7-1
Fuse
F
Thl -R1,2,3
Thl -A
Thc
LED
・
3
LED
・
2
Relay for DM
X4
TB2
Fan motor
(
with thermistor
)
Indication lamp
(
Green-Normal operation
)
Indication lamp
(
Red-Inspection
)
Remote control communication address
Plural units Master
/
Slave setting
Terminal block
〔
Power source
)(□
mark
)
Terminal block
〔
Signal line
)(□
mark
)
Thermistor
〔
Remote control
)
Thermistor
〔
Return air
)
Thermistor
〔
Heat exchanger
)
LM
Louver motor
SW6
Model capacity setting
RD
CNW0
BL
WH
RD
X1
3
UH
BR
WH
CNM3
C
WH
1
F
(
3.15A
)
1
3
X6
M
H
BK
BL
5
7
L
RD
9
X3
X2
5
BK
BK
CNB WH
1
3
1
3
TB1
220
ー
240V
LED
・
2
SW2
SW6
SW5
SW7
LED
・
3
F
(
3.15A
)
YE
/
GN
TB2
X Y
WH
BK
Trl
RD RD BR BR
BK
CNW2
19V
24V
1 2 3 4 5
CNJ WH
BL
PK
BR
OR
RD
M
LM
WH
CNF2
WH
CNF1
CNR
3
1
WH
X4
CNI
BL
WH
CNW1
M
1
M
1
XR1
XR2
XR3
XR4
1
2
3
4
5
6
+12
CNT
BL
5
5
5
5
LED4
SW1
LED2 LED3
AMP
SW4
CNB2
WH
CNB
1
2
3
4
CNN YE
5
6
1
2
BK
CNH
Th -R1
Th -A
Th -R2
t
t
Th -R3
t
t
I
I
I
I
BK
BK
BK
BK
WH
RD
Receiver PCB
Remote
control
BK
BK
BK
BK
XR5
(
Remote operation input :
(
Operation
)
(
Heating
)
(
Compressor ON
)
(
Inspection
)
volt-free contact
)
Prepare on site
Closed-end connector
■
mark
Control PCB
Color
Mark
BK
Color Marks
Black
BL
Blue
BR
Brown
Color
Mark
RD
Red
WH
White
YE
/
GN Yellow
/
Green
Receiver PCB
7-segment display
Switches for setting
SW1
LED2
Back-up switch
(
Operation
/
Stop
)
SW4
Indication lamp
(
Green-Normal operation
)
LED3
Indication lamp
(
Yellow-Timer
/
Inspection
)
LED4
PK
Pink
OR
Orange
Remote
Thc
TB2
Wired specification
Wireless specification
X
Y
X
Y
t
control
Earth
Power source line
Signal line
1 2
3
indoor unit and outdoor unit
Connecting line between
2
C
WH
YE
Yellow
CF
FMI 1
I
1
CNFI 1
WH
CFI
FMI 2
2
CNFI 2
WH
Notes 1. indicates wiring on site.
2. See the wiring diagram of outside unit about the line between
indoor unit and outdoor unit.
3. Use twin core cable
(
0.3mm X2
)
at remote control line.
2
YE
/
GN
YE
/
GN
OR
OR
OR
OR
4. Do not put remote control line alongside power source line.
※
When wired remote control are used
only
(
wireless type
)
It is necessary to remove the line that is
connected to the receiver.
Remove signal line connected to the receiver
from primary side of terminal block
(
X,Y
)
.
ATTENTION
Insulate with tape the removed line.
The LED of that removed connector will
not be able to make any indication.
①
②
Summary of Contents for V Multi 100VNX
Page 98: ... 97 13 PAC T 197 Models FDT100VF1 125VF 140VF H H H H H C B A F G D G PJF000Z285 A ...
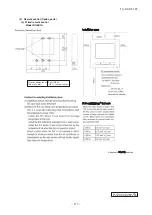
Page 101: ... 100 13 PAC T 197 Models FDEN60VF 71VF1 C2 C1 A B A B D C1 C2 C1 C2 E G F C PFA003Z817 ...
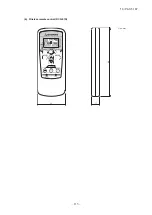
Page 116: ... 115 13 PAC T 197 b Wireless remote control RCN E1R 60 17 150 Unit mm ...
Page 291: ... 290 13 PAC T 197 261 12 PAC T 173 ー K ...
Page 590: ... 589 13 PAC T 197 3 8 SUPER LINK E BOARD SC ADNA E F ...
Page 591: ... 590 13 PAC T 197 ...

