-
233
-
'13 • PAC-T-197
⑨
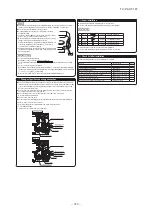
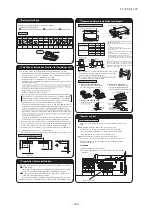
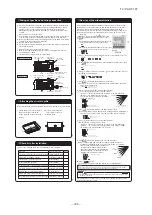
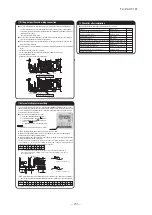
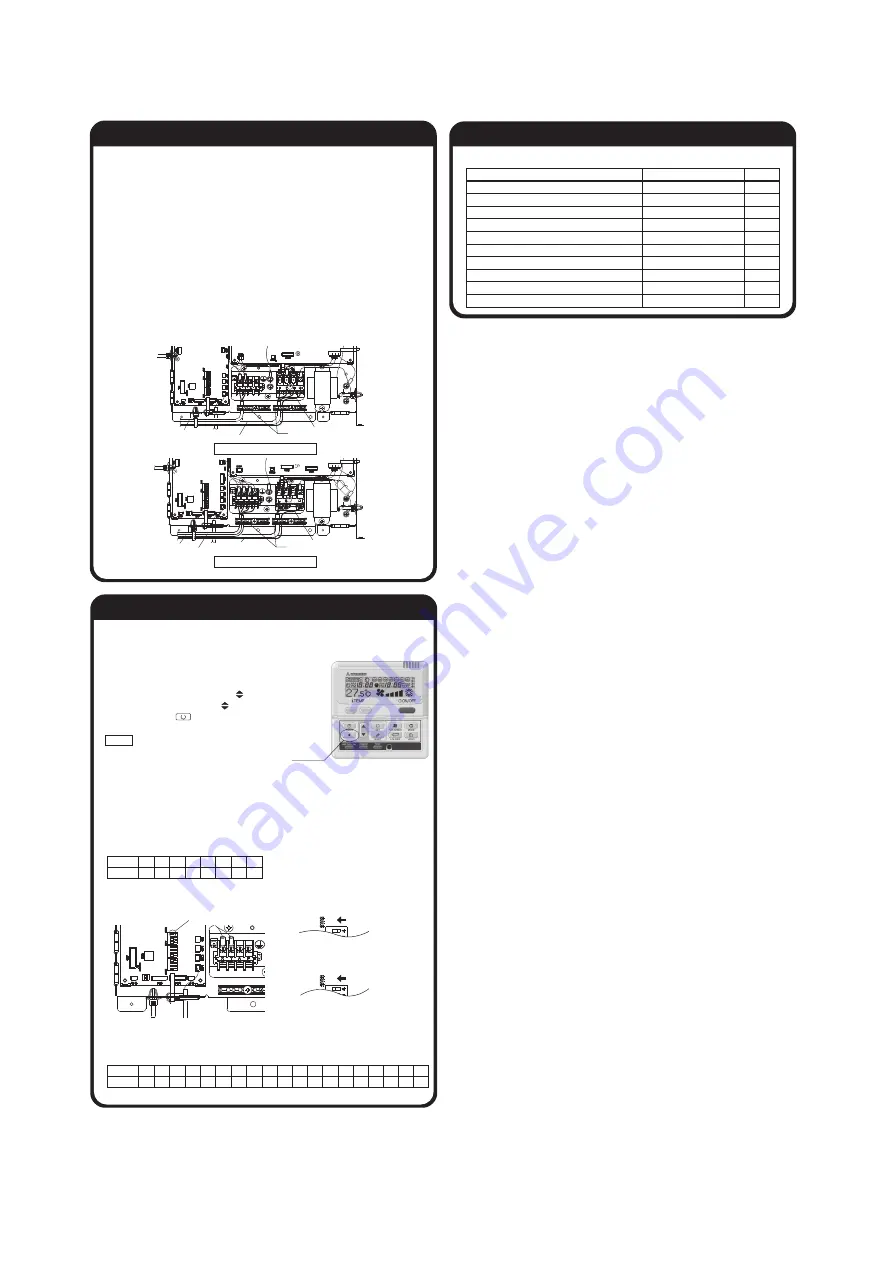
External static pressure setting
You can set External Static Pressure (E.S.P.) by method of MANUAL SETTING on remote control.
Indoor unit will control fan-speed to keep rated air flow volume at each fan speed setting (Lo-Uhi)
You can set required E.S.P.by wired remote control that calculated with the set air flow rate and
pressure loss of the duct connected.
●
How to set E.S.P. by wired remote control
①
Push "
◆
" marked button(E.S.P. button).
②
Select indoor unit No. by using button.
③
Select setting No. by using button and
set E.S.P. by button.
See detailed procedure in technical manual.
Notice
You can NOT set E.S.P. by wireless remote control.
With E.S.P. setting, confirm that actual E.S.P. agrees with E.S.P. setting.
When E.S.P. setting is higher than actual E.S.P., the airflow rate becomes excessively higher.
This will cause water leakage if water splashes.
When E.S.P.setting is lower than actual E.S.P., the airflow rate becomes excessively lower and the
cooling or heating may become ineffective.
In order to reduce the risk above the factory E.S.P. setting is set within the range of 80 – 150 Pa
(E.S.P. setting No. 8 – 15). Be sure to use within the range of 80 – 150 Pa in actual operations. If
actual E.S.P. is lower than 80 Pa, it may cause water leakage.
※
If 1 – 7 is selected for the setting No. on the remote control, the setting No.
shows
No. 8.
If 16 – 20 is selected for the setting No. on the remote control, the setting No. shows No. 15.
Factory default is No. 8.
If SW8-4 is turned to “ON”, E.S.P. setting range can be changed to 10 – 200 Pa (E.S.P. setting No.
1 – 19).This should not be used when actual E.S.P. cannot be confirmed, because the risk above
becomes higher.
※
If 20 is selected for the setting No. on the remote control, the setting No. shows No. 19.
Setting No.
E.S.P. (Pa)
1
10
2
20
3
30
4
40
5
50
6
60
7
70
8
80
9
90
10
100
11
110
12
120
13
130
14
140
15
150
16
160
17
170
18
180
19
200
Setting No.
E.S.P (Pa)
8
80
9
90
10
100
11
110
12
120
13
130
14
140
15
150
SW8-4
E.S.P. button
ON
ON
SW8-4:ON (E.S.P. setting No. 1-19
)
SW8-4:OFF (E.S.P. setting No. 8-15
)
⑩
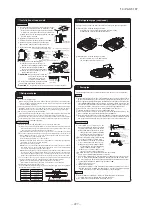
Check list after installation
●
Check the following items after all installation work completed.
Check
Check if
The indoor and outdoor units are fixed securely?
Inspection for leakage is done?
Insulation work is properly done?
Water is drained properly?
Supply voltage is same as mentioned in the model name plate?
No mis-wiring or mis-connection of piping?
Earth wiring is connected properly?
Cable size comply with specified size?
Any obstacle blocks airflow on air inlet and outlet?
Is setting of E.S.P finished?
Expected trouble
Falling, vibration, noise
Insufficient capacity
Water leakage
Water leakage
PCB burnt out, not working at all
PCB burnt out, not working at all
Electric shock
PCB burnt out, not working at all
Insufficient capacity
Excessive air flow, water drop blow out
⑧
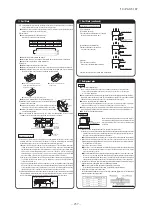
Wiring-out position and wiring connection
●
Electrical installation work must be performed according to the installation manual by an
electrical installation service provider qualified by a power provider of the country, and be
executed according to the technical standards and other regulations applicable to electrical
installation in the country.
Be sure to use an exclusive circuit.
●
Use specified cord, fasten the wiring to the terminal securely, and hold the cord securely in
order not to apply unexpected stress on the terminal.
●
Do not put both power source line and signal line on the same route. It may cause miscom-
munication and malfunction.
●
For the details of electrical wiring work, see attached instruction manual for electrical wiring
work.
1. Remove a lid of the control box (2 screws).
2. Hold each wiring inside the unit and fasten them to terminal block securely.
3. Fix the wiring with clamps.
4. Install the removed parts back to original place.
Power source line
Signal line
Remote control line
Earth
* Please fix the wiring in the band not to move even if it pulls.
*
Single unit wiring connection
Multi unit wiring connection
PJG012D004
Earth
*
Indoor - Outdoor connecting line
Remote control line
Summary of Contents for V Multi 100VNX
Page 98: ... 97 13 PAC T 197 Models FDT100VF1 125VF 140VF H H H H H C B A F G D G PJF000Z285 A ...
Page 101: ... 100 13 PAC T 197 Models FDEN60VF 71VF1 C2 C1 A B A B D C1 C2 C1 C2 E G F C PFA003Z817 ...
Page 116: ... 115 13 PAC T 197 b Wireless remote control RCN E1R 60 17 150 Unit mm ...
Page 291: ... 290 13 PAC T 197 261 12 PAC T 173 ー K ...
Page 590: ... 589 13 PAC T 197 3 8 SUPER LINK E BOARD SC ADNA E F ...
Page 591: ... 590 13 PAC T 197 ...

