-
361
-
'13 • PAC-T-197
①
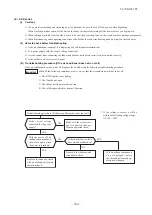
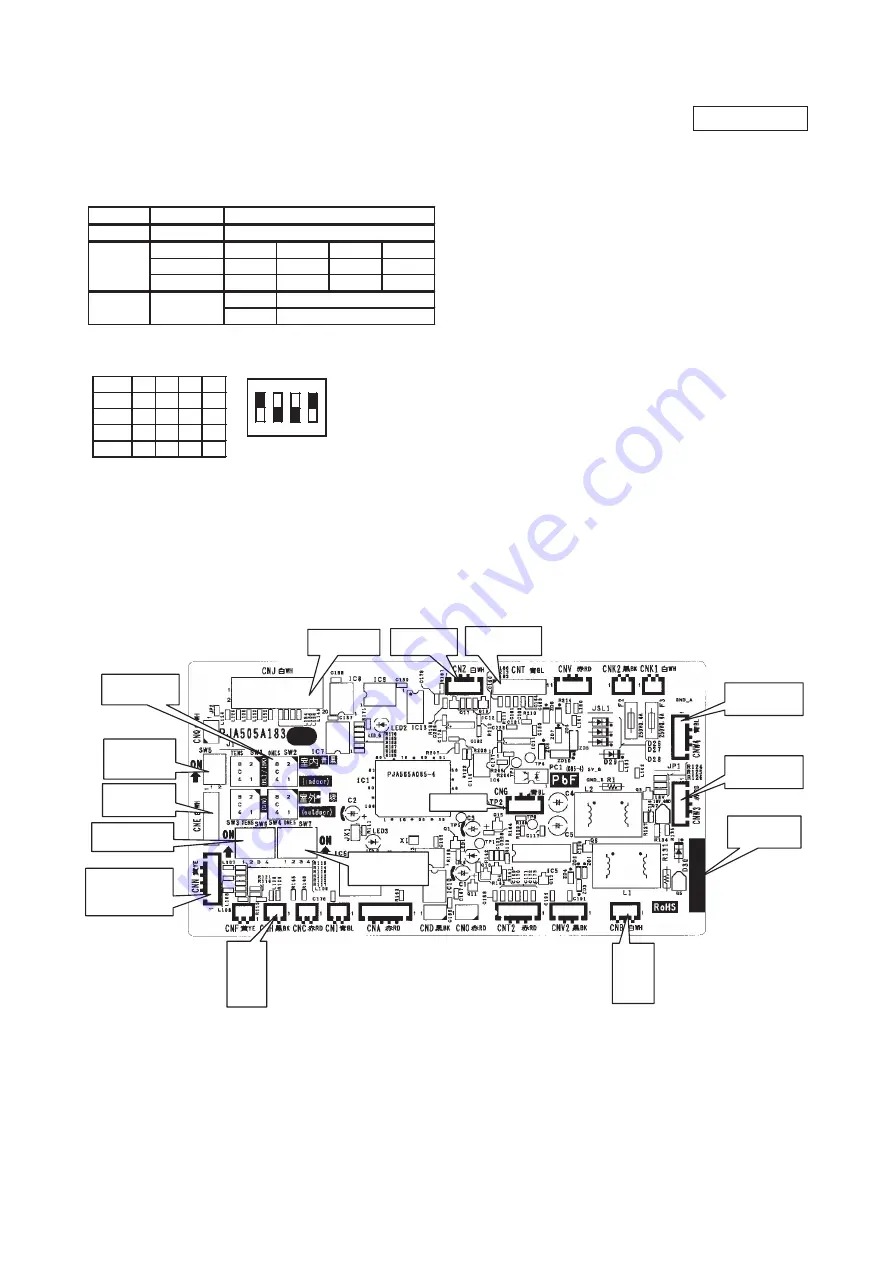
Set to an appropriate address and function using switch on PCB.
Select the same setting with the removed PCB.
②
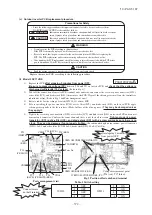
Set to an appropriate capacity using the model selector switch(SW6).
Select the same capacity with the PCB removed from the unit.
③
Replace the PCB
1. Fix the PCB so as not to pitch the cords.
2. Connect connectors to the PCB. Connect a cable connector with the PCB connector of the same color.
3.Do not pass CPU surrounding about wirings.
④
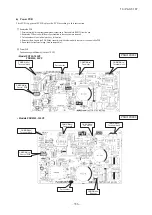
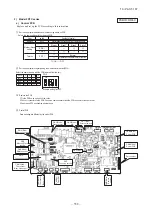
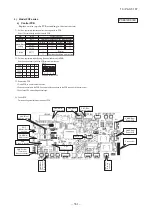
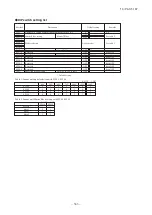
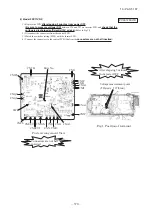
Control PCB
Parts mounting are different by the kind of PCB.
Part number
SW2 (Blue)
Address setting
SW5
Master/Slave
setting
SW7
Function setting
CNT(Blue)
External switch
CNJ(White)
Louver motor
CNN(Yellow)
Thermistor
(Heat exchanger)
C
N
H
(B
la
c
k)
T
h
e
rm
is
to
r
(R
e
tu
rn
a
ir
)
CNW3(Red)
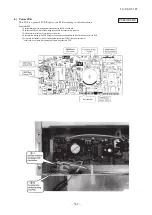
Power PCB
C
N
B
(W
h
it
e
)
R
e
m
o
te
c
o
n
tr
o
l
CNG(Blue)
CNZ(White)
HA
CNE(White)
RAM checker
CNW4(Blue)
Power PCB
SW6
Capacity setting
item
switch
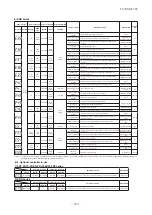
Address
SW2
Master
Slave1
Slave2
Slave3
SW5-1
-
-
〇
〇
SW5-2
-
〇
-
〇
-
〇
Content of control
Plural indoor units control by1 remote control
Master /Slave
setting
Test run
SW7-1
Normal
Operation check/drain motor test run
SW6
-1
-2
-3
-4
100V
〇
〇
-
〇
125V
-
-
〇
〇
140V
〇
-
〇
〇
71V
〇
-
-
〇
SW6
ON
1
2
3
4
Example setting for 71V
a)
Control PCB
Replace and set up the PCB according to this instruction.
PSB012D976C
4)
Model FDF series
Summary of Contents for V Multi 100VNX
Page 98: ... 97 13 PAC T 197 Models FDT100VF1 125VF 140VF H H H H H C B A F G D G PJF000Z285 A ...
Page 101: ... 100 13 PAC T 197 Models FDEN60VF 71VF1 C2 C1 A B A B D C1 C2 C1 C2 E G F C PFA003Z817 ...
Page 116: ... 115 13 PAC T 197 b Wireless remote control RCN E1R 60 17 150 Unit mm ...
Page 291: ... 290 13 PAC T 197 261 12 PAC T 173 ー K ...
Page 590: ... 589 13 PAC T 197 3 8 SUPER LINK E BOARD SC ADNA E F ...
Page 591: ... 590 13 PAC T 197 ...

