11
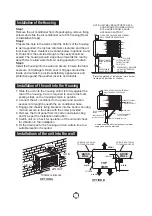
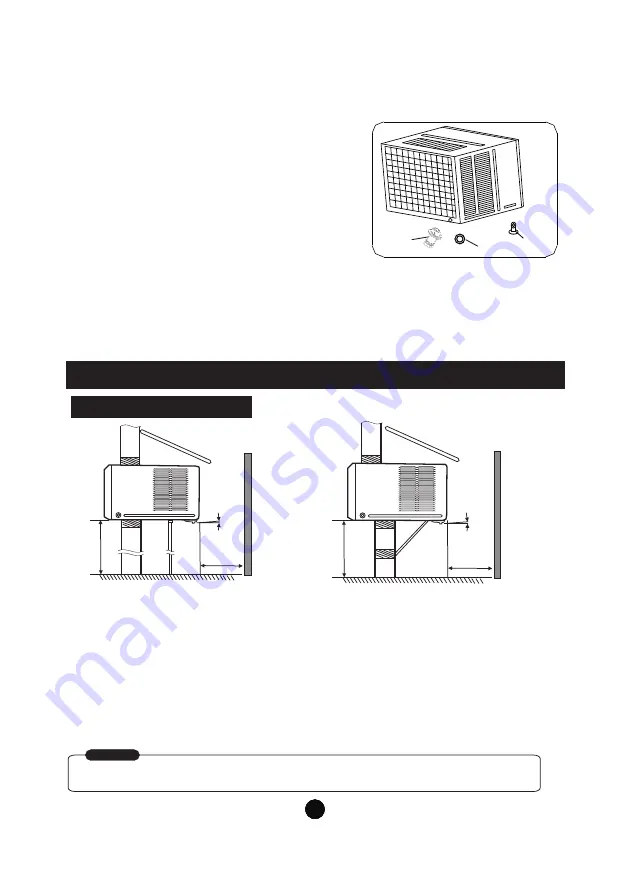
When cooling you can choose back drainage (on models
with back drain hole).
See the following procedures to perform back drainage:
1. Fit the seal onto the drain joint (which provided with
your air conditioner accessory).
2. Remove the rubber plug from the back of the unit.
(If applicable),and insert the rubber plug(which
provided with your air conditioner accessory on
some models) into the bottom drain hole of the unit.
3. Attach the drain joint to the back of the cabinet
O
where you remove the plug and rotate 90 to
securely assemble them.
SEAL
DRAIN
JOINT
RUBBER
PLUG
4. Connect the drain joint with a extension drain hose
(Locally purchased)
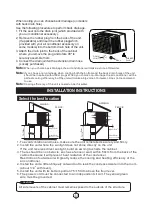
1. To avoid vibration and noise, make sure the unit is installed securely and firmly.
2. Install the unit where the sunlight does not shine directly on the unit.
If the unit receives direct sunlight, build an awning to shade the cabinet.
3. There should be no obstacle, such as a fence or wall, within 50cm from the back of the
cabinet because it will prevent heat radiation of the condenser.
Restriction of outside air will greatly reduce the cooling and heating efficiency of the
air conditioner.
4. Install the unit a little obliquely outward not to leak the condensed water into the room
O
(about 3~4 with level).
5. Install the unit with its bottom portion 75~150cm above the floor level.
6. The power cord must be connected to an independent circuit. The yellow/green
wire must be grounded.
All side louvers of the cabinet must remain exposed to the outside of the structure.
CAUTION
Select the best location
INSTALLATION INSTRUCTIONS
75~150cm
Over 50cm
O
About 3~4
AWNING
FENCE
75~150cm
Over 50cm
O
About 3~4
AWNING
FENCE
Note:
When you choice back drainage the air conditioner will make a voice of hit water.
Note:
If you choose non-drainage when cooling,both the bottom and the back drain holes of the unit
should be inserted with rubber plugs.When you choice non-drainage the air conditioner will be
perfect cooling efficiency, but the unit will make a big voice of hit water. Does not recommend
to use.
Note:
Cooling efficiency of the unit is tested under hit water.
Summary of Contents for WRK20MA1
Page 10: ...OPERATING INSTRUCTIONS 7 ...
Page 11: ...8 ...
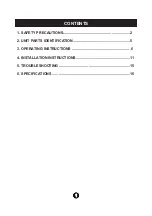
Page 23: ...1 內容 1 安全說明 2 2 部件說明 5 3 操作說明 6 4 安裝說明 11 5 故障檢修表 15 6 參數 16 ...
Page 29: ...7 7 POWER MODE MODE 1 30 1 17 FAN FAN SWING SWING TIMER 24 0 5 10 1 ...
Page 30: ...8 8 17 30 SWING ...
Page 31: ... Note 9 9 ...
Page 32: ...1 2 1 2 3 4 1 2 3 40 4 10 10 1 2 3 4 T RUBBER PLUG SCREW DRAIN PAN DRAIN OUTLET ...
Page 35: ...13 13 1 See Fig 1 2 See Fig 2 4 A B C D 2 1 Fig 3A Fig 3B Fig 3C Fig 3D 2 Fig 4 ...
Page 37: ... 15 15 ...
Page 39: ......

