
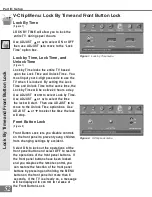

Lock By Time
(F igure 1)
LO C K BY T IM E will allow you to lock the
entire T V during spe ci c hour s.
U se AD JU S T or to sele ct O N or O FF
then use AD JU S T to move to the “Lock
T ime” option box.
Lock by Time, Lock Time, and
Unlock Time
(F igure 1)
Lock by T ime locks the entire T V base d
upon the Lock T ime and U nlock T ime. You
must input your 4 -digit passcode to use the
T V when it is locke d. By setting the Lock
T ime and U nlock T ime to the same time, the
Lock by T ime will be active 24 hours a day.
U se AD JU S T or to sele ct Lock by T ime.
U se AD JU S T or to sele ct the time
the lock will start. T hen use AD JU S T to
move to the U nlock T ime option box. U se
AD JU S T or to sele ct the time the lock
will stop.
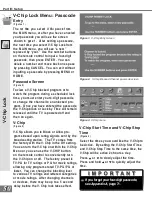
Figure 1.
Lock by Time menu
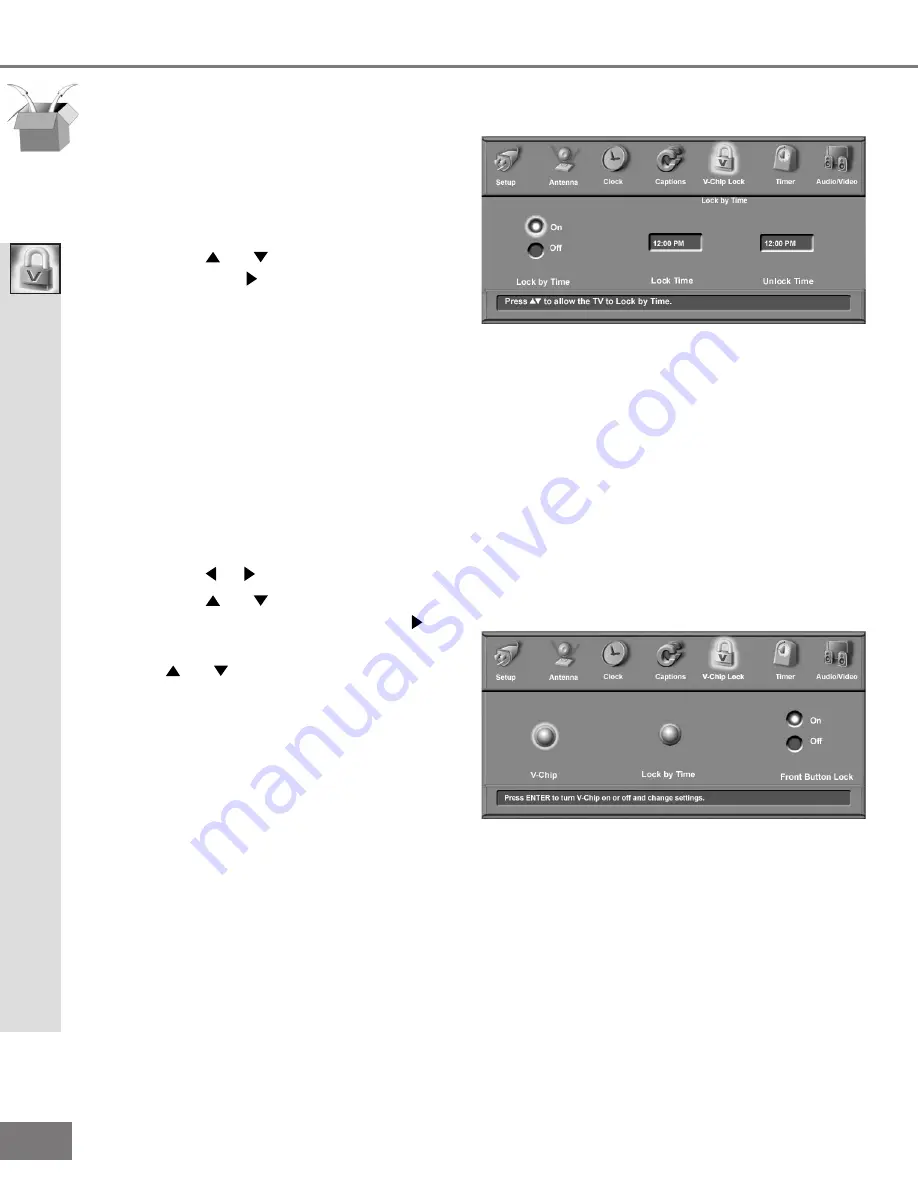
Front Button Lock
(F igure 2 )
Front Button Lock lets you disable controls
on the front panel to prevent young children
from changing settings by accident.
S ele ct O N to lock out the operations of the
front panel button and sele ct O FF to restore
the ope rations of the front panel buttons. If
the front panel buttons have been locked
and you misplace the remote control, you
can restore the function of the front panel
buttons by pressing and holding the M EN U
button on the front panel for more than 8
se conds. If the T V is already on, a message
will be displayed to con rm t he r el ease of
the Front Button Lock.
Figure 2.
V-Chip Lock menu
Part III: Setup
L
oc
k
B
y
T
im
e
a
nd
F
ron
t
B
u
tt
on
L
oc
k
V-Chip Menu: Lock By Time and Front Button Lock


