29/100
3.3.5
Obtained data control area
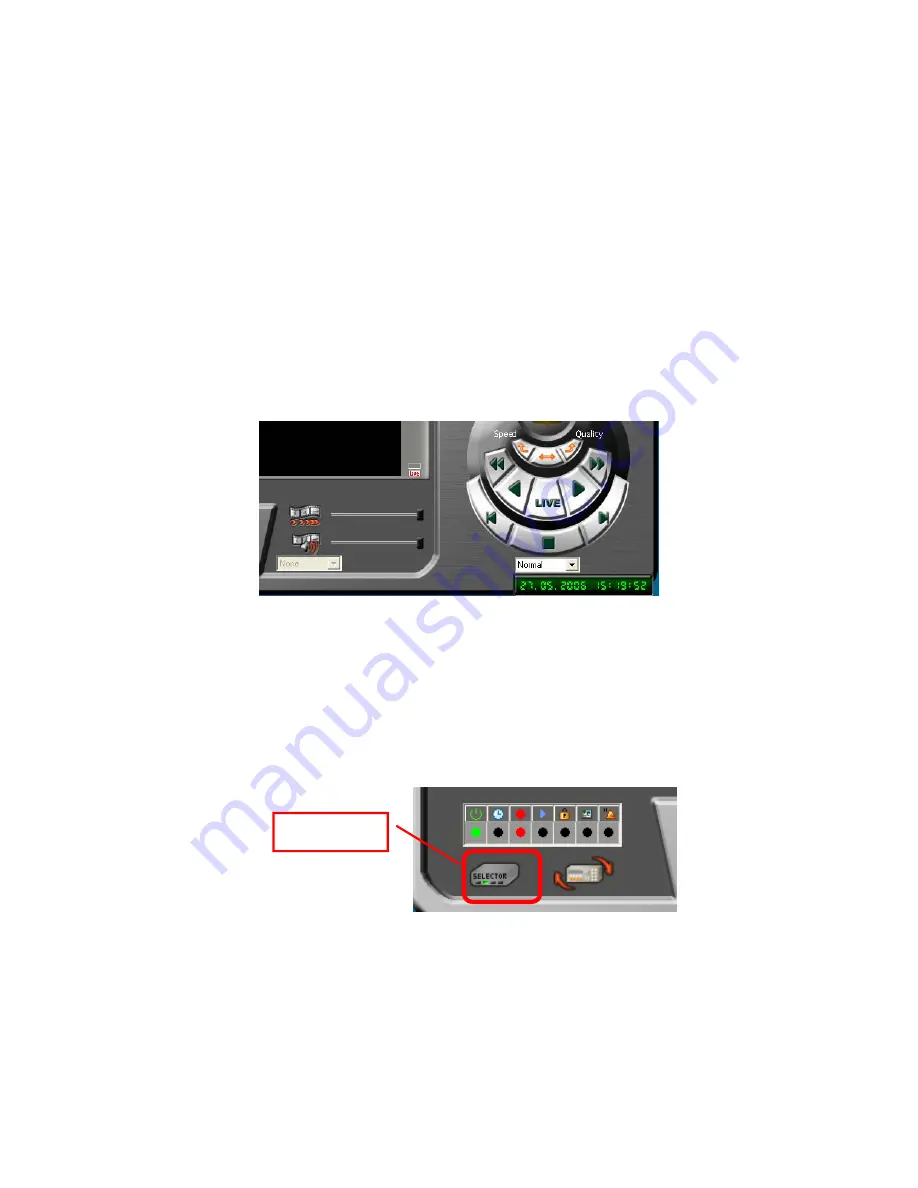
In this area, there are buttons that can control the images and sounds sent from the recorders.
On the left side, there are slide bars and the list box that can display the dropdown menu.
Use one of the slide bars to determine the image updating speed, and use the other slide bar
to adjust the live sound (to turn on/off the live sound and to determine the sound delay value).
On the right side, there are various control buttons that can control the regenerated/live
images. Different from the control buttons on the Camera Window panel (refer to Sec. 3.3.2),
these control buttons enable batch control of all the cameras displayed on the screen. The
Speed/Quality control buttons at the upper section can adjust the image quality and the speed
in 3 stages. Note that increase in the image quality will reduce the speed, and increase in the
speed will reduce the image quality.
3.3.6
DVR selector button
The icon below the status lamp is the recorder SELECTOR button. On the SingleView screen,
switching the recorder is required. However, as only the disconnected recorder is displayed
with the connecting button, switchover can not take place unless you go back to the MainView
screen. In this case, switch the recorder with the recorder SELECTOR.
With a click on the icon, the panel below is displayed. In this panel, the list of all registered
recorders excluding the recorder which is displayed on the SingleView screen is displayed
regardless of the connected/disconnected status. Selecting the desired recorder, click on the
execute button on the right.
DVR Selector


