43/100
4.4.1.
Obtainment of specified file and registration of set data
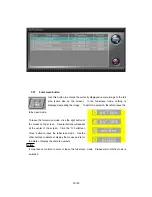
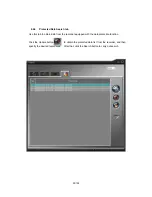
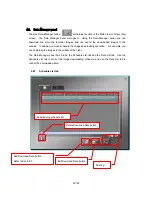
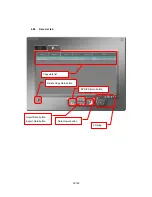
Click the Read button in the Recorder area to obtain the previously set menu data from the
connected recorder. After editing the obtained data, click the Register button in the Recorder
area to register the set menu data in the recorder again. To ensure safe and certain
registration of the set menu data, the DX-PC200 will turn off the power at the completion of
registration. The recorder, therefore, may be stopped at the power-off status after writing the
set menu data. Check the recorder status lamp, and if necessary, turn on the power again or
start recording operation again.
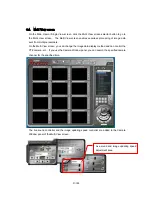
In addition, the Register Now button appears at some points of each data setting screen. Use
this button to immediately send the entire screen data or the corresponding item data only to
the recorder. The merit of this button is that the set data can be sent to the recorder without
turning off the power. This button, however, has a demerit. Use of this button can send the
set data to the recorder even if the data is unacceptable for the recorder. For this reason,
even if the set data is sent to the recorder, the data may not be accepted by the recorder in
some cases. After sending the set data, therefore, be sure to read out the set data from the
recorder, and check that the recorder data is changed to the set data.
Notice
The Register Now button may not be valid depending on the recorder operation status.
4.4.2 Editing the menu setting file
You can edit the menu settings of the recorder using the menu setting panel. Displayed setting items
depend on the type of recorder. For setting items, refer to the operation manual of each recorder.
Following items are set in a unique way to DX-PC200.
【Multiplexer】
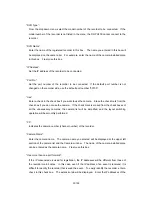
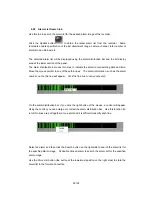
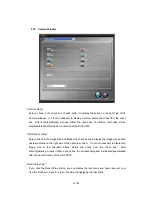
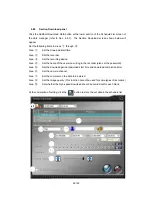
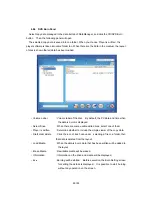
In the multiplexer setting of DX-TL2500 series, left-click the mouse, and the camera channel number
will increase by one. Right-click the mouse, and the channel number options will be displayed as shown
below.


