9 - 10
9.6 Backlight Replacement
6.
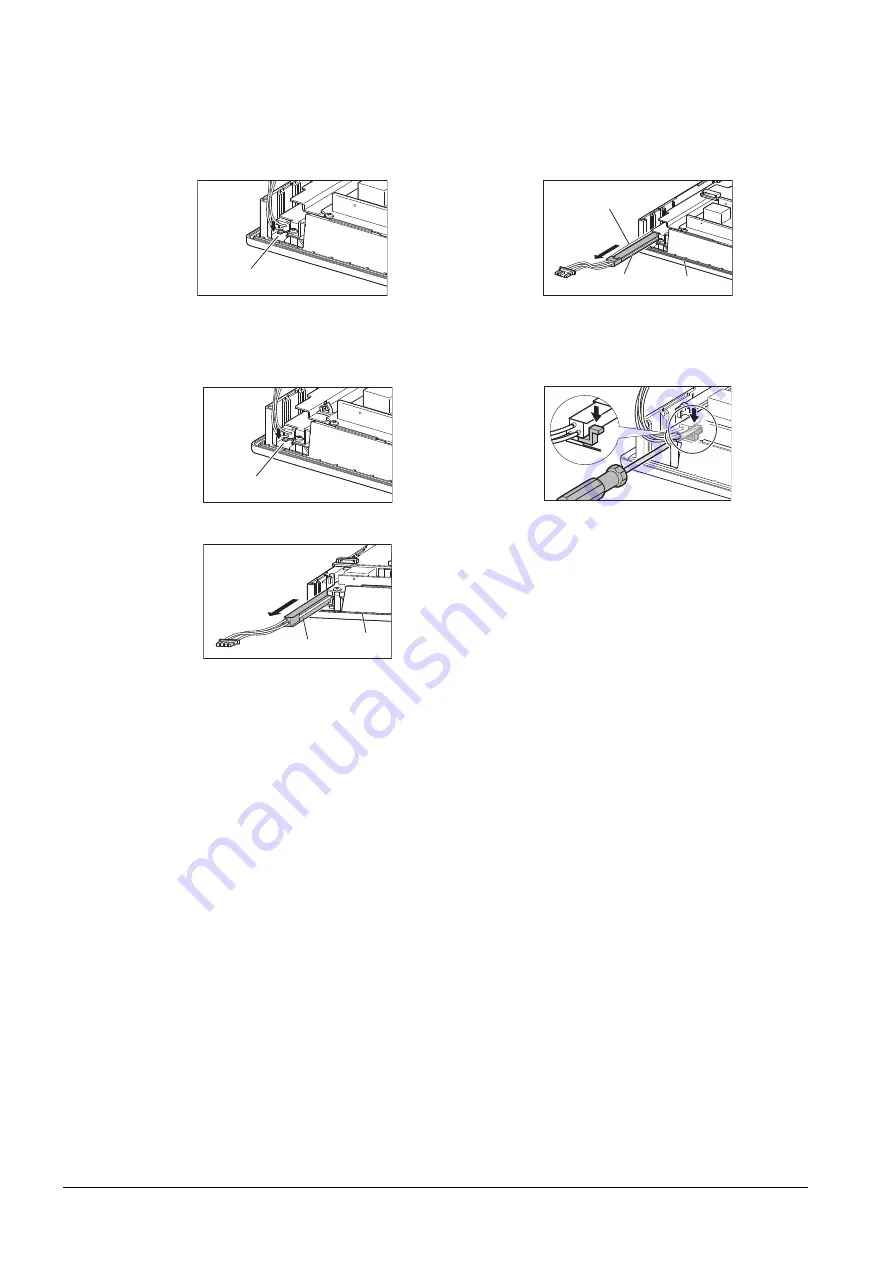
Push the backlight fixing latch (black) to the front face to pull out the backlight.
Pull out the backlight so that the backlight does not hit the packing.
(When replacing GT16-80SLTT)
(When replacing GT16-70SLTT/VLTT)
7.
Install a new backlight in the reverse procedure of removal.
When inserting a new backlight into the backlight replacement hole of the GOT, make sure not to damage the
sheaths of the cables.
Insert the backlight until it is fixed by the latch (black).
Assemble the case in the reverse procedure of disassembly.
(Tighten the fixing screws on the GOT rear face with a torque of 0.36 to 0.48 N•m).
When installing the case, make sure that the cables are not stuck between the case and the GOT.
The latch is on the right side of the backlight.
(Edge-on view figure of the part A in step 4)
Push the latch to the front face side with the finger.
(If the latch cannot be reached, use a screw driver etc.)
Latch
Cable
Fluorescent tube
Packing
Latch
Fluorescent tube
Packing
Summary of Contents for GOT 1000 GT16
Page 1: ...GT16 User s Manual Hardware ...
Page 2: ......
Page 14: ...A 12 INDEX REVISIONS WARRANTY ...
Page 210: ...App 17 ...
Page 212: ...Index 2 Transportation Precautions App 15 U USB environmental protection cover 2 17 8 19 ...
Page 217: ......


