Gpredict User Manual
Data Field
Available in
List
View
Map
View
Polar
View
Single
Sat.
Predict
dial.
Orbit Phase
[
°
]
√
√
√
Visibility
-
√
√
√
Ground Station Info
-
√
√
Cursor Track
-
√
√
Next Event (AOS or LOS)
[hms]
√
√
√
√
√
AOS
[hms]
√
√
√
LOS
[hms]
√
√
√
√
√
TCA
[hms]
√
Pass Duration
[hms]
√
Maximum Elevation
[
°
]
√
Azimuth at AOS/LOS
[
°
]
√
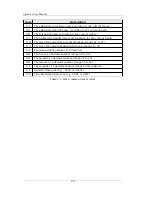
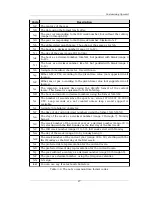
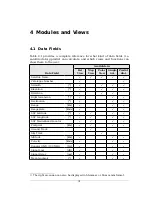
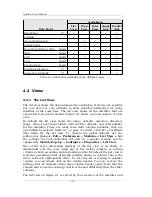
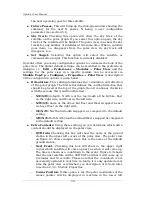
Table 4.1: Data field availability in the different views.
4.2 Views
4.2.1 The List View
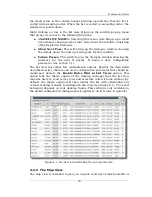
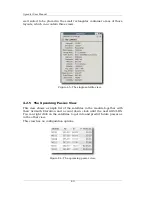
The list view shows the data organised in a list/table. It shows one satellite
per row and it is very efficient to show detailed information for many
satellites at the same time. The list view shows all the satellites that are
associated to its parent module. Figure 4.1 shows a screen capture of a list
view.
By default the list view shows the name, azimuth, elevation, direction,
range, time of next event (either AOS or LOS), altitude, and orbit number
for the satellites. There are many more data columns available, they are
just hidden by default. Table 4.1 on page 32 shows a full list of available
data fields for the list view. To change the global defaults use the
preferences dialogue;
Edit → Preferences → Modules → List View
, while
the settings for each individual list view in a specific module can be
changed via
Module Pop-Up → Configure → Properties → List View
.
One of the more interesting features of the list view is its ability to
dynamically sort the rows using any of the visible columns as sorting
criteria, in both ascending and descending order. By default the list view is
sorted in ascending order using the satellite names as criteria, that is the
list is sorted in alphabetical order. To sort the list according to another
column, you can simply click on the column header. You can reverse the
sorting order by clicking on the same column header again. Note that the
column that is used as sorting criteria is shaded differently than the other
columns.
The list view on figure 4.1 is sorted by the elevation of the satellites and
32

