19
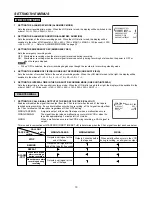
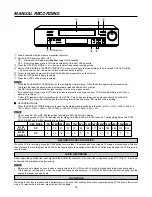
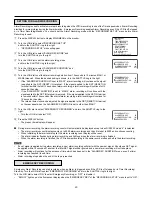
TAPE COUNTER
A five digit counter indicates the relative position on the recorded portion of the tape. If a portion of the
tape is not recorded, the counter will not increase or decrease during play, FF/RWD or search modes.
•
“EEE EE” illuminates to indicate that the VCR power is in stand-by mode.
COUNTER MEMORY
Press the COUNTER MEMORY/SKIP/INDEX button repeatedly until the “M” indicator appears on the fluorescent display.
Turn the SHUTTLE ring to the right and the tape will rewind to the “00000” position of the counter and stop. (The rewind to “00000” is
slightly inaccurate.)
N
•
The counter display is stored in the memory when the power is turned off, so the same numbers will be displayed when the
power is turned back on.
ADDITIONAL FEATURES
COUNTER RESET
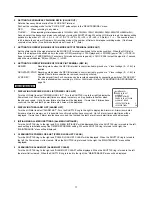
MEMORY BACK-UP IN CASE OF POWER FAILURE
This VCR includes a built-in memory back-up so the presets of present time and date, alarm list, power loss list and the number of
tape use will remain in memory if there is a power failure or if the POWER CORD is disconnected from the mains outlet. The presets
will remain in memory for a maximum of 31days provided that the VCR has been connected to the mains supply for at least 40 hours
per week. Connection charges the backup supply.
• Check the present time if there has been a power failure or if the POWER CORD has been disconnected from the mains for a
prolonged time.
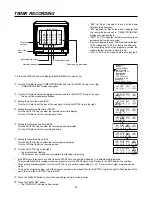
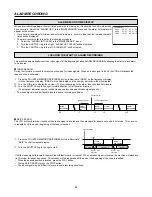
If there is a power failure during recording and the power comes back on, the VCR will begin
recording in the same record mode as before the power failure. After the power comes back on,
“X” will be displayed next to the present time for about 1 minute.
If a power failure occurs during playback, the VCR will be in the stop mode when the power
comes back on.
RECORDING AFTER A POWER FAILURE
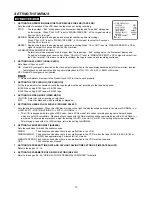
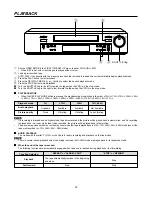
The power failure start time on recording is stored in the memory, so it is possible to confirm the start time.
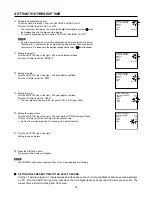
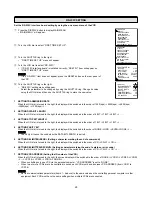
1. Press the DISPLAY button to display the MAIN MENU.
2. Turn the JOG dial to select “MAINTENANCE” and turn the SHUTTLE ring to the right.
“MAINTENANCE” display will appear.
3. Turn the JOG dial to select “POWER LOSS LIST” and turn the SHUTTLE ring to the right.
“POWER LOSS LIST” will appear.
• Up to 3 power failure start times will be displayed. If more than 3 failures have occurred, the first and the last 2 power failure start
times will be displayed.
• To reset the “POWER LOSS LIST”, select the “POWER LOSS LIST CLEAR” in the “MAINTENANCE” setting display and turn the
SHUTTLE ring to the right. The initialize menu will appear and turn the SHUTTLE ring to the left.
ELAPSED TIME DISPLAY
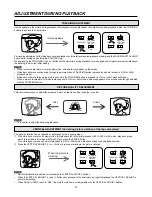
The elapsed time of recording and playback are stored in memory. The elapsed time should be used as a guide for periodic
replacement of parts.
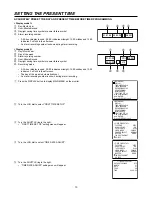
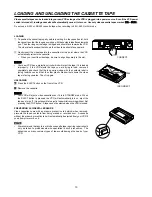
1. Press the DISPLAY button to display the MAIN MENU.
2. Turn the JOG dial to select “MAINTENANCE” and turn the SHUTTLE ring to the right.
“ELAPSED TIME” is indicated.
• The elapsed time counts up to 89,999 hours.
3. Press the DISPLAY button.
• The present time display will appear.
POWER FAILURE TIME DISPLAY
01-01-99 FRI
00:00:00X L12
<
POWER LOSS LIST
>
01 03 - 01 - 99 01 : 00
02
03
0
0H
<
REPEAT REC TIMES>
<
ELAPSED TIME>
Press the COUNTER RESET button to reset the counter to “00000”.
Summary of Contents for HS-S8300E(BRS)
Page 42: ...872C193C3 PRINTED IN JAPAN...


