2-8
Installation
2Unpacking to Installation
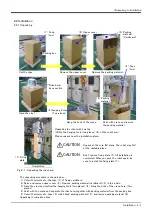
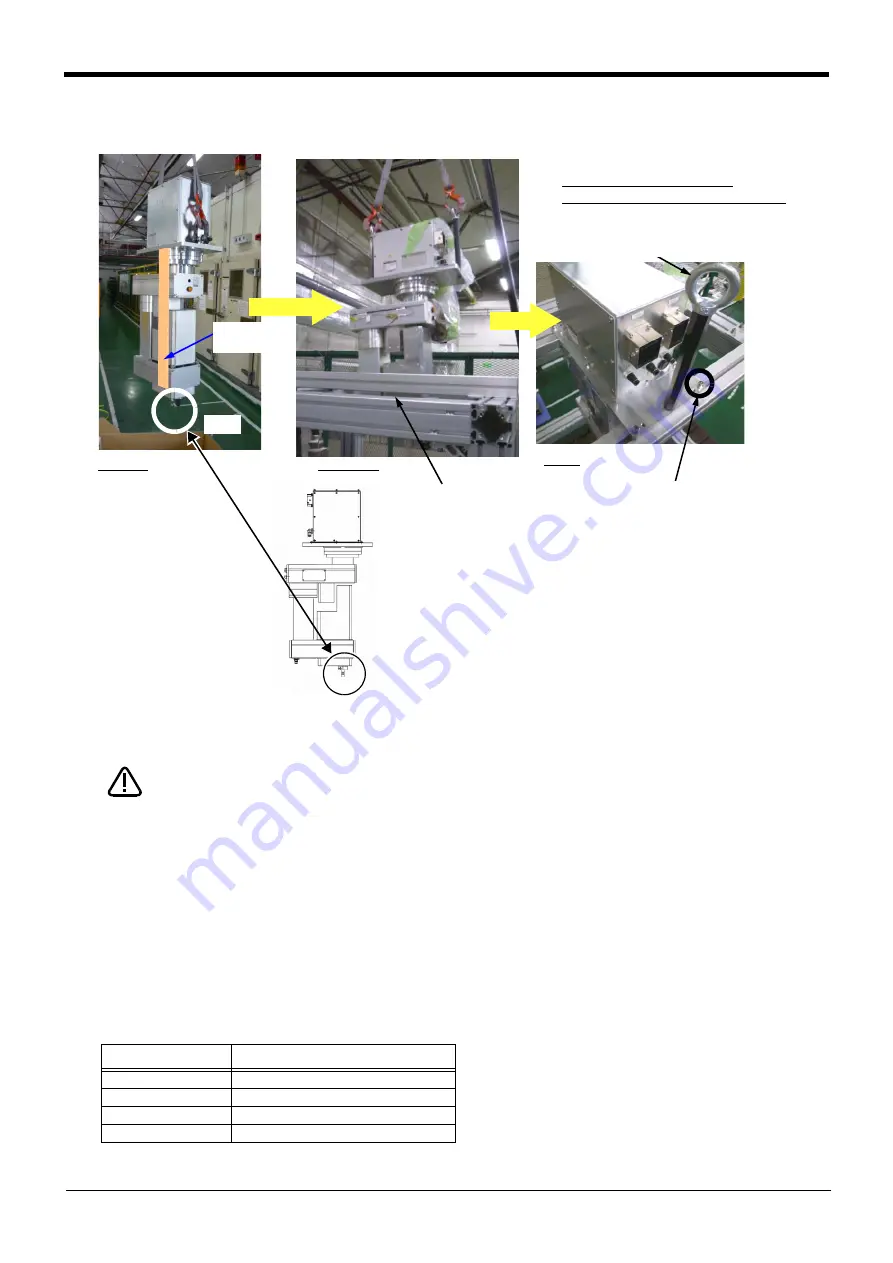
2.2.2 Transportation procedures(Transporting with a crane)
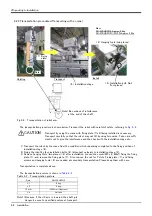
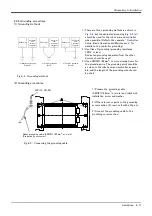
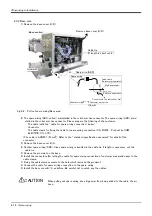
Fig.2-2 : Transportation of robot arm
The transportation procedure is shown below. Transport the robot with careful of safety, referring to
Transport by using the crane with fixing plate (7) still being installed is necessary.
Transport carefully so that the robot may not tilt by using two wires. Take care suffi
-
ciently not to give the interference and the shock with the installation stage etc.,
1) Transport the robot by the crane from the condition which unpacking completed to the fixing position of
installation stage <8>.
2) Fixing the robot by four installation bolts <9> (attached) certainly to installation stage <8>.
3) Remove hanging tools (two places) <4> after installation. Loosen the screw (M5 x 4, M4x1) fixing the fixing
plate <7>, and remove the fixing plate <7>. Also remove the nut for T slots. Fixing plate <7>, and fixing
screws and hanging tools <4> are needed at secondary transportation. Please keep them with care.
Transportation is complete above.
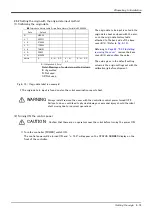
The transportation posture is shown in
Table 2-2 : Transportation posture
Axis
RH-3SDHR3515
J 1
0 deg.
J 2
0 deg.
J 3
Note1)
Note1) Because if the J3 axis is lowered the shaft juts
danger, be sure to specified posture at transport.
-569.5mm (Upper end)
J 4
Not fixed
Mass
RH-3SDHR3515: Approx. 24kg
RH-3SDHR3512C/3512W: Approx. 28kg
Note)
Note) Be cautious of interference
at the end of the shaft.
Hoisting
Transport
<8> Installation stage
Install
<4> Hanging tools (two places)
<9> Installation bolt, Nut
(four places)
<7> Fixing
plate
CAUTION


