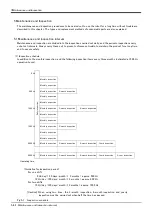
3Installing the option devices
Changing the operating range
3-59
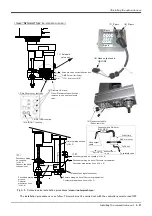
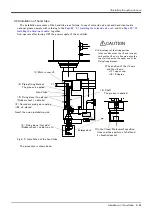
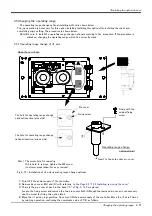
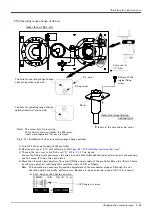
3.5.2 Operating range change of J2 axis
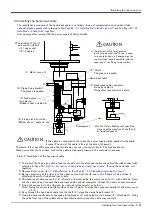
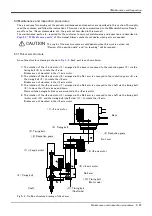
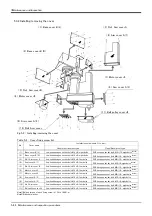
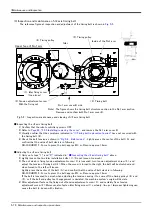
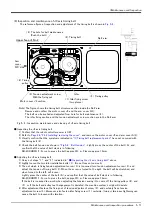
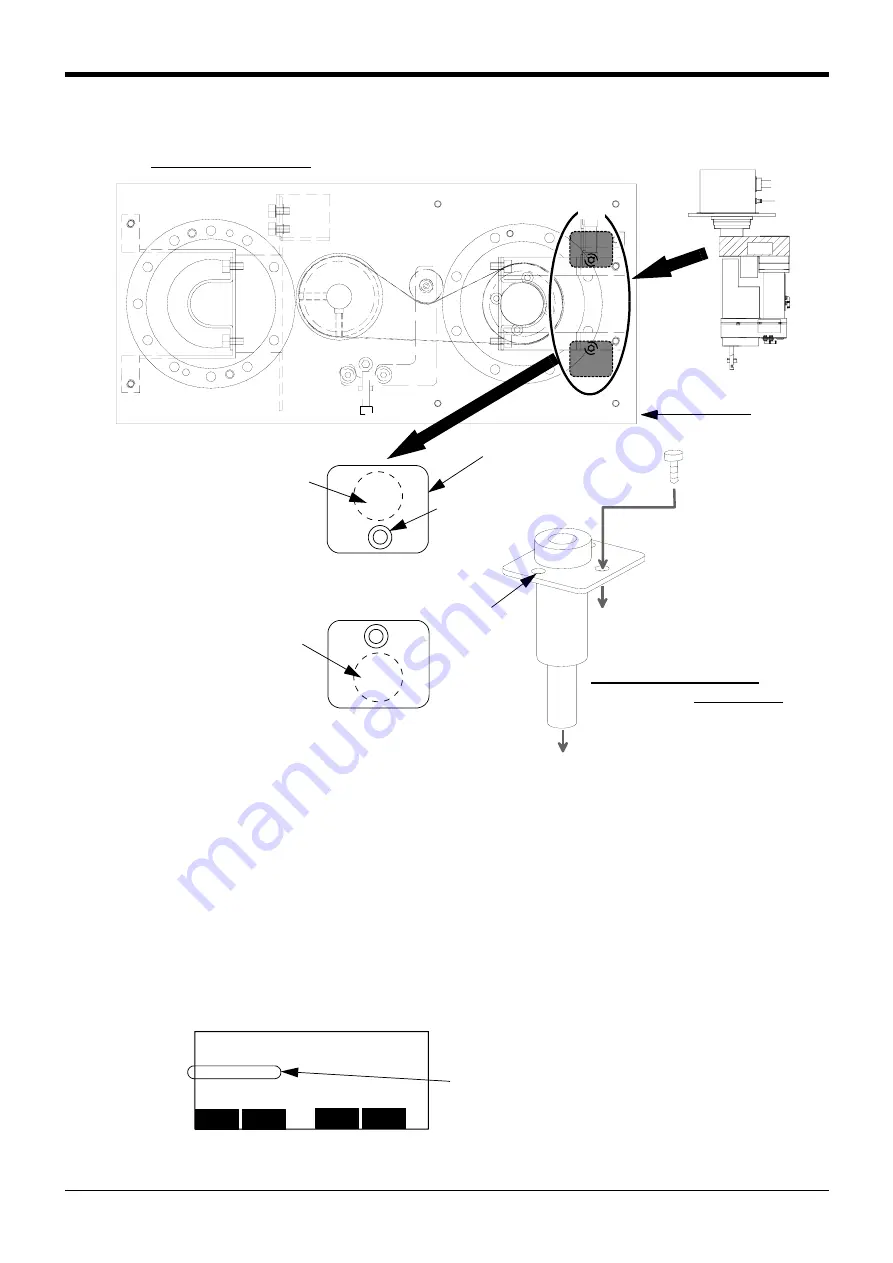
Fig.3-13 : Installation of J2 axis operating range change optional
1) Turn OFF the power supply of the controller.
2) Remove arm cover A (1) with referring to the
Page 66, "5.3.2 Installing/removing the cover"
.
3) There is the pin cover in the No.1 arm.("A" of
. Two places)
Loosen the fixing screw and remove the two pin covers both.(Although the removed pin cover is unnecessary,
use the screw for fixing this option later)
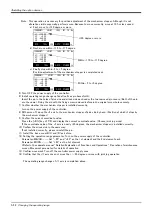
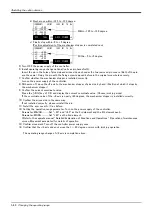
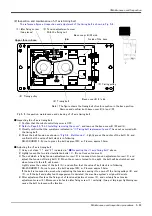
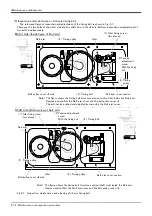
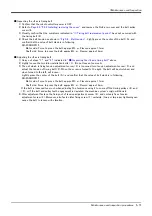
4) Move the J2 axis by jog operation. Once turn ON the power supply of the controller. Move the J2 axis 3 times
by joint jog operation, confirming the coordinate value of T/B as follows.
Note : This operation is necessary for position adjustment of the mechanism stopper. Although it is not
alteration visible especially, performs sure. Because to move correctly, move at 10% or less speed.
a) First, move to +140 degree or more.
Note)
Arm cover A
<1> side
The hole for operating range change
optional insertion (plus side)
The hole for operating range change
optional insertion (minus side)
Pin cover
Fixing screw
Fixing with the
original fixing
screw
Operating range change
optional (pin)
Insert to the hole under pin cover.
Note) The screw hole for removing
If it is hard to remove, tighten the M4 screw
(customer preparation) for easy removal.
Upper face of No.1 arm
A
<CURRENT> JOINT 100% M1 T0 B*
J1: +0.00 :
J2: +140.00 :
J3: -560.00 :
J4: +0.00 :
CYLNDR
JOG
TOOL
XYZ
3-XYZ
⇒
+140 degree or more

