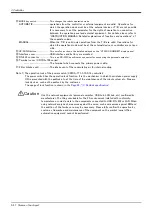
3-39
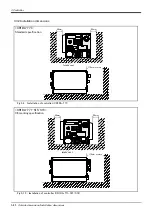
Names of each part
3 Controller
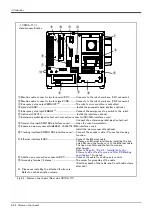
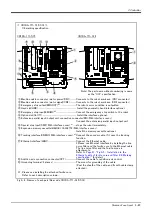
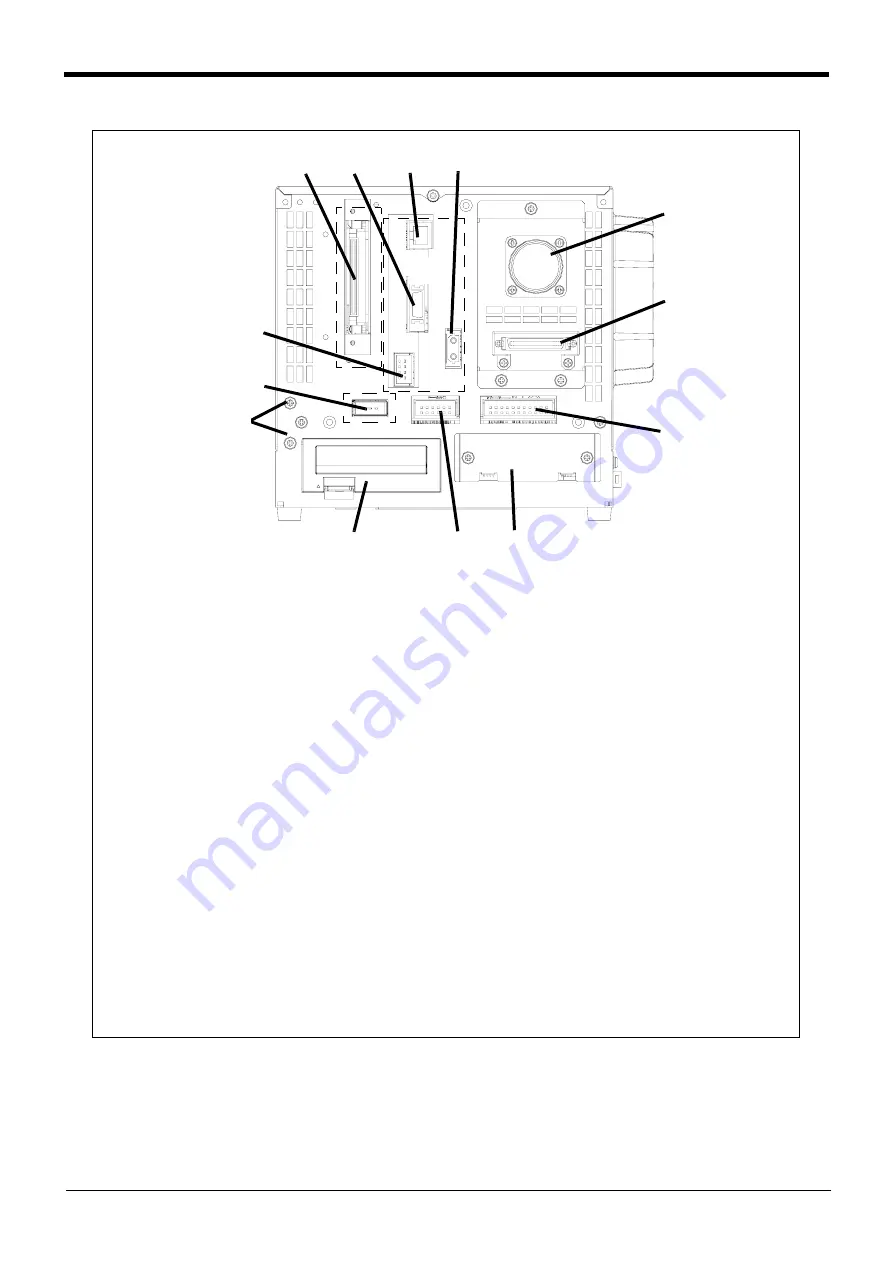
Fig.3-3 : Names of each part (Rear side CR1DA-771)
< CR1DA-771 >
standard specification
①
②
③
④
⑤
⑥
⑦
⑧
⑨
⑩
⑪
⑫
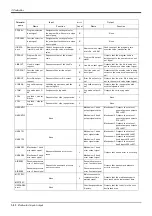
① Machine cable connector (motor power)(CN1) ...........Connects to the robot arm base. (CN1 connector)
② Machine cable connector (motor signal)(CN2)............Connects to the robot arm base. (CN2 connector)
③ Emergency stop output(EMGOUT)
*1
.............................The robot's error condition is outputted.
④ Hand slot(HND)......................................................................... Install the pneumatic hand interface optional.
⑤ Emergency stop input(EMGIN)
*1
......................................Connect the emergency stop switch to the robot.
⑥ Option slot(SLOT1)................................................................. Install the interface optional.
⑦ Extension parallel input/output unit connection connector(RIO/With interface cover)
Connect the extension parallel input/output unit.
⑧ Special stop input(SKIP/With interface cover)...........stops the robot immediately.
⑨ Expansion memory cassette(
MEMORY CASSETTE
/With interface cover)
Install the memory cassette optional.
⑩ Tracking interface(CNENC/With interface cover).....Connect the encoder cable, if it uses the tracking
function.
⑪ Ethernet interface(LAN1).....................................................Connect the Ethernet cable.
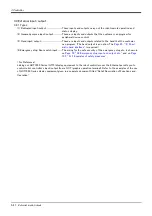
*Please use Ethernet interface by installing the line
noise filter and the ferrite core to the Ethernet cable.
The line noise filter and the ferrite core are
attachments.
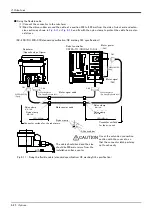
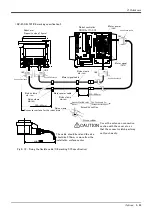
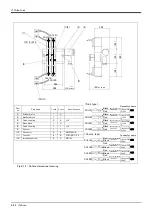
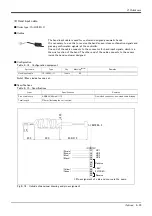
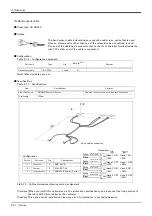
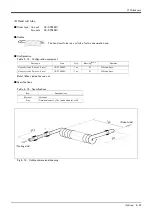
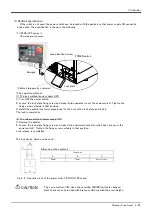
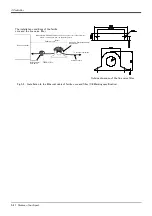
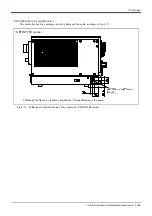
Refer to
Page 41, "Fig.3-5 : Installation to the
Ethernet cable of ferrite core and filter (CE Marking
⑫ Addition axis connection connector(OPT)....................Connect the cable for addition axis control
⑬ Grounding terminal (2 places) ...........................................The screw for grounding of the cable
(Peel the sheath of the cable, and fix with cable clamp
attached.)
*1 Please use installing the attached ferrite core.
Refer to each description column.
⑬
Summary of Contents for MELFA RV-2SD Series
Page 2: ......
Page 122: ......
Page 123: ......
Page 124: ......
Page 125: ......
Page 126: ......
Page 127: ......
Page 128: ......
Page 129: ......
Page 130: ......
Page 131: ......
Page 132: ......
Page 133: ......
Page 134: ......
Page 135: ......
Page 136: ......
Page 137: ......
Page 138: ......
Page 139: ......
Page 140: ......
Page 141: ......
Page 142: ......
Page 143: ......
Page 144: ......
Page 145: ......
Page 146: ......
Page 147: ......
Page 148: ......
Page 149: ......

