GDI ±
Troubleshooting
13A-48
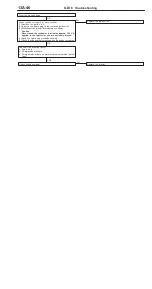
OK
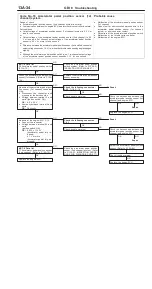
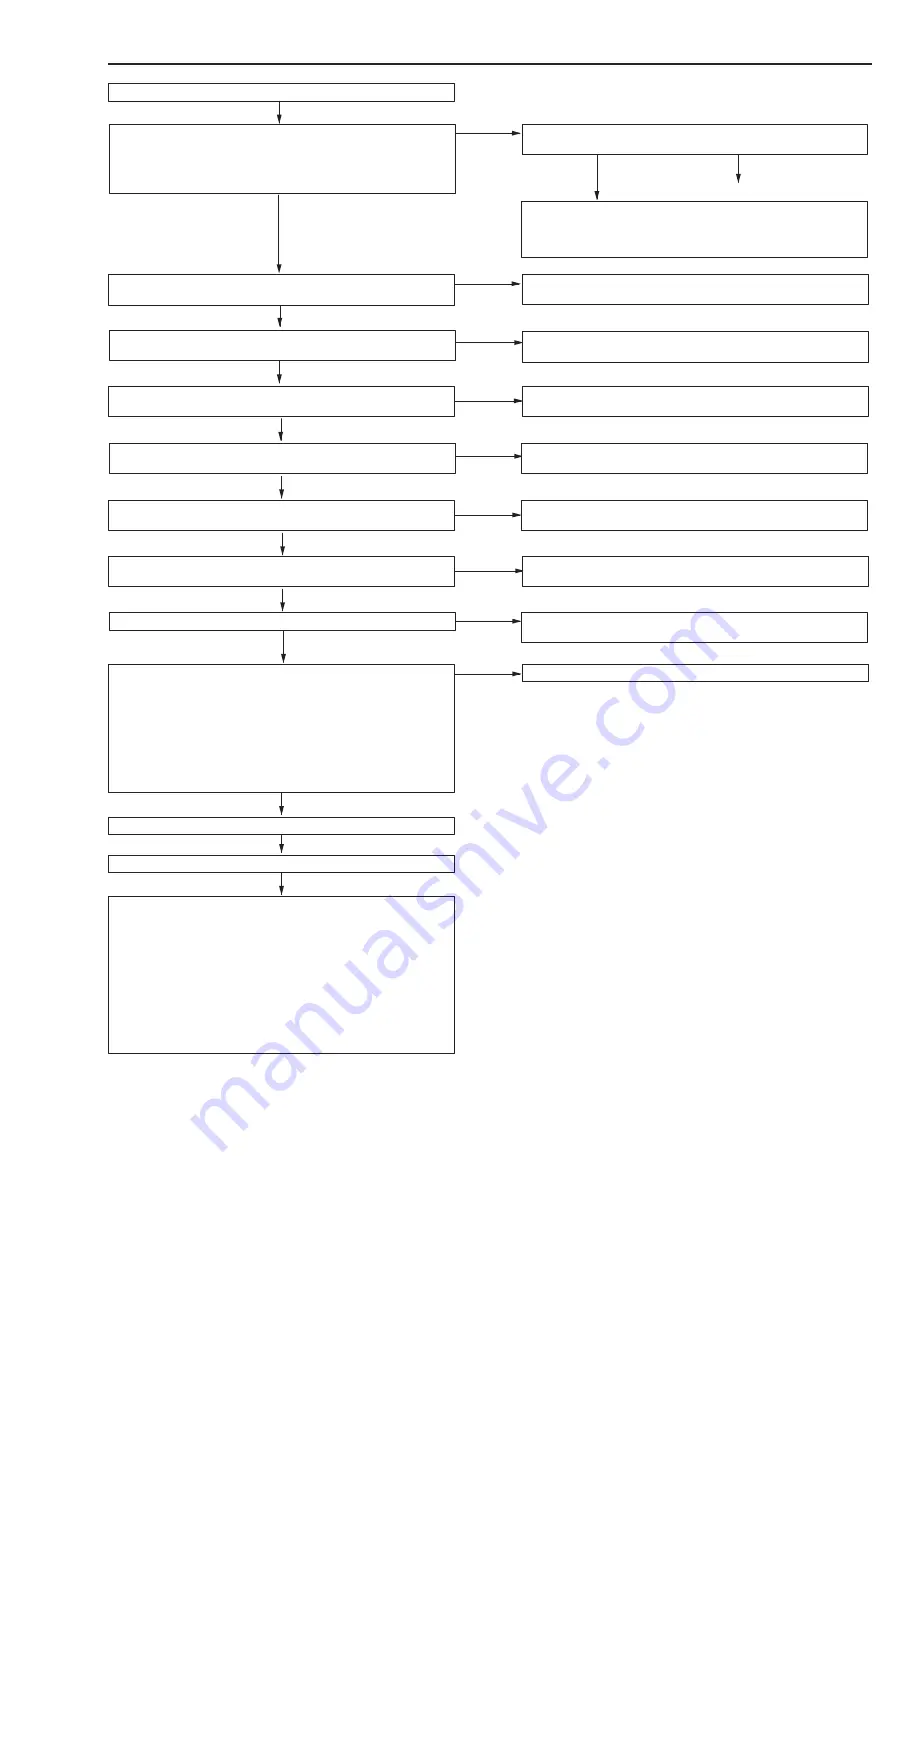
Check that air is sucked in the air intake system.
D
Broken intake manifold gasket
D
Damaged vacuum hose
D
Damaged air intake hose
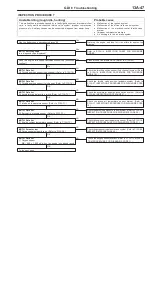
From the previous page
OK
MUT-
II
Data list
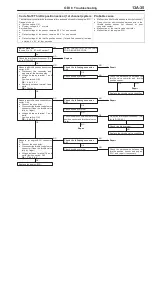
27 Power steering fluid pressure switch (Refer to P.13A-73.)
NG
Check the power steering fluid pressure switch system. (Refer
to P.13A-69, INSPECTION PROCEDURE 31.)
OK
MUT-
II
Data list
28 A/C switch (Refer to P.13A-73.)
NG
Check the A/C switch and A/C relay system. (Refer to P.13A-69,
INSPECTION PROCEDURE 32.)
OK
MUT-
II
Data list
67 Stop lamp switch (Refer to P.13A-74.)
NG
Check the stop lamp switch. (Refer to P.13A-70, INSPECTION
PROCEDURE 33.)
OK
MUT-
II
Data list
31 Small lamp switch (Refer to P.13A-73.)
NG
Check the small lamp switch system. (Refer to P.13A-70, INSPEC-
TION PROCEDURE 34.)
OK
MUT-
II
Data list
68 EGR valve (Refer to P.13A-74.)
NG
Check the EGR valve. (Refer to P.13A-67, INSPECTION PROCE-
DURE 29.)
OK
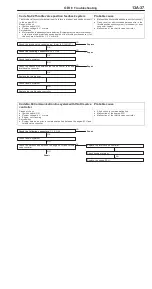
Check ignition timing. (Refer to GROUP 11A ± Engine Adjustment.)
NG
Check that the crank angle sensor and timing belt cover are proper-
ly installed.
OK
Check ignition coil spark for each cylinder.
(1) Remove the ignition coil.
(2) Install a new spark plug to the removed ignition coil.
(3) Disconnect the injector intermediate connector.
Caution
Never touch the connector terminal as approx. 100 V is
applied to the injector, or you are seriously injured.
(4) Earth the spark plug electrode securely.
(5) Check that the spark plug ignites when the engine is cranked.
NG
Replace the ignition coil.
OK
Check trouble symptom.
NG
Check all the following items in that order.
(1) Spark plugs
(2) Exhaust gas emission control system
(3) EGR system
(4) Compression pressure
(5) Foreign material (such as water or kerosine)entered the fuel
line.
(6) Air is sucked in the air intake system, or EGR gas leaks.
D
Damaged intake manifold gasket
D
Damaged air intake hose
D
Damaged vacuum hose
D
Faulty EGR valve seat
OK
MUT-
II
Data list
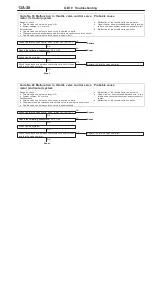
11 Oxygen sensor
OK:
0 ± 400 mV and 600 ± 1,000 mV alternates when the
engine is idling (wait for four minutes after the engine
started).
NG
NG
Repair
OK
MUT-
II
Data list
29 Inhibitor switch (Refer to P.13A-73.)
NG
Check the ignition switch-ST and inhibitor switch. <A/T> (Refer
to P.13A-64, INSPECTION PROCEDURE 26.)
Measure fuel high-pressure between the fuel pump (high pressure)
and injector. (Refer to P.13A-97.)
Clean around the throttle valve. (Refer to P.13A-92.)
Summary of Contents for Pajero Pinin 1999
Page 32: ...NOTES ...
Page 73: ...13A 1 FUEL CONTENTS GASOLINE DIRECT INJECTION GDI 13A FUEL SUPPLY 13B ...
Page 190: ...NOTES ...
Page 191: ...13B 1 FUEL SUPPLY CONTENTS FUEL TANK 2 Fuel Pump Module 4 ...
Page 214: ...NOTES ...
Page 222: ...NOTES ...
Page 256: ...NOTES ...
Page 274: ...NOTES ...
Page 282: ...NOTES ...
Page 360: ...NOTES ...
Page 412: ...NOTES ...
Page 443: ...32 1 POWER PLANT MOUNT CONTENTS ENGINE MOUNTING 2 TRANSMISSION MOUNTING 3 ...
Page 446: ...NOTES ...
Page 447: ......
Page 448: ......
Page 449: ......
Page 450: ......
Page 451: ......
Page 452: ......
Page 453: ......
Page 454: ......
Page 455: ......
Page 456: ......
Page 457: ......
Page 458: ......
Page 459: ......
Page 460: ......
Page 461: ......
Page 467: ...NOTES ...
Page 468: ...BASIC BRAKE SYSTEM 35A ANTI SKID BRAKING SYSTEM ABS 4WD 35B 35A 1 SERVICE BRAKES CONTENTS ...
Page 499: ...NOTES ...
Page 531: ...NOTES ...
Page 541: ...NOTES ...
Page 649: ...NOTES ...
Page 728: ...54A 1 CHASSIS ELECTRICAL CONTENTS CHASSIS ELECTRICAL 54A SMART WIRING SYSTEM SWS 54B ...
Page 883: ...NOTES ...
Page 919: ...NOTES ...

