


First edition
32
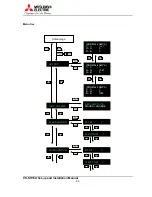
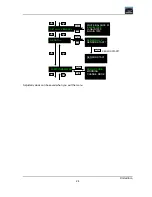
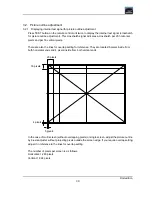
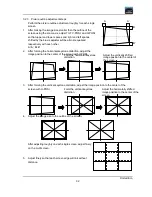
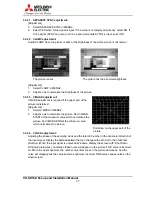
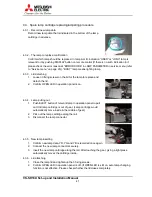
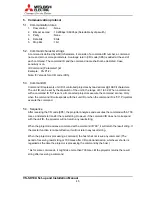
3.2.3. Picture outline adjustment steps
Perform the picture outline adjustment roughly for each single
screen.
1. After making the image size smaller than the outline of the
screen using the zoom axis, adjust TILT, V-POSI, and H-POSI
so that upper and lower spaces and right and left spaces
shifted by the 6-axis adjuster will be almost equalized
respectively with each other.
A=A', B=B'
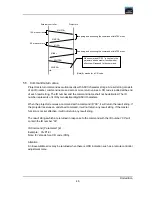
2. After forming the horizontal keystone distortion, adjust the
image position to the center of the screen with V-POSI.
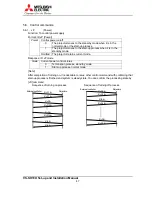
3. After forming the vertical keystone distortion, adjust the image position to the center of the
screen with H-POSI.
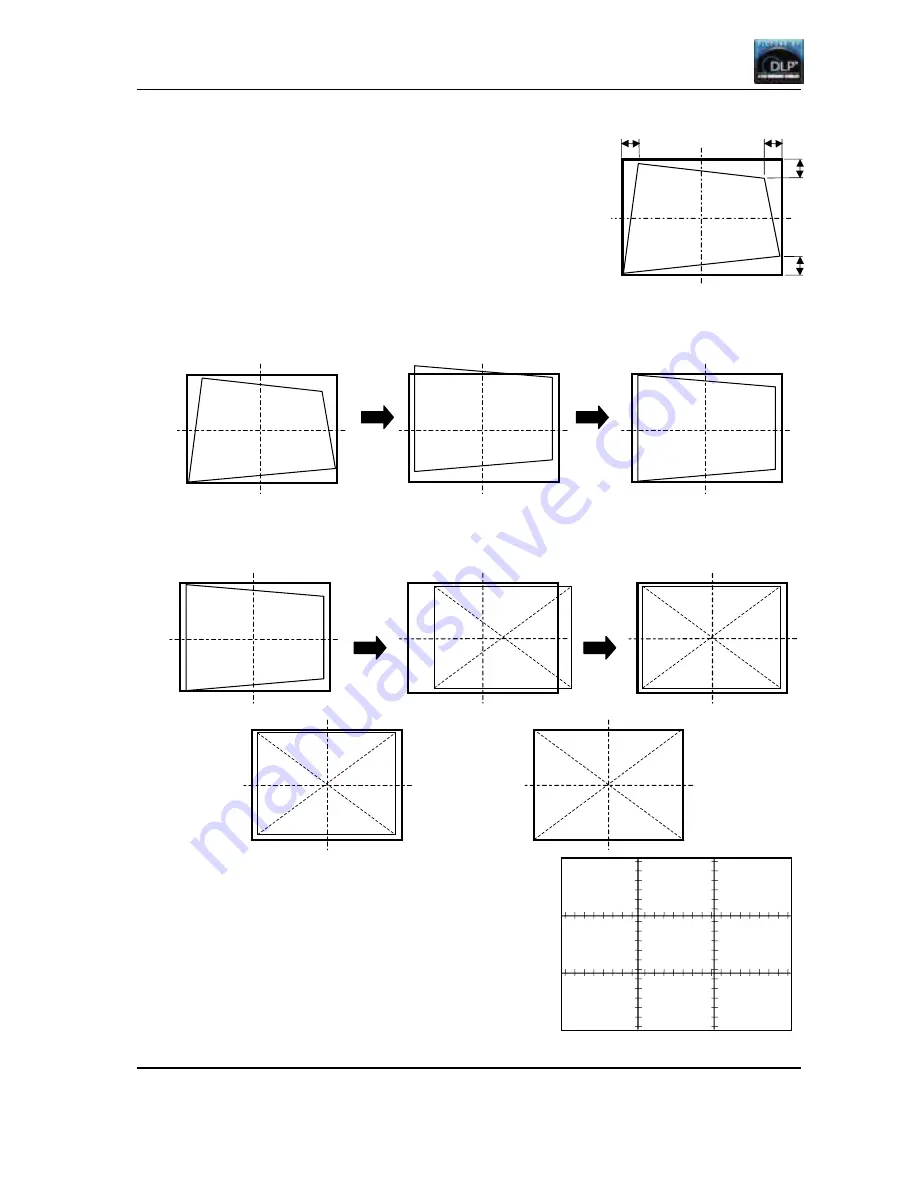
4. Adjust the image size to the outline of the screen.
After adjusting roughly on each single screen, adjust finely
on the multi screen.
5. Adjust finely so that each screen edge will link without
distance.
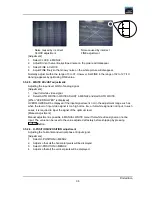
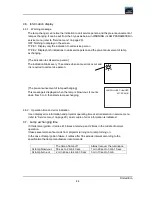
Adjust the vertically shifted
image position to the center of
the screen.
Form the horizontal keystone
distortion.
A
A
'
B
B
'
Adjust the horizontally shifted
image position to the center of the
screen.
Form the vertical keystone
distortion.
Summary of Contents for VS-SH10U
Page 1: ...DLPTM Projector VS SH10U Set up and Installation Manual August 30 2002...
Page 8: ...First edition 8 1 2 Outline drawings 1 2 1 Circuit Box unit mm...
Page 9: ...VS SH10U Set up and Installation Manual 9 1 2 2 Optical Unit unit mm...
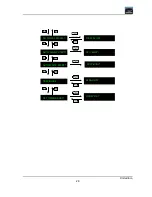
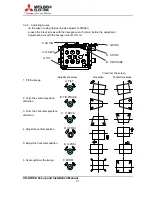
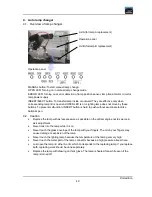
Page 56: ...First edition 56 6 2 6 axis adjuster Model Screw holes VS SH10U c e h j...


