
VS-SH10U Set-up and Installation Manual
41
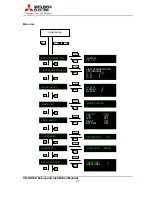
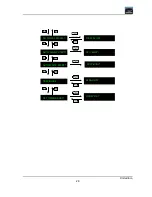
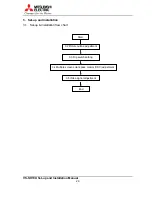
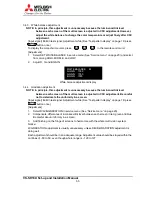
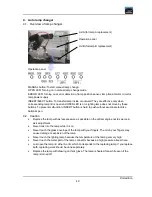
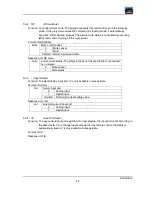
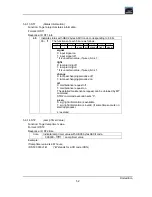
4.3. Spare lamp cartridge replacing/adjusting procedure
4.3.1. Record new lamp data
Record new lamp data that is indicated in the bottom of the lamp
cartridge in advance.
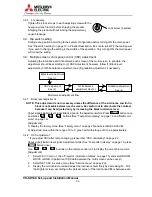
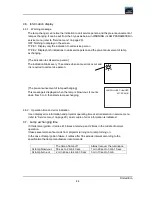
4.3.2. The lamp to replace confirmation
Confirm which lamp should be replaced. In lamp A or B, indication “USED” or “JUNC” lamp is
relevant to it by pushing DISPLAY button on remote control (If there is no such indication in it,
please check the error reason at “ERROR CODE” in LAMP PARAMETER in service menu (refer
to “Service menu” on page 20)). “BUSY” lamp means lighting lamp.
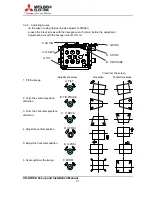
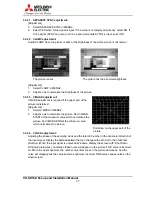
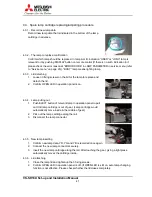
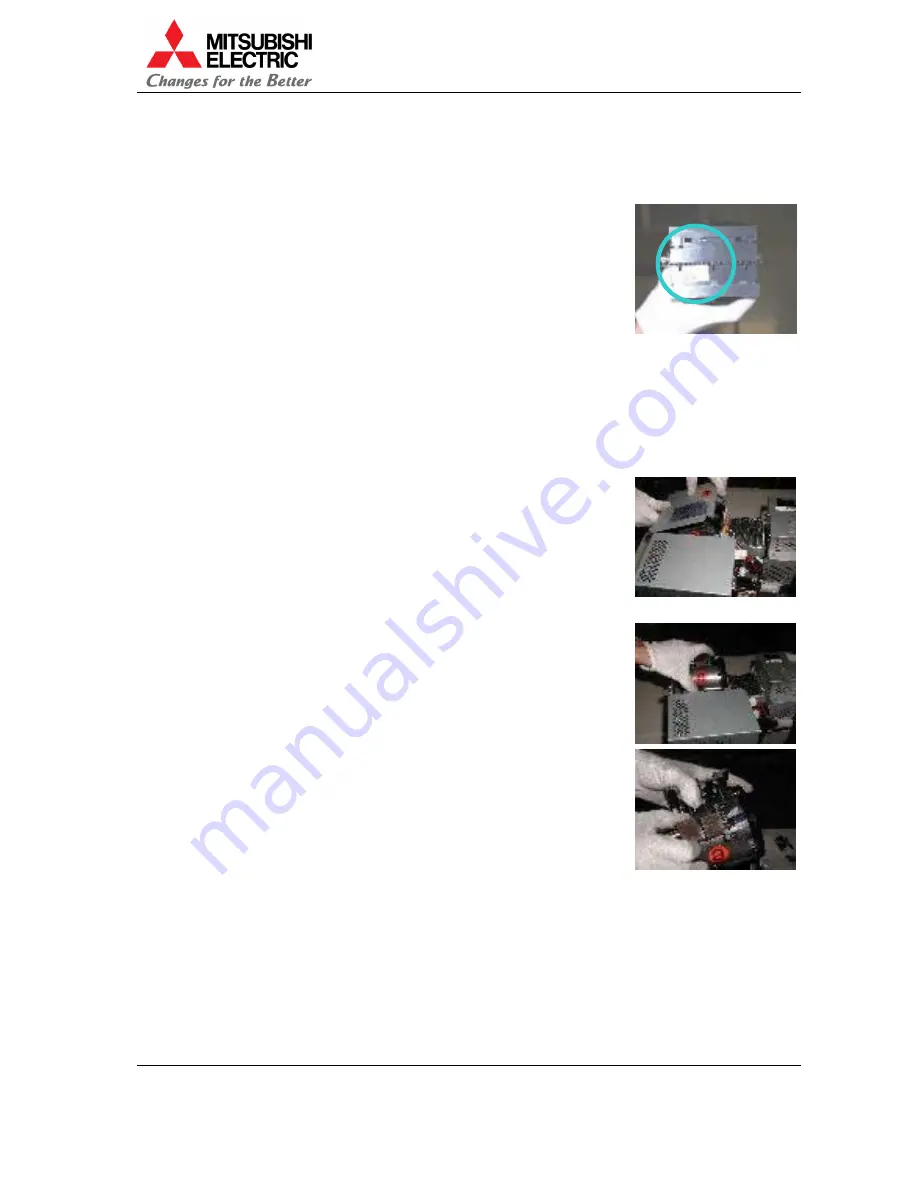
4.3.3. Lid
detaching
1. Loosen 3 fixing screws on the lid for the lamp to replace and
detach the lid.
2. Confirm OPEN LED in operation panel is on.
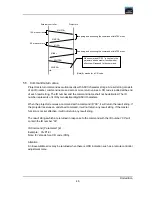
4.3.4. Lamp pulling out
1. Push EJECT button of relevant lamp in operation panel to pull
out it till lamp cartridge is out of gear. (Lamp cartridge would
automatically move inside in the middle of gear.)
2. Pick out the lamp cartridge along the rail
3. Disconnect the lamp connector.
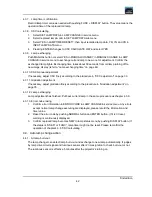
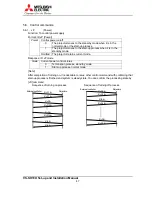
4.3.5. New lamp inserting
1. Confirm new lamp data, YR, YG and YB is recorded once again.
2. Connect the new lamp connector securely.
3. Insert the new lamp cartridge along the rail. After touching the gear, giving a light press
automatically moves the cartridge inside.
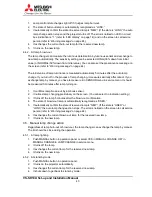
4.3.6. Lid
attaching
1. Close the lamp lid and tighten up the 3 fixing screws.
2. Confirm OPEN LED in operation panel is off. (If OPEN LED is still on, auto lamp changing
function is not effective. Please check whether the lid closes completely.
Summary of Contents for VS-SH10U
Page 1: ...DLPTM Projector VS SH10U Set up and Installation Manual August 30 2002...
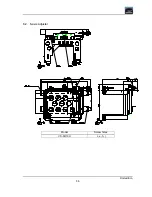
Page 8: ...First edition 8 1 2 Outline drawings 1 2 1 Circuit Box unit mm...
Page 9: ...VS SH10U Set up and Installation Manual 9 1 2 2 Optical Unit unit mm...
Page 56: ...First edition 56 6 2 6 axis adjuster Model Screw holes VS SH10U c e h j...


