background image

User’s Guide 

29


4.


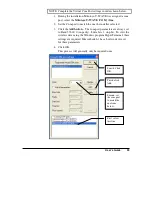
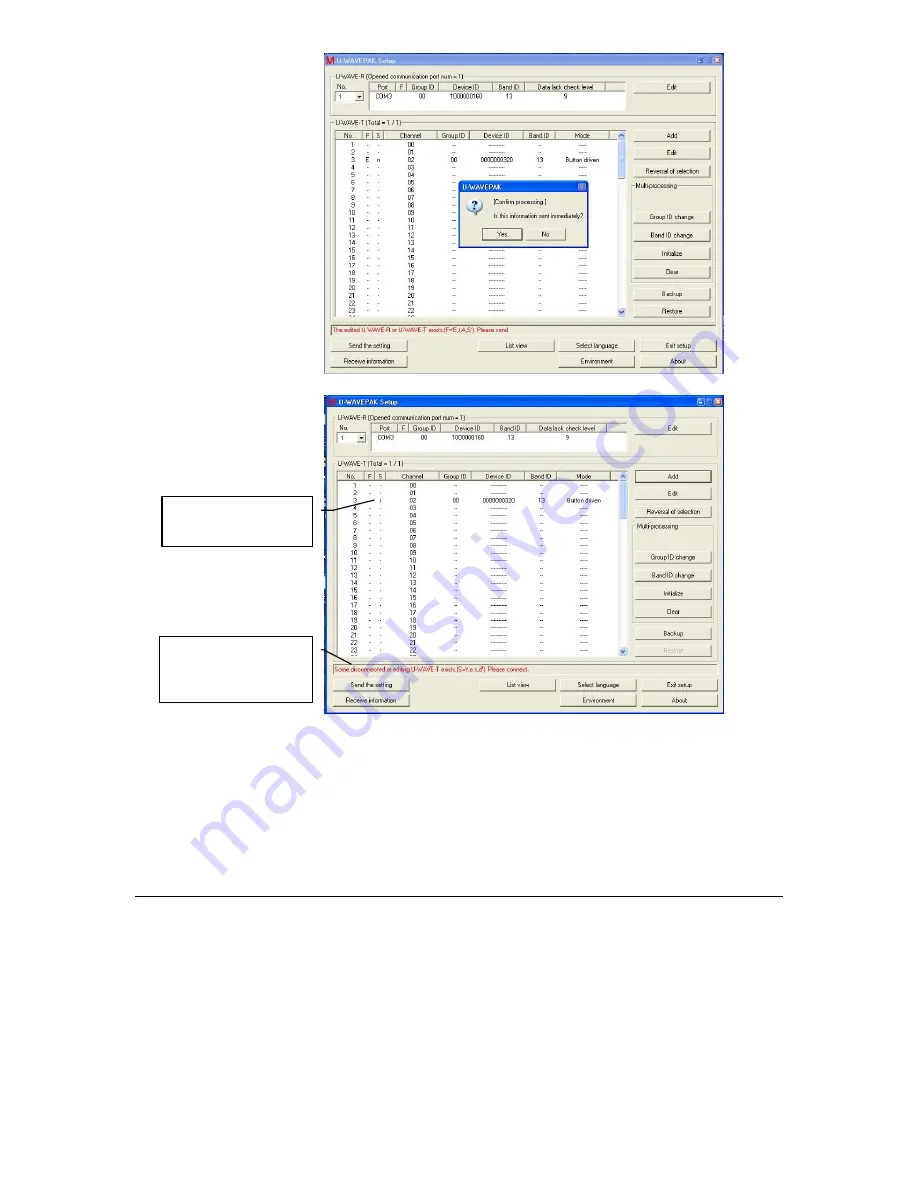
The r = registered with the U-WAVE-T device, but the gage is 

not connected for transmitting data. 

r = registered, but 

not connected 

Instructions to 

connect the gage with  

U-WAVE-T device 

Summary of Contents for U-WAVE

Page 1: ...User s Guide For use with MeasurLink Copyright 2008 by Mitutoyo Corporation All rights reserved Printed in the USA U WAVE Wireless Data Collector...

Page 2: ...INK 8 Workstation Center setup In Support Center 8 Variable Inspection Routine Mapping 10 SYSTEM REQUIREMENTS 11 Desktop PC MeasurLink Client 11 SUPPORT 11 Direct U S Support 11 INSTALLATION 12 MEASUR...

Page 3: ...t of the instructions for installing the U WAVE wireless system are in the U WAVE manual This Users Guide includes the instructions that are used for MeasurLink SPC software and the U WAVE wireless ga...

Page 4: ...of trends and statistics Together Complete Mobility for collecting monitoring Mitutoyo s U WAVE wireless data collection hardware gives the inspector the capability of remote data acquisition The add...

Page 5: ...ct to the U WAVE the U WAVEPAK program provides the necessary connection information To Use the Inspection Wizard in Real Time PLUS 1 In Real Time Real Time PLUS Click the Run menu and select Inspecti...

Page 6: ...he same mapping techniques as any other RS232 device Select the port that matches the virtual COM Port created in U WAVEPAK 3 The channel is the channel number selected for the gage In U WAVE In Inspe...

Page 7: ...etake Only the most recent data value received by MeasurLink can be removed when the Inspection Routine Option Collect Method By Part or By Feature When the Inspection Routine Option Collect Method Ra...

Page 8: ...e Device Inventory check the Help menu in Support Center then select About to see the MeasurLink version installed To Assign U WAVE COM Port and Channels 1 Open Support Center Workstation Center Selec...

Page 9: ...gage sending the data Note MeasurLink will not restrict your use of any gage but a good reminder here prevents improper assignment of the channels in the mapping step 7 Click Add 8 When all channels a...

Page 10: ...MeasurLink and U WAVE 10 Variable Inspection Routine Mapping To Map U WAVE Gage The technique is the same as for any other direct gage input into MeasurLink...

Page 11: ...ient can vary slightly depending on the PDA NAVI system architecture used Architecture diagrams are provided in the Appendix section of this manual MeasurLink Real Time or Real Time PLUS version 6 1 o...

Page 12: ...egular installation No special requirements are needed for the Mitutoyo U WAVE gage multiplexer If using an earlier version of the MeasurLink Real Time PLUS programs you must go to the MeasurLink Web...

Page 13: ...n U WAVEPAK Installation on MeasurLink Real Time To Install U WAVEPAK 1 Insert the U WAVEPAK CD into the CD drive of the computer If Windows Explorer does not open to the CD disk use Windows Explorer...

Page 14: ...MeasurLink and U WAVE 14 2 Double Click Setup exe 3 Select English and click OK 4 Click on Next...

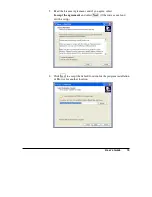
Page 15: ...he License Agreement and if you agree select I accept the agreement and select Next Otherwise cancel and exit the setup 6 Click Next to accept the default location for the program installation or Brow...

Page 16: ...MeasurLink and U WAVE 16 7 Select a name for the U WAVE Start Menu Folder Next 8 Add a check to create a U WAVE icon on the desktop Next...

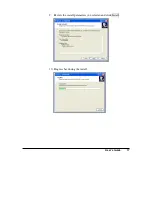
Page 17: ...User s Guide 17 9 Review the install parameters you selected and click Install 10 Progress bar during the install...

Page 18: ...sh The installation of the software is complete 12 Leave the CD in the CD drive U WAVE Wireless Receiver To Install U WAVE Wireless Receiver 1 Plug the Wireless Receiver into a USB port on the compute...

Page 19: ...User s Guide 19 3 Select Install from a list or specific location Advanced click Next 4 Browse out to the U WAVE CD to the Drivers folder select COM_U WAVE then OK and Next...

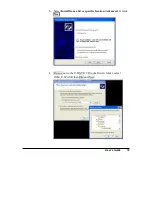
Page 20: ...MeasurLink and U WAVE 20 5 Select Continue Anyway...

Page 21: ...OTE This New Hardware message will appear 3 times once for the U WAVE device once for the virtual com port software and once to create the U WAVE com port assignment Only if New Hardware did not start...

Page 22: ...MeasurLink and U WAVE 22 2 Select Search for and install the hardware automatically Recommended and click Next Otherwise refer to the U WAVE manual...

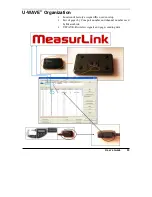
Page 23: ...ser s Guide 23 U WAVE Organization Location of factory assigned IDs used in setup List of gages by Com port number and channel number used by MeasurLink U WAVE R wireless signals and gages sending dat...

Page 24: ...sktop if requested or use Start All Programs U WAVEpak 2 The first time this program is started the following screen will be displayed Add check to Use the driver for Virtual Com Port Leave the check...

Page 25: ...ted 3 Click the Add button The com port parameters are always set to Baud 57600 0 no parity 8 data bits 1 stop bit To view the wireless data using the Windows program Hyper Terminal these settings are...

Page 26: ...f the U WAVE R box at the top of this dialog is empty Click Edit in the top right corner to add the U WAVE R device The factory assigned U WAVE R ID is the Device ID on the U WAVE R setting informatio...

Page 27: ...ser s Guide 27 2 The Device ID must match the ID on the U WAVE R device Accept all other default values and Click OK DO NOT SELECT INITIALIZE BUTTON Factory assigned U WAVE R ID Shown in prior picture...

Page 28: ...near the top right 2 In the U WAVE T setting Information Add dialog type in the Device ID found on the U WAVE T device Change the Channel number as needed but leave all other defaults 3 Click OK then...

Page 29: ...User s Guide 29 4 The r registered with the U WAVE T device but the gage is not connected for transmitting data r registered but not connected Instructions to connect the gage with U WAVE T device...

Page 30: ...the data button on the U WAVE T There should be a fast flashing red light followed by a slower flashing red light Check column S for c for connected to be displayed 7 If there are problems see the U...

Page 31: ...ng MeasurLink Setup 10 Once all the gages have been assigned exit from the setup and exit from the U WAVEPak program IMPORTANT Exit is required from both setup and U WAVEPack to allow MeasurLink to ca...

Reviews: