D
5.8
W
ESTERBEKE
3.5 MCGA G
ENERATOR
( O
PTION
)
The
Westerbeke Operator’s Manual is included in the binders.
Pre-Start Check List
The daily pre-start checklist:
1.
Close seacock, clean the sea strainer (the cap should be hand
tightened) and reopen the seacock.
2.
Check the coolant. See diagram attached.
3.
Check that the oil level is at the “FULL
mark on the dipstick.
4.
Look to see that there are no loose belts or wires and that there is
no oil or fuel in the pan under the
GENERATOR.
on’t remove the coolant cap from a hot engine.
To Start
Turn
on
the
GENERATOR BATTERY
switch at the upper right of
the
12V DC
panel. Push both
SLIDING INTERLOCKS up
on the 120V
AC panel
and turn
on
the
GENERATOR
breaker at the left side of the
120V AC panel
to connect the left side of the panel to generator power.
Press the
Rocker
switch to the start position and release. The engine will
crank and start electronically after a brief delay. A GREEN LED on the
switch will indicate that the engine is running.
Keep the Genset Start switch
on
while the generator is running
After the generator starts, the charger/inverter will automatically power
up loads and start charging the batteries. (if shore power is still plugged
in, power will continue to be drawn from the dock until it is turned off or
unplugged)
If the generator starts but no AC voltage is seen at the panel, ensure
that the
GENERATOR
breaker is on. This is located on the from of the
generator itself. If so, there is a possibility the generator was
overloaded. See Westerbeke Manual.
To Stop
Turn off breakers for 120V loads and run the generator for 2 or
3 minutes without a load to allow it to cool. Press the rocker switch and
release. The Green light will go off.
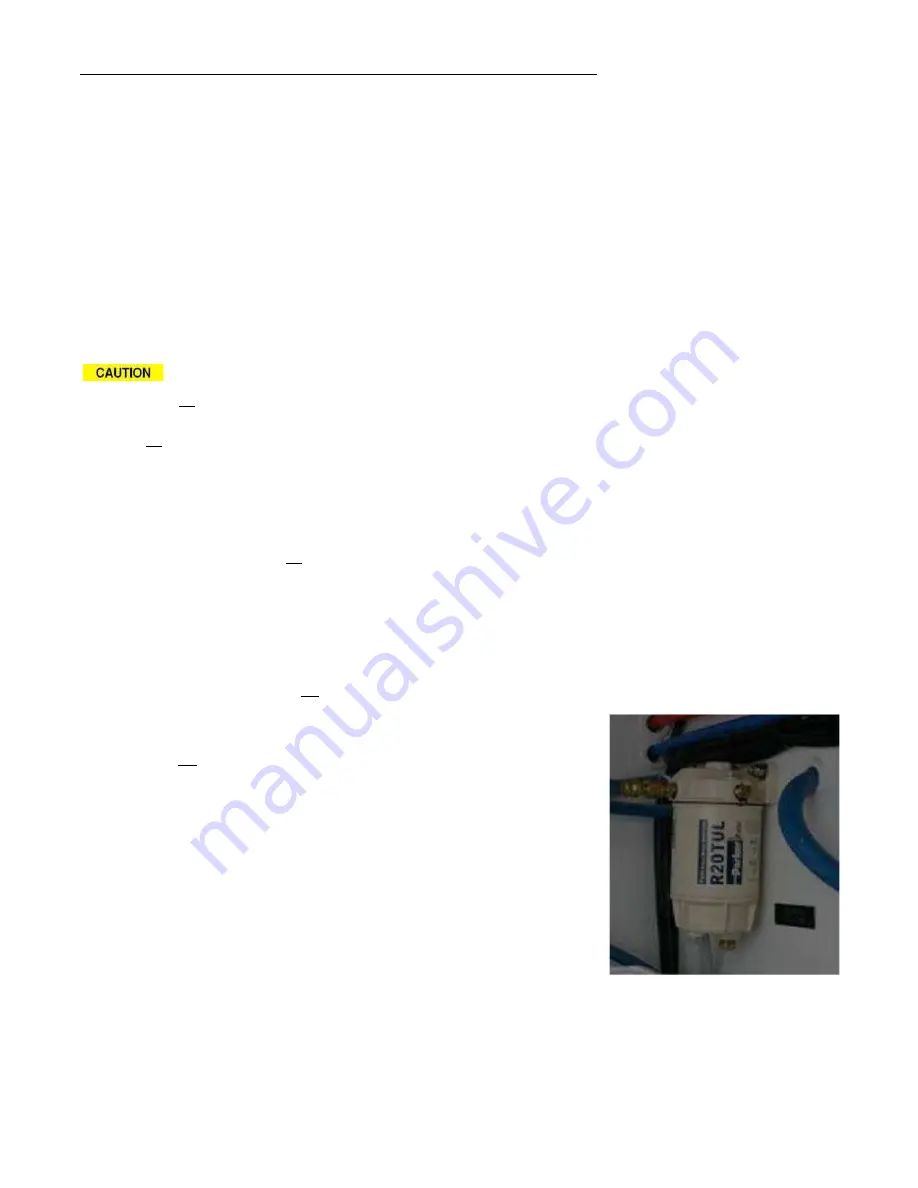
GENERATOR FUEL PRE-FILTER is
behind the generator against the
bulkhead
Summary of Contents for 3z
Page 1: ...3z OWNERS GUIDE ...
Page 13: ...2 10 EMERGENCY AND THRU HULL DIAGRAM ...
Page 28: ...5 9 GENERATOR COMPONENT LOCATIONS ...
Page 39: ...Engine maintenance and parameters See the Mercury operation and maintenance manual ...
Page 40: ......
Page 47: ...3Z Owner s Guide 9 11 SYSTEMS LOCATION PLAN ...
Page 49: ...3Z Owner s Guide 9 13 WIRING DIAGRAMS ...
Page 56: ......
Page 57: ......
Page 58: ...3Z Owner s Guide ...
Page 59: ......


