33
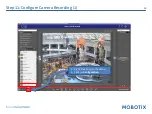
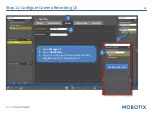
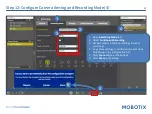
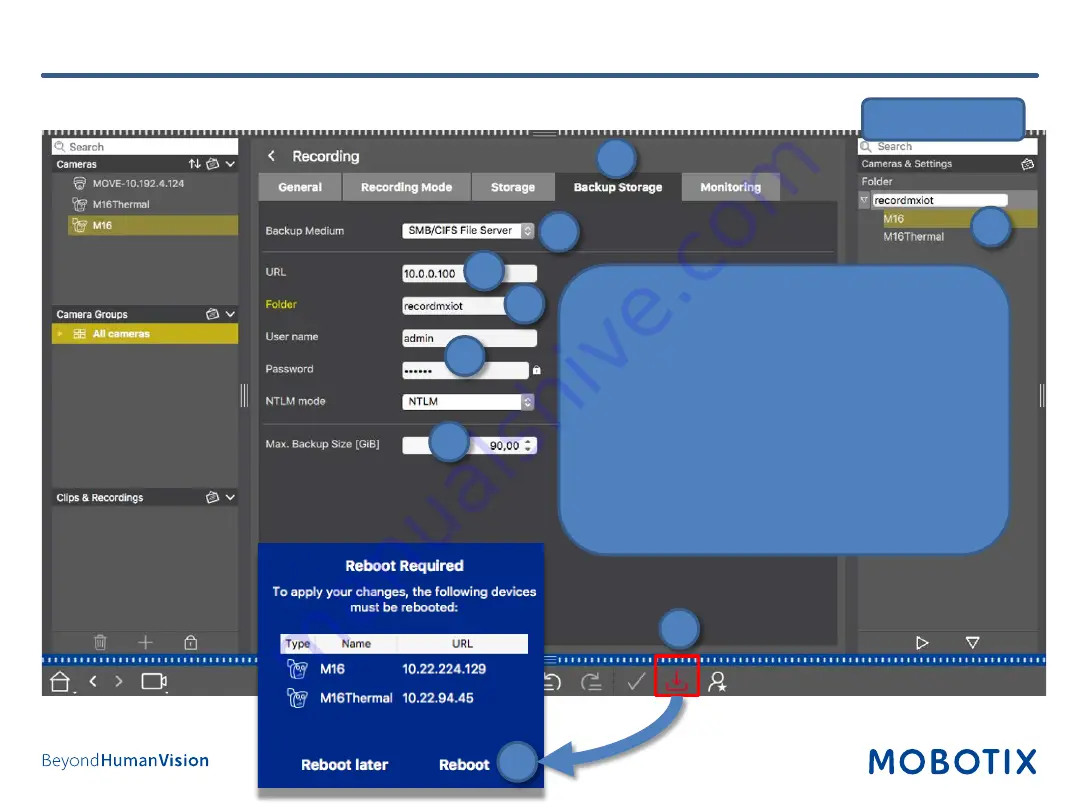
1. Open
Backup Storage
.
2. Select
SMB/CIFS File Server
.
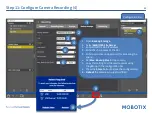
3. Enter MOBOTIX NAS IP address.
4. Enter the share name of the NAS.
5. Enter user name and password for accessing the
share.
6. Set
Max. Backup Size
for the camera.
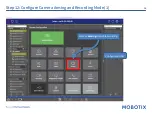
7. Copy this setting to all desired cameras using
Drag&Drop in the configuration bar.
8. Press the
Store
button to store the configuration.
9. Reboot
the cameras you just modified.
Step 11: Configure Camera Recording (4)
Configuration Bar
1
2
3
4
6
5
7
8
9
Summary of Contents for Mx-S-NAS4A-16
Page 11: ...11 Step 5 Login to NAS Web Interface Log in to the web interface of the NAS 1...
Page 12: ...12 Step 6 optionally update firmware 1 Open the Control Panel...
Page 13: ...13 Step 6 optionally update firmware 2 Click on Firmware Update...
Page 15: ...15 Step 7 Configure volume 1 Open Storage Snapshots 2...
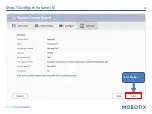
Page 17: ...17 Select Storage Pool 1 as Location Click on Next to proceed Step7 Configure Volume 3...
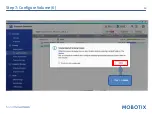
Page 19: ...19 Step 7 Configure Volume 5 Klick Finish...
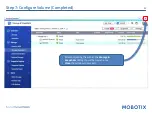
Page 20: ...20 Step 7 Configure Volume 6 Click on Close...
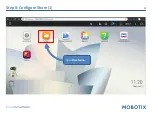
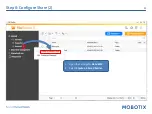
Page 22: ...22 Step 8 Configure Share 1 Open File Station...
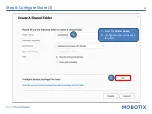
Page 23: ...23 Step 8 Configure Share 2 1 Open the settings for Data Vol2 2 Select Create a Shared Folder...
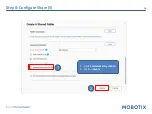
Page 26: ...26 Step 8 Configure Share 5 1 Disable Network Recycle Bin 2 Click on Create 1 2...
Page 38: ...38 Step 13 Assign Cameras to Share 1 Open lock icon to enter edit mode...

