


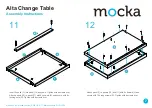


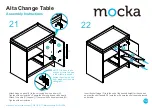
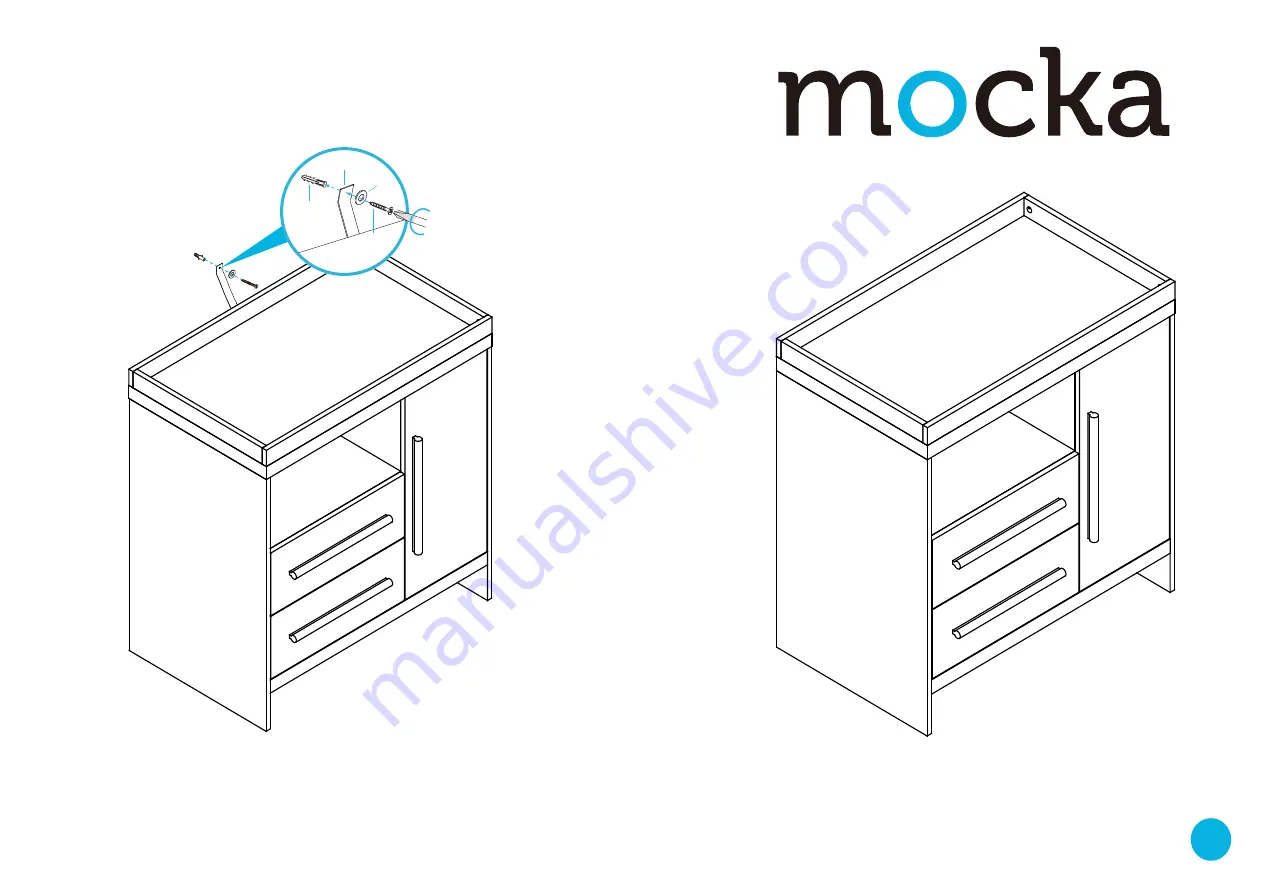
Z
X
Y
wall
anchor
screw
strap
washer
Once assembled lift furniture into place, do not drag. Use a drill to
create a small hole lining up with the top of the safety strap (V).
Fasten to the wall using 1x washer (Z) , 1x wall anchor (X) and
1x wall screw (Y). Ensure unit is balanced and steady before
use.
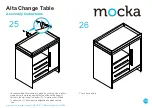
25
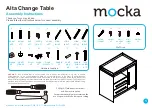
Alta Change Table
Assembly Instructions
mocka.co.nz | mocka.com.au | PO BOX 6171, Maroochydore, QLD, 4558
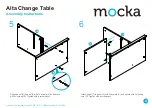
14
26
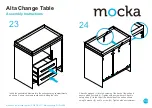
You’re done, enjoy!


