9
❑
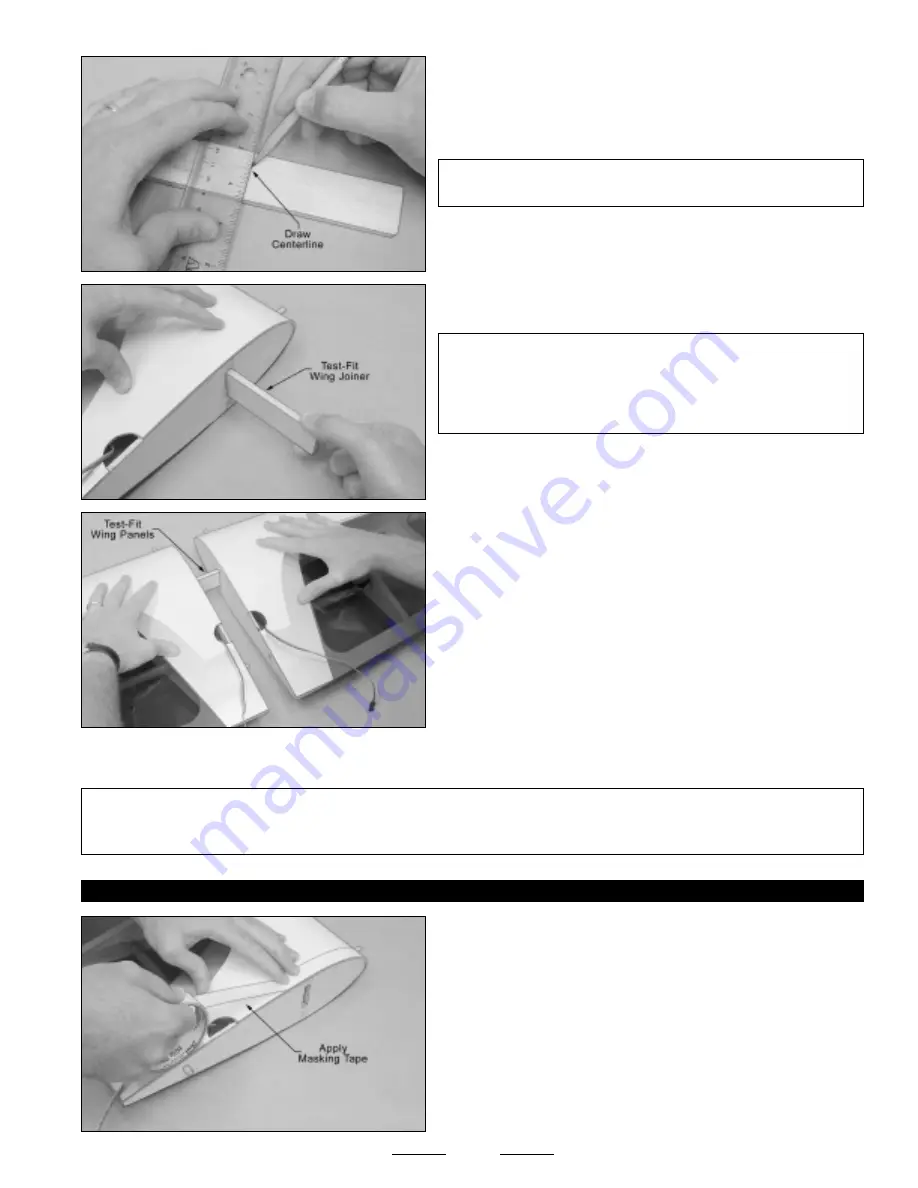
Use a ruler and a pencil to locate and draw a vertical centerline on
one side of the plywood wing joiner.
✦
✦
✦
✦
✦
IMPORTANT
✦
✦
✦
✦
✦
The plywood wing joiner is straight. There is no top
or bottom.
❑
Test-fit the wing joiner into each wing panel. It should slide easily
into each wing panel up to the centerline you drew.
✦
✦
✦
✦
✦
IMPORTANT
✦
✦
✦
✦
✦
When the wing joiner is installed, it should not fit
tightly into the wing panels. It should actually be slightly loose. This
will ensure that when you glue the wing joiner into place that epoxy
can get into the joints between the wing joiner and the joiner box.
This will ensure the strongest joint possible.
☞
If the wing joiner does not fit properly, use 220 grit sandpaper
with a sanding block to lightly sand the wing joiner, until you are satisfied
with the fit.
❑
Carefully slide both wing panels together with the wing joiner
temporarily installed (without using glue).
❑
While holding the two wing panels together firmly, make sure that the wing panels are lined up at both the leading and trailing
edges, then look carefully at the center-section joint: the wing panels should fit together tightly with few or no gaps in the joint.
✦
✦
✦
✦
✦
IMPORTANT
✦
✦
✦
✦
✦
If the wing panels do not fit together properly, remove the wing joiner and use 220 grit sandpaper with a
sanding block to lightly sand the edges and tips of the wing joiner, until you are satisfied with the fit. Remember, when the wing
panels are pushed together, there should be few or no gaps in the center-section joint.
❑
When satisfied with the fit and alignment, pull the wing panels apart
and remove the wing joiner.
❑
Apply a strip of masking tape to the top and bottom edges of the root
rib on each wing panel.
☞
The masking tape will prevent excess epoxy from getting onto the
wing panels when you join them.
STEP 3: JOINING THE WING PANELS
Continued On Next Page
☛
☛
☛
☛
☛
Summary of Contents for Magic Formula 3D ARF
Page 46: ...46 ...


