19
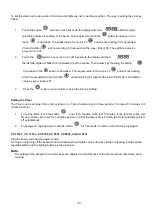
To set the clock can be done when the motor and lights are not in working condition. The way to setting the clock as
follow:
1.
Touch the button
around 2 until 5 seconds, the display will show , the first two digits
will blink indicates for setting of the hours. Then adjust with touch the
button to increase or the
touch
to decrease. The largest value for hour is 23
and will not working if it is exceeded
23 and function
will not working if it has reached the lower limit of 00. The addition value by
every touch is 01.
2.
Touch the button once more for 2 until 5 seconds, the display will show
, ,
the last two digits will blink which indicates to set the minute. Then adjust it by touching the button
to
increase or the
button to decrease. The largest value for minute is 59
and will not working
when it is exceeded 59 and function
will not working if it reached the lower limit of 00. The addition
value by every touch is 01
.
3.
Press the
button one more time to finish the
Clock’s Setting
Setting the Timer
The Timer can be set when the motor or lamp is on. Timer duration is set in three periode: 5 minutes/ 15 minutes / 30
minutes/ Cancel.
1.
To set the timer, touch the button
once for 5 minutes, twice for 15 minutes, thrice for 30 minutes, four
times to cancel, five times for 5 minutes and so on. After the timer’s time is finish, the motor and lamp will turn
off automatically.
2.
To change an ongoing timer, touch the button
for 5 seconds or until the correct time is displayed.
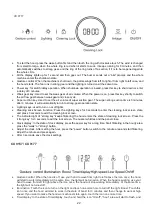
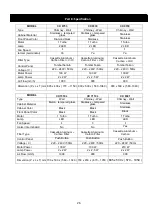
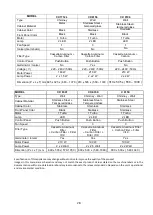
CX 7110 L, CX 7310 L, CX 9156, CX 9301, CX 9356, and CX 9701
Plug the power cord into the power socket.
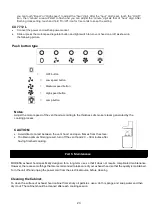
Turning on or turning off the exhaust hood and exhaust hood lights can be done by sliding or pressing a motor speed
regulator button and the lighting button as shown below.
Note:
The setting of the exhaust hood motor speed is adjusted to the thickness of the smoke/ steam that arises when
cooking
.
Summary of Contents for Cesena Series
Page 29: ...12 20 ...


