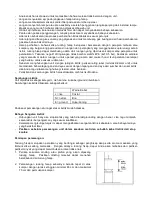


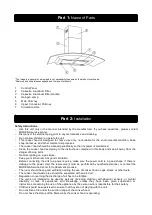
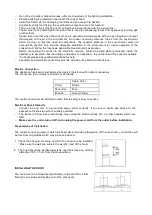


Making a hole in the ceiling and how to install the bracket:
1. To attach the hood type of island, the ceiling must be
strong and able to hold the weight of at least 40 kg and
the thickness of the ceiling must be at least 30 cm.
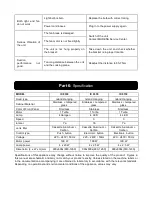
2. Installation of hood should be right on top of the stove with
a distance of a minimum height of 65 cm and a maximum
of 75 cm from the surface of the stove.
3. The hood should be installed perpendicularly to avoid oil
flow to one side and dripping out of the suction hood.
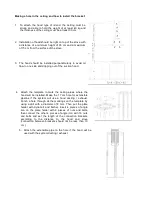
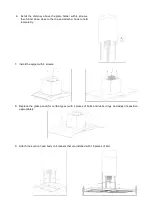
4. Attach the template to mark the ceiling areas where the
hood will be installed. Make the 17 cm hole for extensible
pipeline if the system will use a hood ducting / exhaust.
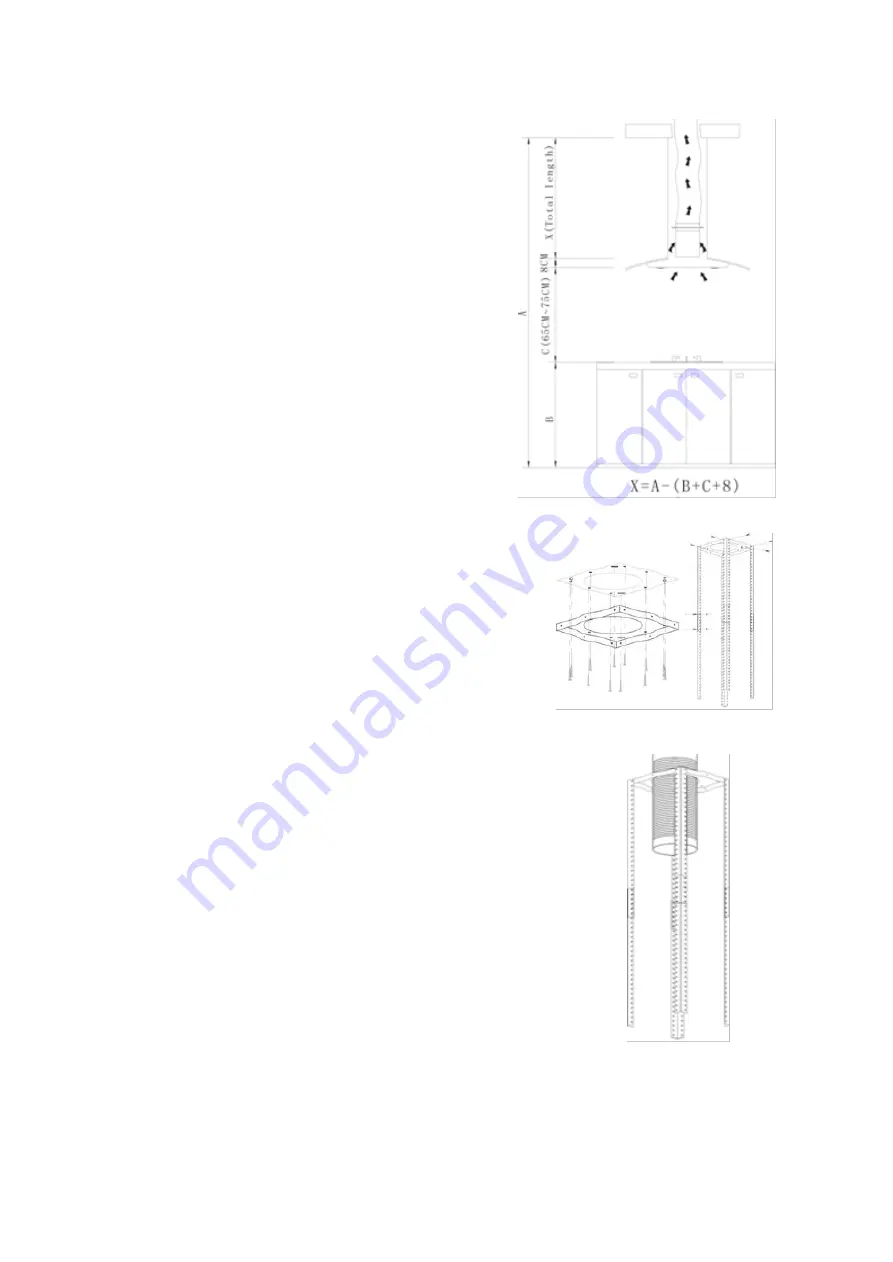
Punch a hole through all the markings on the template by
using a drill with a diameter of 8 mm. Then put the plate
holder with dynabolt and fischer. Insert 4 pieces of angle
iron on the plate holder with 8 pieces of nuts and bolts,
then connect the ot her 4 piec es of angle iron with 16 nuts
and bolts and set the lengt h of the connection brackets
according to the distance to the hood and stove
(connection bet ween brackets should not be less than 10
cm ).
5. Attach the extensible pipe to the hole if the hood will be
used with the system ducting / exhaust.


