P a g e | 7
3.0 Installation Instructions
3.1
General
A qualified electrician should add one (or two when
connecting the heater) dedicated 20 Amp, 120 Volt
circuit per local building codes.
NOTE:
Follow all
national and local electrical codes.
3.1.1
Unpacking the Fireplace
Follow the procedure below to unpack and inspect
the fireplace:
1. Carefully remove the packing from around the
unit and set aside parts that are wrapped
separately.
2. Check that all parts and accessories are
accounted for before disposing of any
packaging.
Note:
The glass and some other
parts are protected inside the fireplace and may
not be unpacked until start-up.
3. If necessary, keep the original packaging for
future transport and/or storage.
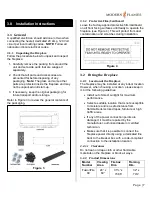
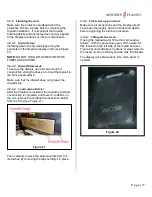
Refer to Figure 3 to review the general contents of
the packaging.
3.1.2
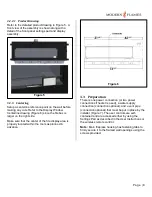
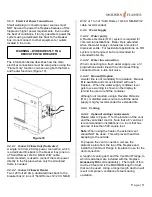
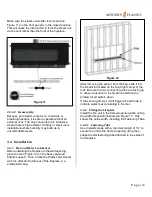
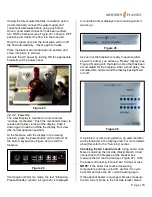
Protective Film/Cardboard
Leave the factory-applied protective film/cardboard
on all front facing surfaces until ready to operate the
fireplace (see Figure 4). This will protect from dust
contamination and scratches during installation.
3.2
Fitting the Fireplace
3.2.1
Location of the Fireplace
The fireplace may be installed at any indoor location.
However, when choosing a location, please keep in
mind the following guidelines:
•
Install out of direct sunlight for maximum
performance.
•
Select a suitable location that is not susceptible
to moisture and is a safe distance from
flammable items like drapes, furniture or high
traffic areas.
•
If any of the power connection points are
damaged, it must be repaired by the
manufacturer, authorized dealer or certified
technician.
•
Make sure that it is possible to connect the
fireplace power directly using a dedicated line
back to the breaker box with a code-compliant
connection to the installation location.
3.2.1.1
Clearances
Do not lean or drape cloth or other flammable
materials on the fireplace or block air ways.
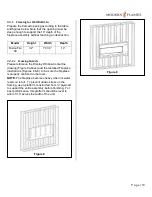
3.2.2
Product Dimensions
Model
Number
Viewing
Area
Firebox
Dim.
Framing
Dim.
FusionFire
60
24” x
60”
31¾” x
73.86”
32” x
74¼”
Figure 3
Figure 4
Summary of Contents for FusionFire 60
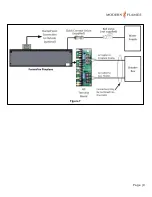
Page 9: ...P a g e 9 Figure 7 ...


