7
INSTALLATION
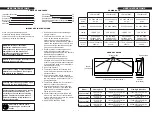
Model
W
H
D
LPM-4416/INT
1124mm
641mm
305mm
LPM-5616/INT
1429mm
641mm
305mm
LPM-6816/INT
1734mm
641mm
305mm
LPM-8016/INT
2038mm
641mm
305mm
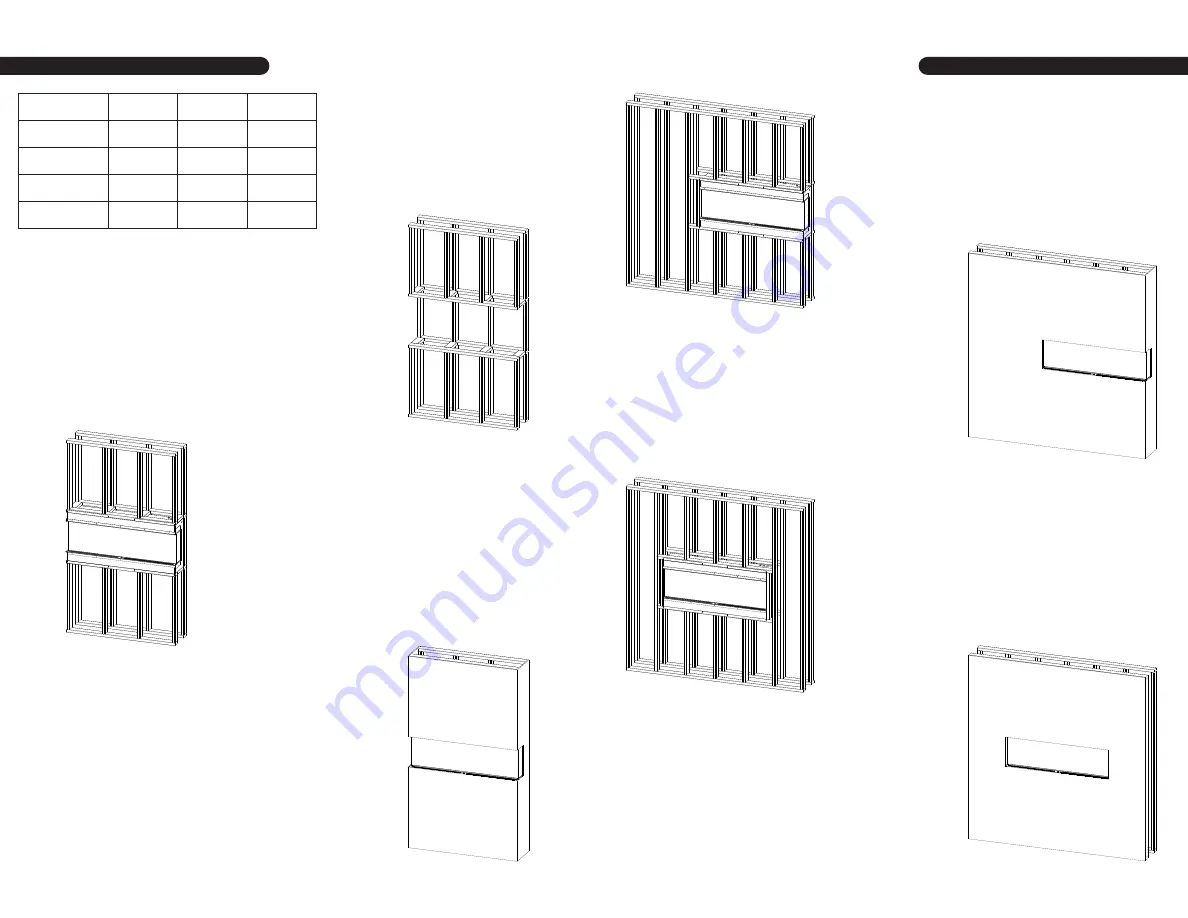
1. Prepare the framed opening according to
the chart above. Provide a dedicated flexible
15 amp 220-240 volt circuit for hard wire
installation.
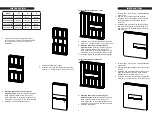
2. Install L Metal Nailing Flanges.
3.
Install the fire unit in the framed opening with a
minimum 1 ¼ drywall screws to secure the unit.
4.
Mask the exposed fire unit during the
drywall process.
Install drywall to the drywall
stops on the perimeter of the fire box. For
more information on the drywall stops see the
Product Guide on page 4. Decorate as desired.
5. Install the side and front glass pieces.
8
INSTALLATION
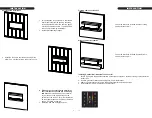
Fully recessed installation - 1 side
Fully recessed flush installation
1. Follow steps 1 & 2 from the 3 sided installation
instructions.
2. Remove the corresponding drywall stops
according to your installation (in the example,
the drywall stops on the left end would be
removed.)
3. Install the side glass then the corresponding
side cover according to your installation (the
side glass must be installed before the metal
side cover.)
4.
Install the fire unit in the framed opening with a
minimum 1 ¼ drywall screws to secure the unit.
5.
Mask the exposed fire unit during the
drywall process.
Install drywall to the drywall
stops on the perimeter of the fire box. For
more information on the drywall stops see the
Product Guide on page 4. Decorate as desired.
6. Install the remaining side glass and front glass.
1. Follow steps 1 & 2 from the 3 sided installation
instructions.
2. Remove the drywall stops on both sides of the
fire unit.
3. Install the side glass then side covers on both
sides of the fire unit (the side glass must be
installed before the metal side cover.)
4.
Install the fire unit in the framed opening with a
minimum 1 ¼ drywall screws to secure the unit.
5.
Mask the exposed fire unit during the
drywall process.
Install drywall to the drywall
stops on the perimeter of the fire box. For
more information on the drywall stops see the
Product Guide on page 4. Decorate as desired.
6. Install the front glass.

