10
https://www.modernflames.com
Wall Mounted Installation
NOTE: A dedicated 20 Amp (or higher) breaker is required.
•
Select a location that is not prone to moisture and is located at least 36" (914mm) away from
combustible materials such as curtain drapes, furniture, bedding, paper, etc.
•
Have two people hold the appliance against the wall to determine the final location.
•
Place the unit face down on a soft, non-abrasive surface.
•
Remove the wall bracket (
H
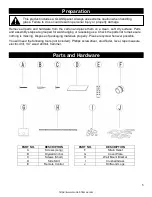
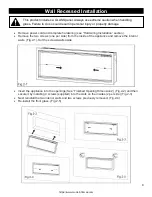
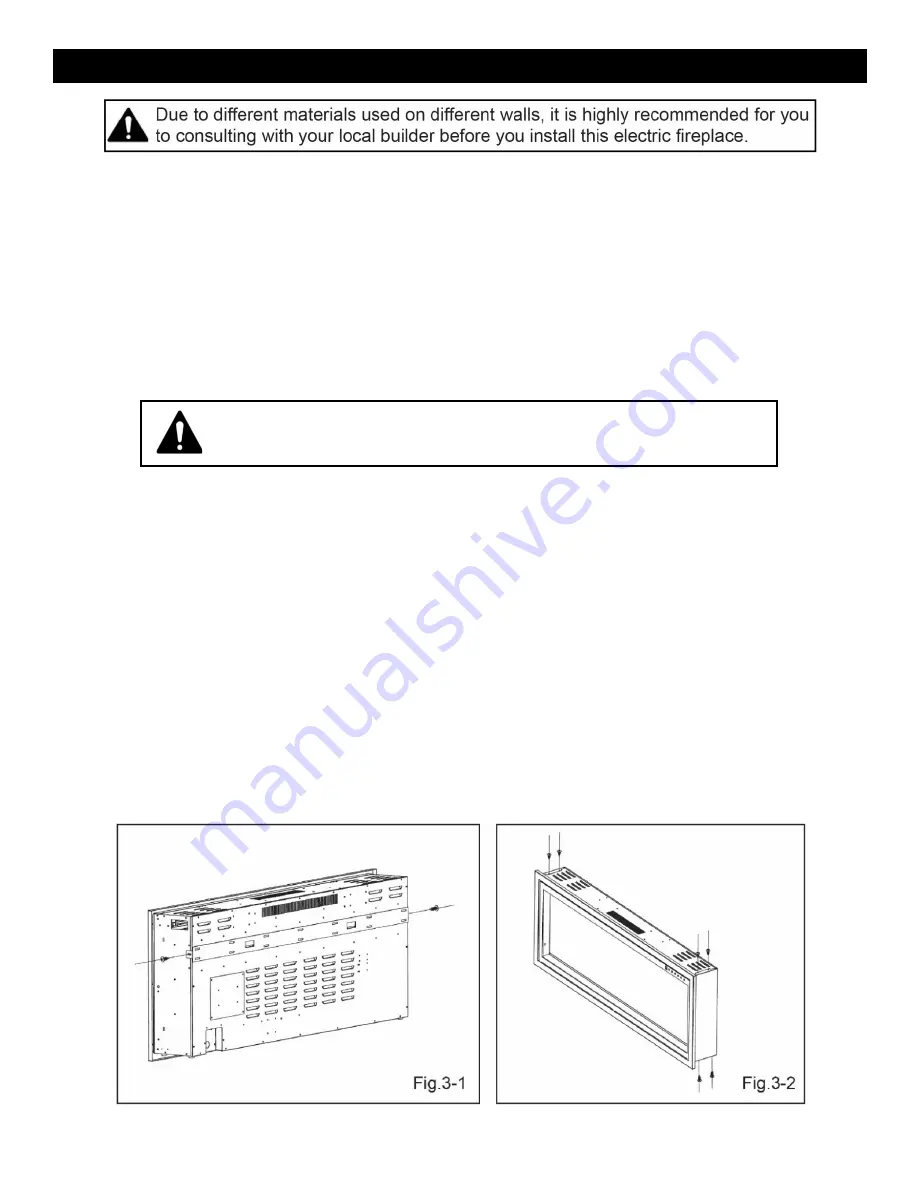
) from the back of the unit by removing the screws, see FIG. 3-1. Set
screws aside.
•
After you have selected a suitable location for wall mounting, locate the studs on the wall. You
must be able to secure to a minimum of 2 studs for proper installation of the bracket.
•
Using the wall bracket as a guide, mark the mounting hole locations.
•
This bracket MUST have the hooks facing upward and be level.
•
Additional support is provided by using the included wall anchors (
B
) between the studs.
•
Additional wall anchors must be installed prior to the wall bracket being mounted.
i.
To install additional wall anchors, pre-drill (optional) all locations with a 1/8" drill bit.
ii.
Install the wall anchors with a Philips tip screwdriver.
•
Install the wall bracket to the studs using #8 – 1-5/8" (
A
) screws and to the wall anchors with a
#8 – 1" screws (
C
).
•
With the wall mounting bracket installed, have two people lift the appliance up and insert the two
hooks of the wall bracket into the two receiver slots on the back of the appliance.
•
Re-insert the two screws that were removed previously.
•
Check the appliance for stability ensuring the bracket will not pull free from the wall.
•
Install the side skirt panels (
D
) to each side of firebox. FIG 3-2.
FAILURE TO DO SO CAN RESULT IN PERSONAL INJURY
AND/OR DAMAGE TO EQUIPMENT.


