4-522.4
14
service instructions
to service Burner assembly
1. Disconnect electric power to unit.
2. Remove fasteners on hinged ignitior on top of the unit
and swing back giving access to the inside of the burner
housing, the nozzle, cad cell, and blower wheel.
3. Clean blower wheel and combustion air openings with
vacuum cleaner or air hose, if required.
4. The nozzle should be replaced every year, more often if it
is dirty or carbonized. To replace nozzle disconnect external
oil line at the burner housing, then remove the drawer
assembly (nozzle line and electrode assembly) locknut from
the fitting. Lift drawer assembly up and out of the air blast
tube. Do not disturb drawer assembly adjustment setting.
Replace nozzle with type as specified below:
POR 100
0.75 GPH
70° SOLID CONE
POR 145
1.10 GPH
70° SOLID CONE
POR 185
1.65 GPH
70° SOLID CONE
Use extreme care in handling nozzles to avoid scratches or dirt
that could cause leaks or affect the oil spray pattern.
5. Check electrodes. The proper setting is essential for reliable
ignition of the oil. Set the electrodes as illustrated in Figure
13.1.
6. Check the cad cell for an accumulation of dirt or soot. Clean
if necessary with a soft cloth.
7. Lubricate burner motor with a few drops of non-detergent oil
at both motor oil holes twice each year on units that are not
permanently lubricated with sealed bearings.
Burner adjustments
It is recommended that a combustion check be made on the
burner each year or whenever replacing a nozzle. This will help
assure efficient combustion of the oil and avoid sooting the heat
exchanger.
The flame can be viewed through the inspection port located
on the front of the heat exchanger. DO NO ATTEMPT TO
VIEW THE FLAME WHILE STARTING THE BURNER, SINCE
PULSATIONS WHICH SOMETIMES OCCUR UPON START-UP
CAN DISCHARGE HOT GASES THROUGH THE INSPECTION
PORT.
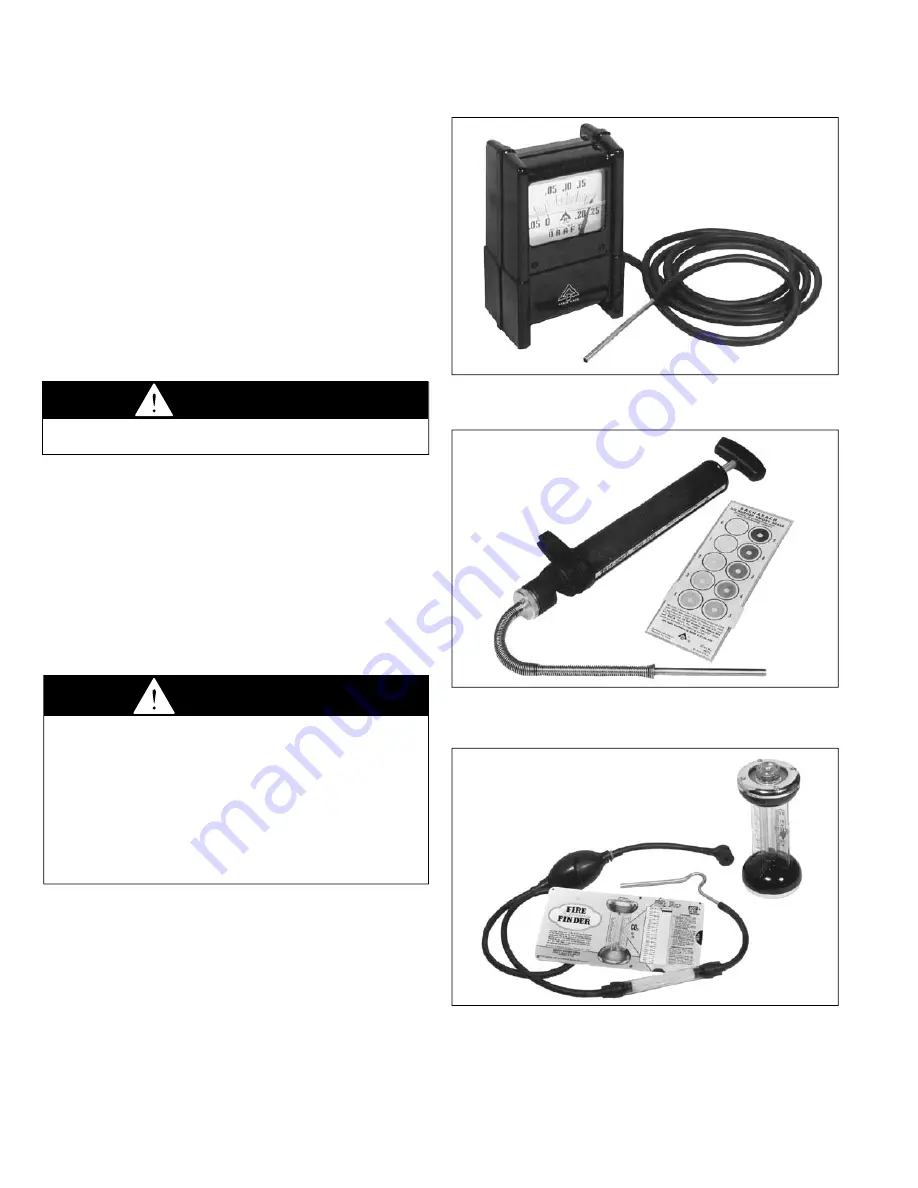
figure 14.1
draft gauge with Probe
figure 14.2
smoke tester and scale
figure 14.3
co
2
analyzer and calculator
CAUTION
Never use a nozzle size or type other than specified in
Service Instructions.
CAUTION
1. Do not attempt to start the burner when excess oil or oil
vapor has accumulated in the combustion chamber or
when the heat exchanger is very hot.
2. Burner adjustments should only be performed by
qualified oil serviceman.
3. Do not attempt to view the flame while starting the
burner, since pulsations which sometimes occur
upon start-up can discharge hot gases through the
inspection port.


