1. Getting Started
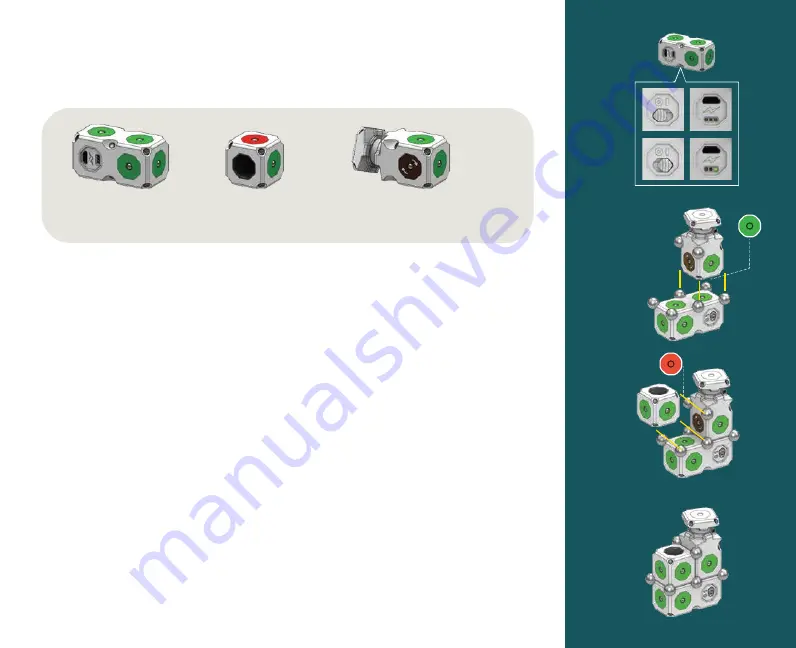
Every MOSS robot needs a Battery Block. The Zombonitron 1600 kit
includes one Extended Battery Block. Flip the power switch on and the
green LED will tell you that your Extended Battery Block is charged.
It’ll turn red when it’s getting low, but you can recharge it using the
included Micro USB cable. Just plug it into your computer until the
yellow charging light turns off!
Attach a Motor Block so that one of its green power faces is
connected to a green power face on the Extended Battery Block. Now
the Motor Block is plugged in, but it still needs an input to tell it how to
spin.
Attach a Proximity Sensor with one of its green faces connected to a
green power face on the Extended Battery Block. Make sure that the
red data-output face of the Proximity Sensor is connected to one of
the Motor’s brown data-input faces.
Woo! You just created a simple MOSS robot. The Motor now responds
to the Proximity Sensor. Move your hand in front of it to find the sweet
spot where the Motor stops and changes direction.
Extended
Battery
x1
Motor
x1
Proximity
Sensor
x1
A
B
C
D
A
B
C
D
Summary of Contents for Moss Zombonitron 1600
Page 1: ...Zombonitron 1600 Guide to Getting Started...
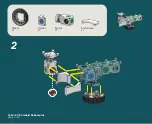
Page 7: ...2 Robot 347 Kapreblewrongtron page 2 of 3 Wheel x1 Motor x1 Long Flexy x1 Hub x1 Corner x1...
Page 9: ...Robot 347 Kapreblewrongtron...
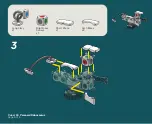
Page 11: ...1 Robot 1031 Zombonitron page 1 of 3 Extended Battery x1 Motor x2 Hub x1...
Page 14: ...Robot 1031 Zombonitron...
Page 19: ...Robot 65 Paranoid Robosaurus...


